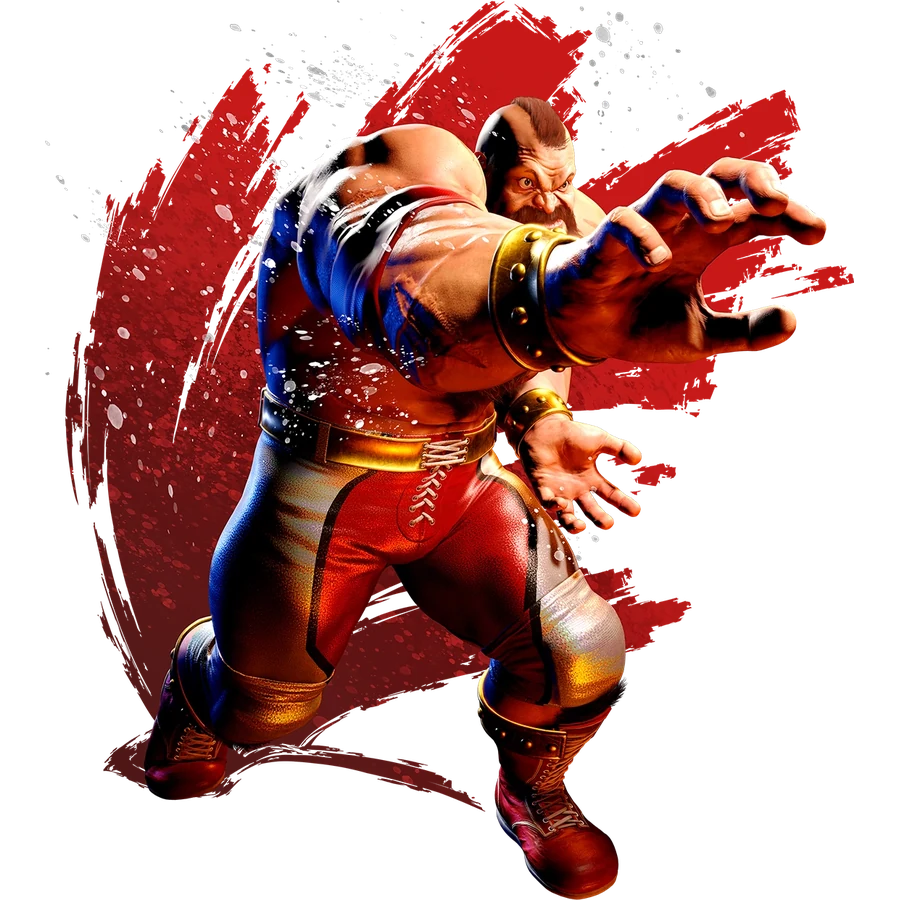
After the command throw, read the new situation
A Screw Piledriver takes a large chunk of life, but the next decision still depends on distance and how Zangief approaches. Iori’s counter guide asks you to separate the damage already taken from the pressure that actually follows. Do not alternate between panic jumping and freezing simply because the previous choice lost. Identify the throw, the screen position, and the next approach.
What to watch for
Which throw ended the exchange
Screw Piledriver, Russian Suplex, and Borscht Dynamite are separate situations. The older video compares their follow-ups; the current combo guide also notes the space left after a midscreen Screw Piledriver. Start by naming the throw instead of assuming all command grabs lead to the same wake-up pressure.
Knee Hammer’s contact point
The Japanese counter article covers Knee Hammer as both an approach and a movement into throw range when it misses. A deep block and a late, tip-range block do not necessarily give you the same response. Watch where it lands, not just whether its animation finished.
OD Double Lariat is a different knockdown
The current setplay guide follows OD Double Lariat with Drive Rush into Headbutt, Screw Piledriver, or guard to bait a reversal. Keep this sequence separate from the older video’s post-throw examples. If you study only Screw Piledriver, you have not tested this strike-to-knockdown route.
How to deal with common situations
You have just taken Screw Piledriver
Look at the space between you before deciding to jump or press. The current guide lists several ways to close that space again, including Drive Rush attacks and a wait. Recreate the strength and position that caused trouble. “He threw me” describes the previous exchange, not a guarantee that his next throw is already in range.
You correctly predict another command throw
Turn the escape into a reward. The Japanese demonstration practices neutral jump over Screw Piledriver into a reliable punish combo. If you choose backdash instead, test the attack that reaches afterward as a separate route. Avoiding the throw and failing to punish gives up part of the value of your correct read.
A delayed jump seems to beat both options
The 2024 video demonstrates guarding the early sweep timing and jumping later against an approach into throw. This is a timing-based defense against that sequence, not coverage of every strike and throw. Add a delayed strike to your test. If it catches the jump, you have found a limit of the timing rather than an execution problem to ignore.
Distance-specific responses
Outside his approach: prepare for one route
Pick the approach the opponent repeats most: a jump, Drive Rush, or Knee Hammer. Practice responding to that first. Trying to react to every possible route at once can leave you late to the one Zangief has already shown repeatedly.
At normal range: watch the charge and reach
The Japanese guide distinguishes standing heavy punch from its charged version and discusses whiff punishment. Establish the range of one normal with your own character. Do not turn a punish on a whiff into a button you throw out while Zangief is still outside that distance.
Close: separate a read from an automatic escape
Guarding a prepared strike and jumping an expected throw are different commitments. After a loss, note whether you guessed the wrong option or recognized the throw but jumped too late. Those failures need different practice; neither is fixed by jumping on every wake-up.
Common mistakes
- Treating every command-throw animation as if it leaves Zangief at the same distance and advantage.
- Jumping immediately on every wake-up because the last Screw Piledriver hurt, even after the opponent shows a strike.
- Escaping a command throw without having a dependable punish ready for the landing.
- Turning a delayed-jump timing, a Drive Impact read, or an old video setup into an answer for every sequence.
Training mode practice steps
Use your own character as the defender. Turn on the frame meter and input history so you can distinguish a real answer from a mistimed recording.
Finish the command-throw punish
Record Zangief approaching and using Screw Piledriver, then guarding after recovery. Neutral jump the throw and complete one stable punish for your own character. Confirm the punish and combo displays. Learn a backdash punish separately, because the resulting distance is different.
Study the exact throw from your replay
Match the throw strength, screen position, and your recovery choice. Record the follow-up strike that beat you, then a second slot with an approach into throw. Test guard and jump individually before trying a delayed jump. Add a later strike to see when that delayed timing breaks down.
Compare Knee Hammer at two distances
Record Knee Hammer followed by guard from a close position and from farther away. Block both and inspect the frame meter. Test whether your chosen starter reaches and actually punishes. Include a whiff into throw so you also learn to recognize the movement when the knee never touches your guard.
The main decision process comes from the Japanese Zangief counter article and Iori’s February 2024 video. Current combo notes supply the Screw Piledriver spacing and OD Double Lariat context. Historical sweep and delayed-jump examples remain situations to retest, not a current guaranteed defense. For current numerical values, use the linked Frame Data page and confirm important situations in Training Mode.