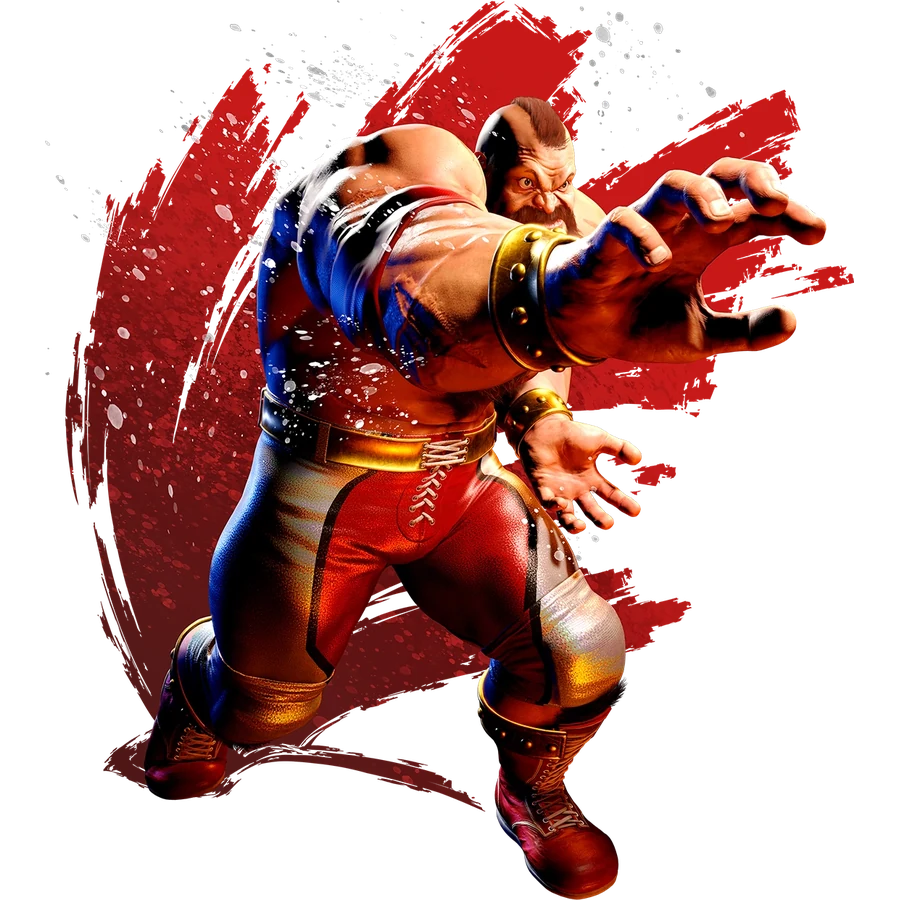
COMBO ROUTESZANGIEF Combos & Okizeme
Practical routes organized by starter, resources, corner position, and knockdown.
YEAR 4 COMBO & OKIZEME GUIDEClassic-control routes are grouped by practical situation. Commands, frame values, and route order are preserved from the current Japanese source guide.
2026-08-31 updatedYear 4 / 2026-08-03 battle balance update
Move names use CAPCOM's official English Frame Data terminology. Route order and numerical values are shared with the Japanese guide.
Jump to a section (21)
CONTENTSESSENTIAL ROUTES01Notation
DR = Parry Drive Rush
CDR = Cancel Drive Rush
PC = Punish Counter
CH = Counter Hit
Hellstab = 3MP ー ー = 6MK
Headbutt = 6HP
Power Stomps = 2cr.MK > MK > MK
Double Lariat = PP
ODDouble Lariat = PPP
Screw Piledriver = +P
Borscht Dynamite = during +K
Russian Suplex /
Siberian Express = 63214K
Key changes in the 2026-8-3 version
Power Stomps
• The first hit can now be canceled into special moves.
• First hit: 9F startup / +4 on hit / -3 on block
• 20% starter scaling on the first hit
• Smaller hurtbox around the feet
Double Lariat
• Forward/back input adjusts position during the attack.
• More reliable in combos near the tip of its range.
Heavy Russian Suplex
• Easier to get Russian Suplex regardless of distance, reducing accidental Siberian Express inputs.
10 essential starter combos
1 Light attacks into OD Double Lariat
cr.LK > st.LP > OD Double Lariat
• Approximately +38F after OD Double Lariat
2 Light attacks into Drive Rush and regular Double Lariat
cr.LK > st.LP > CDR > cr.LP > 3MP > Double Lariat
• Approximately +27F after the ender
3 st.LK Counter Hit confirm
st.LK CH / PC > CDR > cr.MP > 3MP > Double Lariat
4 Basic Hellstab route
3MP > Double Lariat
• 7F startup
• Forces standing
• Special-cancelable
5 Basic Headbutt route
6HP > 3MP > Double Lariat
• +8F on hit
• +4F on block
6 DR MP target combo
7 DR Knee Hammer on a later active frame
DR > 6MK on a later active frame > 3MP > Double Lariat
8 6HK Punish Counter
6HK PC > 3MP > Double Lariat
9 Jump-in basic
Jcr.HP > 6HP > 3MP > Double Lariat
10 Round-ending light-attack route
cr.LK > st.LP > CDR > cr.LP > 3MP > CDR > cr.MP > 3MP > SA2
Simpler alternative: … > 3MP > OD Double Lariat > SA2
Finish the round with SA3
cr.LK > st.LP > OD Double Lariat > SA3
Alternatively:
cr.LK > st.LP > CDR > cr.LP > 3MP > OD Double Lariat > SA3
Invincible-Reversal Punishes
If spacing allows: H Screw Piledriver
Prioritizes okizeme
6HK PC > 3MP > Double Lariat
With meter: 6HK PC > 3MP > OD Double Lariat > SA2 / SA3
DI Punish Counter
DI PC > H Screw Piledriver
Alternatively:
DI PC > 6HP > 3MP > Double Lariat
Corner DI wall splat
DI wall splat > 3MP > Double Lariat
Specialized stun combo
Stun > adjust spacing > hold forward and connect the later part of Double Lariat > low-height 3MP > OD Double Lariat > OD Borscht Dynamite
Power Stomps: new Year4 options
Power Stomps (first hit) > special move
Alternatively: Power Stomps (first hit) > CDR
• First-hit starter scaling: 20%
• Better suited to creating a favorable situation than maximizing damage
Key Frame Advantage by Ender
L Screw Piledriver > approximately +30F
M Screw Piledriver > approximately +28F
H Screw Piledriver > approximately +28F
OD Screw Piledriver > approximately +28F
Double Lariat > approximately +27–56F
OD Double Lariat > approximately +38–57F
cr.HK > approximately +36F
Russian Suplex > approximately +26F
Siberian Express > approximately +29F
SA1 > approximately +29F
SA3 > approximately +26F
Lariat frame advantage varies with where it hits.
1 OD Double Lariat at +38F: first priority
OD Double Lariat > +38F > DR > 6HP late-active-frame meaty
At +4F after the opponent blocks, choose:
• 3MP
• M Screw Piledriver
• Block
2 OD Double Lariat +38 > DR cr.MK
OD Double Lariat > DR > cr.MK > 3MP > Double Lariat
3 OD Double Lariat at +38 > DR Screw Piledriver
OD Double Lariat > DR > M Screw Piledriver
Mix this with DR Headbutt and DR into block.
4 After OD Double Lariat: block an invincible reversal
OD Double Lariat +38 > DR > block
If you block an invincible reversal, use H Screw Piledriver or a PC combo.
5 Safe-jump-style option from +38
OD Double Lariat +38 > j.MP > 3MP > Double Lariat
• Can allow landing in time to block invincible reversals with 10F or slower startup.
6 Double Lariat +27F
Regular Double Lariat > +27F
Options: DR st.MP target combo / DR cr.HK / DR L Screw Piledriver
7 After cr.HK
cr.HK > +36F
Options: DR into block / DR 6MK / DR L Screw Piledriver
8 After Screw Piledriver
L Screw Piledriver: +30F
M / H / OD: +28F
At midscreen, the distance opens up. Close it again with DR st.MP / DR 6MK / DR cr.HK / DR 6HP, or DR and wait.
9 Corner Double Lariat > Headbutt
Corner: Double Lariat > adjust timing slightly > 6HP
At +4F on block, choose 3MP / Screw Piledriver / shimmy / block.
10 After the corner down-forward throw
Normal throw with direction 3 > approximately +28F
Corner options include walking into the direction-3 throw, 6HP, or H Screw Piledriver.
After Headbutt is blocked
6HP on block > +4F
• 3MP: frame trap against a 4F button
• Screw Piledriver: open up blocking
• Another 6HP: catch escape attempts
• Block: read an invincible reversal
At +8F on hit, 6HP > 3MP > Double Lariat combos.
After st.HK is blocked
st.HK > block +1F
• st.HK > cr.LP
• st.HK > Screw Piledriver
Other options are also possible.
6MK on a later active frame
6MK on a later active frame
Approximately +7F on hit
Approximately +2F on block
DR 6MK on a later active frame > 3MP / Screw Piledriver
Catch jumps with SA1
Light attack > CDR to approach > read the opponent's jump > SA1 Aerial Russian Slam
How to use SA2
• Combos
• Going through projectiles
• Finishing the round
Example: 3MP > held SA2 > airborne follow-up
When expecting an invincible reversal
Especially:
• +38F after OD Double Lariat
• +4F after Headbutt is blocked
• After corner Double Lariat
Mix strikes, Screw Piledriver, and blocking in these situations.
10 Practical Starter Routes
1. 3MP > Double Lariat
2. 6HP > 3MP > Double Lariat
3. cr.LK > st.LP > OD Double Lariat
4. cr.LK > st.LP > CDR > cr.LP > 3MP > Double Lariat
5. DR st.MP > MP > MP
6. DR 6MK on a later active frame > 3MP > Double Lariat
7. OD Double Lariat +38 > DR 6HP > strike / Screw Piledriver / block
8. 6HP on block +4 > 3MP / Screw Piledriver / wait
9. Corner: Double Lariat > 6HP meaty > strike / Screw Piledriver / shimmy
10. Block an invincible reversal > H Screw Piledriver
Alternatively: 6HK PC > 3MP > Double Lariat
Current Game Plan
Walk forward
↓
Approach with Headbutt or DR Knee Hammer
↓
Hellstab > Double Lariat
↓
Drive Rush to close the distance again
↓
Establish strikes
↓
Land Screw Piledriver
↓
Catch jumps with Double Lariat or SA1
Notes for Older Guides
• Power Stomps' first hit is special-cancelable.
• Power Stomps' first hit has 20% starter scaling.
• Regular Double Lariat connects more reliably in combos.
• Forward/back input adjusts regular Double Lariat's position.
• Heavy Russian Suplex helps avoid accidental Siberian Express.
• Frame advantage after Double Lariat varies with hit position.
References
• Official Street Fighter 6 balance update information
• Ultimate Frame Data
• Zangief combo and setplay references for 2026-8-3
• Year4 strategy references
Combo and setplay conditions can vary with spacing, active-frame timing, hit position, and position relative to the corner.
Recheck in Training Mode before using these routes in matches.
Frame advantage may vary with spacing, airborne hits, recovery options, and corner position. Verify important routes in Training Mode.