Published guide sections
✓ Combos & Okizeme
✓ Move List
✓ Matchup Guide
✓ Frame Data
✓ Videos
FIGHTER GUIDE IORI'S STRATEGY
Use this hub to reach practical combos, move data, matchup notes, frame data, and Iori's published videos for E. HONDA.
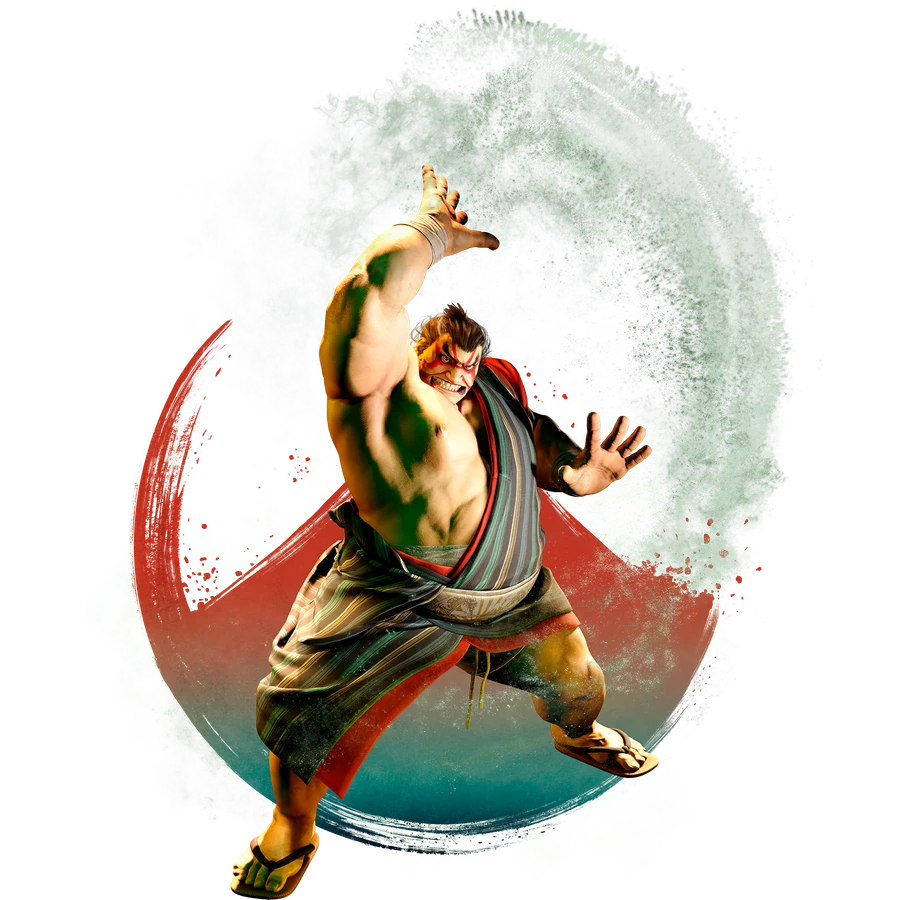
This is the starting point for all published E. HONDA data on SF6 Lab.
✓ Combos & Okizeme
✓ Move List
✓ Matchup Guide
✓ Frame Data
✓ Videos
E. Honda combines charged approaches with close-range punch confirms and an Oicho Throw decision. Sumo Headbutt and Sumo Smash are prominent tools, but a practical beginner game also needs something to do after a grounded hit and after a defender starts waiting for those approaches.
Prepare charge while watching whether the opponent is waiting for a special-move approach. When close enough for standing medium punch, use its listed conversion instead of always returning to Headbutt. After the appropriate Smash finish, use the documented strike/Oicho choice and account for a defender who jumps.
Practice their different charge directions and travel. Use the current frame rows for the exact version rather than assuming every contact has the same result.
The current combo guide highlights this grounded route. Learn the Teppo finish before adding the Taiho branches.
Practice it from the listed post-Smash setup, alongside a strike, rather than only attempting the input from neutral.
Start with the crouching-light route into light Hundred Hand Slap so you have a conversion without a long setup.
Repeat standing medium punch into Sumo Dash and Teppo, then compare the carry-oriented Taiho route.
Reproduce the guide’s Smash finish and timing action. Test its Oicho and strike choices against guard and jump recordings.
Adapted from SF6 Lab’s Japanese character notes and combo / setplay guides. The practice routes use Classic inputs; consult the linked guides for full conditions and current numerical data.
E. Honda practice separates light confirms into Hundred Hand Slap from Sumo Dash follow-ups, then adds pressure after Sumo Smash.
Sumo Headbutt has uses in neutral, anti-airing, and combos.
Responses to projectiles depend on the situation; study them by distance.
Start with crouching LP confirms into light Hundred Hand Slap and standing MP into Sumo Dash and Teppo. Add the Drive Rush route into Taiho afterwards.
Separate strike, normal throw, and Oicho Throw choices after Sumo Smash from the Power Stomp setup after Headbutt. For charge routes, practise when to begin holding the charge.
These practice notes follow the published guide and combo material. Check the combo page for route conditions and the frame table for move values.
Choose a section to continue.
Routes organized by starter, resources, and knockdown.
Move names, categories, startup, advantage, and damage.
Published matchup material and punishable options.
Startup, active frames, recovery, advantage, cancel, and damage.
Published Iori match, lesson, combo, and matchup videos.
Honda’s collection runs from normals and specials to headbutt matchup advice. The matchup lesson explicitly includes responses beyond Perfect Parry.
Original video titles and Japanese commentary are preserved. Balance-update opinions and numerical examples belong to the version recorded; use the linked frame and combo pages for current reference data.
An introductory E. Honda lesson centered on his special moves.
Watch on YouTube ↗E. Honda’s strengths, weaknesses and matchup considerations.
Watch on YouTube ↗A demonstration of E. Honda’s normals and special moves.
Watch on YouTube ↗Honda matchup advice, including headbutt responses beyond Perfect Parry.
Watch on YouTube ↗