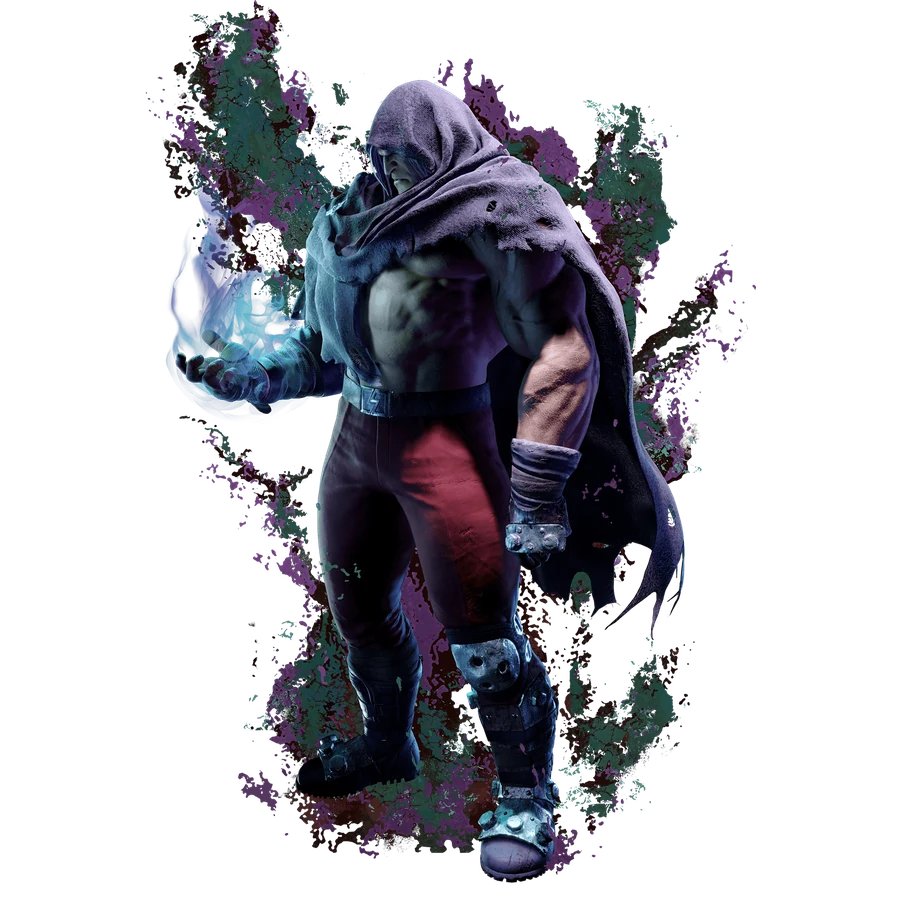
COMBO ROUTESM. BISON Combos & Okizeme
Practical routes organized by starter, resources, corner position, and knockdown.
YEAR 4 COMBO & OKIZEME GUIDEClassic-control routes are grouped by practical situation. Commands, frame values, and route order are preserved from the current Japanese source guide.
2026-08-31 updatedYear 4 / 2026-08-03 battle balance update
Move names use CAPCOM's official English Frame Data terminology. Route order and numerical values are shared with the Japanese guide.
Jump to a section (25)
CONTENTSESSENTIAL ROUTES01Notation
DR = raw Drive Rush
CDR = Cancel Drive Rush
PC = Punish Counter
CH = Counter Hit
Mine = the opponent has a Psycho Mine attached
Psycho Crusher Attack = [4]6P
Double Knee Press = 236K
Backfist Combo = 214P
Shadow Rise = [2]8K
Head Press = K during Shadow Rise
Devil Reverse = P during Shadow Rise
SA1 = 236236K
SA2 = 214214K
SA3 = 236236P
Key changes in the 2026-8-3 version
st.HP
Normal-hit advantage changed from +4F to +5F, allowing st.LP to combo at close range. Block advantage remains +1F.
OD Backfist Combo with a Psycho Mine attached
Damage increased from 1700 to 1800. Longer launch time on hit makes post-detonation follow-ups more reliable.
OD Shadow Rise
Reaches the opponent faster. The follow-up window expanded from 16–42F to 16–46F, allowing more timing variation for Head Press and Devil Reverse.
10 essential starter combos
1. Light attacks into L Psycho Crusher Attack
cr.LK > cr.LP > st.LP > L Psycho Crusher Attack
Approximately +24F or more after a grounded hit. Detonating an attached mine leaves +42F.
2. Light attacks into L Backfist Combo
cr.LP or cr.LK > st.LK > L Backfist Combo
Attaches a mine. Leaves approximately +21F in the version described here.
3. Basic medium-attack route
st.MP > cr.MP > M Backfist Combo
M Backfist Combo attaches a mine and leaves approximately +20F.
4. Medium attacks into OD Double Knee Press and H Backfist Combo
st.MP > cr.MP > OD Double Knee Press > H Backfist Combo
Attaches a mine. H Backfist Combo leaves approximately +31F.
5. cr.MP into OD Double Knee Press and H Backfist Combo
cr.MP > OD Double Knee Press > H Backfist Combo
A frequently used main route: attach a mine and begin wake-up pressure at +31F.
6 cr.MK Drive Rush
cr.MK > CDR > st.MP > cr.HP > H Backfist Combo
Attach a mine from cr.MK and continue with +31F wake-up pressure.
7 Year4 / st.HP hit
st.HP > st.LP > L Psycho Crusher Attack
Alternatively:
st.HP > st.LP > L Backfist Combo
Since Year 4, st.HP is +5F on hit. It starts a combo on hit and remains +1F on block.
8 st.HK Punish Counter
st.HK PC > forward dash or walk forward > cr.HP > OD Double Knee Press > 6HP > L Psycho Crusher Attack
9 jumpattack starter
j.HK > st.HK > cr.MP > OD Double Knee Press > H Backfist Combo
Save meter
j.HK > st.HK > cr.MP > M Psycho Crusher Attack
10 DI Punish Counter
DI PC > two forward dashes > st.MP / 6HP TC > L Backfist Combo
At close range:
DI PC > st.HK > cr.MP > OD Double Knee Press > H Backfist Combo
Invincible-Reversal Punishes
stable route
st.HK PC > forward dash > cr.HP > OD Double Knee Press > 6HP > L Psycho Crusher Attack
Finish the round with SA3
st.HK PC > forward dash > cr.HP > OD Double Knee Press > st.HP > SA3
Drive Impact wall splat
easy
DI wall splat > st.MP・6HP TC > L Backfist Combo
extension
DI wall splat > cr.HP > OD Double Knee Press > 6HP > M Backfist Combo
Version note: L Backfist Combo leaves +21F; M Backfist Combo leaves +20F.
Key properties with a Psycho Mine attached
When the opponent has a Psycho Mine attached:
Backfist Combo, Psycho Crusher Attack, and Devil Reverse
These attacks can detonate the mine when they connect.
Main situations after detonation
L Backfist Combo > +42F
M Backfist Combo > +42F
H Backfist Combo > +49F
OD Backfist Combo > +48F
L Psycho Crusher Attack > +42F
M Psycho Crusher Attack > +42F
H Psycho Crusher Attack > +46F
OD Psycho Crusher Attack > +82F with a follow-up available
Devil Reverse > +53F…
OD Devil Reverse > +51F…
Detonate a mine with OD Psycho Crusher Attack
Example
cr.MP > OD Psycho Crusher Attack (mine detonation) > Shadow Rise > OD Head Press > 6HP > L Psycho Crusher Attack > SA3
After OD Psycho Crusher Attack detonates the mine, +82F allows follow-ups. OD Shadow Rise was improved in Year 4.
New in Year 4: OD Backfist Combo detonation
With a mine attached
OD Backfist Combo deals 1800 damage and has increased launch time.
Year 4 gives more reason to explore follow-up routes.
Depending on corner position and height, st.HP or a Super Art may connect afterward.
Corner: high-damage mine routes
Late-active 6HP > cr.LP > st.LP > OD Psycho Crusher Attack detonation > 6HP > L Backfist Combo
SA3
Late-active 6HP > cr.LP > st.LP > OD Psycho Crusher Attack detonation > 6HP > L Psycho Crusher Attack > SA3
Key Frame Advantage by Ender
forward throw > +21F
back throw > +18F
cr.HK > +29F
3HK > +25F
L Psycho Crusher Attack > +24F…
M Psycho Crusher Attack > +24F…
H Psycho Crusher Attack > +14F…
OD Psycho Crusher Attack > +35F…
L Backfist Combo > +21F
M Backfist Combo > +20F
H Backfist Combo > +31F
OD Backfist Combo > +24F
OD Double Knee Press > +55F with a follow-up available
SA1 > +11F
SA2 > +23F
SA3 > +15F
1 H Backfist Combo +31F: Important
H Backfist Combo > +31F
corner
forward dash 19F > 4HK active-frame meaty
Approximate values
hit: +7F
block: +4F
From there:
• cr.MP
• throw
• shimmy
On hit
4HK on a later active frame > cr.MP > OD Double Knee Press > H Backfist Combo
This attaches another mine.
2 H Backfist Combo > DROkizeme
H Backfist Combo > DR
Options
Options: DR cr.LK, DR st.MP, DR 6HP, DR throw, or stop DR early and shimmy.
3 DR st.MP
DR st.MP
hit: +10F
block: +4F
hit Example
DR st.MP > 4HK > H Backfist Combo
After the opponent blocks
Options: walk forward slightly and throw, st.MP frame trap, or shimmy.
4 DR cr.LK
DR cr.LK
hit: +8F
block: +2F
On hit
DR cr.LK > st.MP > cr.MP > a mine-attachment route
On block
Options: throw, cr.MP frame trap, or shimmy.
5. Mine detonation with L / M Backfist Combo at +42F
Against an opponent with a mine attached:
L or M Backfist Combo > mine detonation > +42F
corner
> immediateforward jump HP
safe jump.
6. Psycho Crusher Attack detonation: strong even on block
Against an opponent with a mine attached:
Blocked L / M Psycho Crusher Attack leaves Bison at +6F.
Blocked H Psycho Crusher Attack leaves Bison at +5F.
Blocked OD Psycho Crusher Attack leaves Bison at +10F.
From there:
• throw
• 4HK
• st.MP
• shimmy
Corner: late-active overhead
6HP > 22F overhead
Normal timing
hit +3
block-3
A late-active meaty can leave approximately +4–5F in some situations.
Example
Late-active 6HP > cr.LP > st.LP > OD Psycho Crusher Attack detonation
A high-reward corner option with a mine attached.
4 HK (Evil Knee) meaty
4HK
startup 10F
hit +4
block +1
special move Cancelable
After the opponent blocks
• cr.LP
• throw
• 4HK
A late-active meaty gives even more advantage.
After st.HP is blocked (Year 4)
st.HP
hit +5
block +1
hit > st.LP > Combo
block > cr.LP or > throw
In Year 4, this became a main tool that covers both hit and block situations.
Devil Reverse
Devil Reverse
block: +5F approximately
Mine detonation on block
> +22F
OD version
block > +4…+9F approx.
Mine detonation on block: approximately +24F.
With a mine attached:
Shadow Rise > Devil Reverse
On block, use the substantial advantage for a throw or overhead/low mix-up.
hit > +53F or more > Okizeme
OD Head Press
OD Head Press
block > +5…+7F
On hit: knockdown at approximately +27F.
Year 4's faster OD Shadow Rise and wider follow-up window improve surprise attacks.
cr.HK > +29F
forward dash 19F > +10F
From there:
Options: 4HK, throw, or wait and observe.
Psycho Mine's timed detonation
Psycho Mine automatically detonates after time passes.
Automatic detonation
Deals 500 damage and allows a free follow-up.
Representative corner sequence
Attach a mine > throw > another strike or overhead/low mix-up > automatic detonation > aerial follow-up > another Backfist Combo.
Against an opponent in Burnout
Against an opponent with a mine attached:
Blocked L / M Psycho Crusher Attack detonation > +6F
The advantage is even greater against Burnout.
From there:
• 4HK
• st.MP
• 6HP
• DI
Use these to deal chip damage and threaten a stun.
SA2
startup 24F
fully invincible 1…26F
Damage3000
hit after +23F
Combo Example
st.MP > cr.MP > OD Backfist Combo > SA2
Can also pass through projectiles. Directional input changes the landing position.
SA3
startup 10F
Damage4000
CA 4500
fully invincible 1…15F
hit after +15F
easy
st.MP > cr.MP > M Backfist Combo > SA3
high damage
st.MP > cr.MP > CDR > st.MP > cr.HP > CDR > st.HK > 4HK > H Psycho Crusher Attack > SA3
10 Practical Starter Routes
1.
cr.LP / cr.LK > st.LK > L Backfist Combo
2.
cr.LK > cr.LP > st.LP > L Psycho Crusher Attack
3.
st.MP > cr.MP > OD Double Knee Press > H Backfist Combo
4.
cr.MK > CDR > st.MP > cr.HP > H Backfist Combo
5.
Year4
st.HP > st.LP > L Psycho Crusher Attack or > L Backfist Combo
6.
st.HK PC > forward dash > cr.HP > OD Double Knee Press > 6HP > L Psycho Crusher Attack
7. H Backfist Combo +31 > corner: forward dash > 4HK on a later active frame
8.
H Backfist Combo +31 > Midscreen DR > overhead / low / throw / shimmy
9. Blocked L / M Psycho Crusher Attack with a mine attached > +6F
10. OD Psycho Crusher Attack mine detonation > Shadow Rise > OD Head Press > high-damage follow-up
Current Game Plan
At midrange, use st.HP, cr.MP, or Double Knee Press > convert a hit into Backfist Combo > attach a Psycho Mine > H Backfist Combo leaves +31F > DR wake-up pressure > overhead / low / throw / shimmy > detonate on a hit > deal damage with the detonation combo > use Backfist Combo again in the corner > repeat mine pressure.
Notes for Older Guides
Use the following current-version replacements.
L Backfist Combo now leaves +21F, not +24F.
M Backfist Combo now leaves +20F, not +23F.
st.HP is +5F on hit from Year 4 onward.
OD Backfist Combo with a mine attached deals 1800 damage and has longer launch time.
OD Shadow Rise's follow-up window is 16–46F.
References
Sources: official Street Fighter 6 battle adjustments; Ultimate Frame Data; August 2026 update differences; M. Bison combo and setplay material for this version; 2026 Bison guide and mine-detonation research.
Combo and setplay conditions and advantage can vary with spacing, mine state, late-active timing, hit height, and position relative to the corner.
Recheck in Training Mode before using these routes in matches.
Frame advantage may vary with spacing, airborne hits, recovery options, and corner position. Verify important routes in Training Mode.