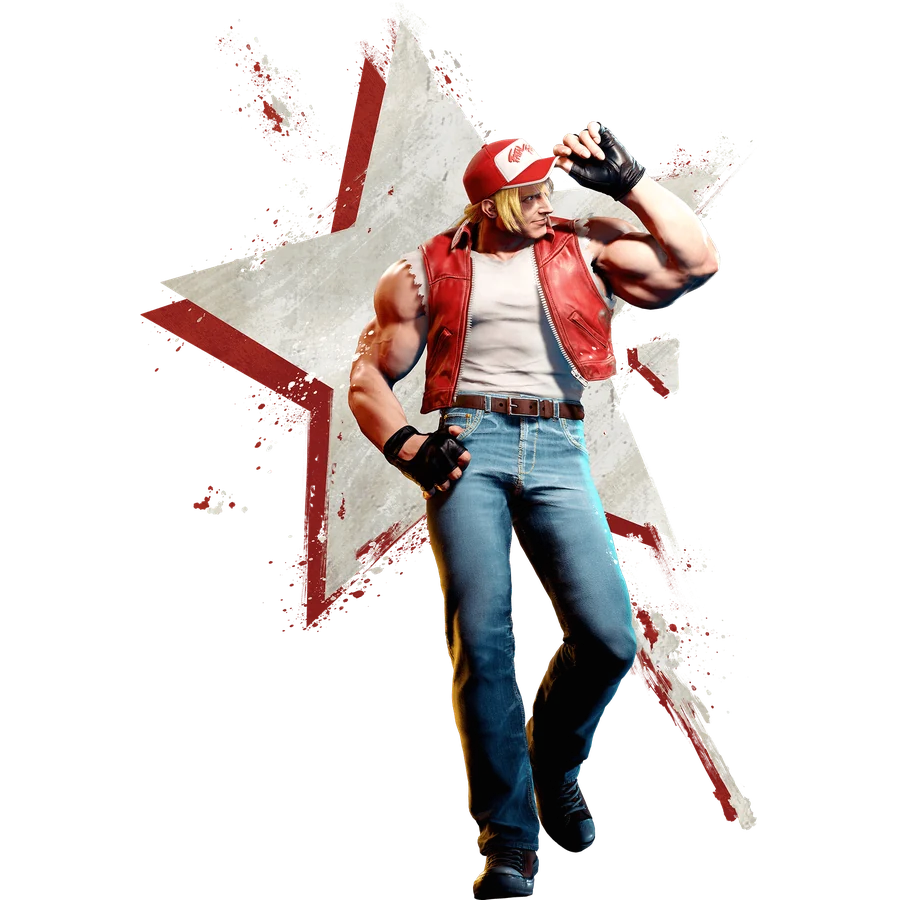
COMBO ROUTESTERRY Combos & Okizeme
Practical routes organized by starter, resources, corner position, and knockdown.
YEAR 4 COMBO & OKIZEME GUIDEClassic-control routes are grouped by practical situation. Commands, frame values, and route order are preserved from the current Japanese source guide.
2026-08-31 updatedYear 4 / 2026-08-03 battle balance update
Move names use CAPCOM's official English Frame Data terminology. Route order and numerical values are shared with the Japanese guide.
Jump to a section (19)
CONTENTSESSENTIAL ROUTES01Notation
DR = raw Drive Rush
CDR = Cancel Drive Rush
PC = Punish Counter
CH = Counter Hit
Power Wave = 236LP/MP
Round Wave = 236HP
Quick Burn = 214LP
Burning Knuckle = 214MP/HP
Power Charge = 236K
Crack Shoot = 214K
Rising Tackle = 623P
SA1 Buster Wolf = 236236K
SA2 Power Geyser = 214214P > PP Twin Geyser > Then PP Triple Geyser
SA3 Rising Fang = 236236P
Key changes in the 2026-8-3 version
st.MP
Startup: 7F; on hit: +2F; on block: -3F. The hurtbox extends farther forward during 18–25F, making whiffs easier to punish.
Round Wave
The proximity-guard trigger now activates 5F earlier. Startup: 29F; on hit: +8F; on block: +5F; hits low. Opponents can no longer walk back as easily through sequences from MP or cr.MP.
Quick Burn
Regular version: damage distribution changed, and hit advantage increased from +2F to +3F.
OD version: final-hit damage increased from 600 to 800, for 1600 total. Leaves a knockdown at +33F. Reduced horizontal launch distance makes Year 4 shimmies easier.
OD Power Charge
Can cancel into special moves from March 2026 onward.
10 essential starter combos
1 Basic light-attack route
cr.LK > cr.LP > M Burning Knuckle
Alternatively:
st.LK > M Burning Knuckle
For midscreen carry and wake-up pressure. M Burning Knuckle leaves +30–42F depending on how it connects.
2. Damage-focused light-attack route
cr.LK > cr.LP > H Rising Tackle
H Rising Tackle leaves approximately +27F.
3. Basic cr.MP route
cr.MP > st.LK > M Burning Knuckle
cr.MP: 6F startup / +5 on hit / -1 on block.
4. Late-active L Power Charge combo
Tip-range cr.MP > tip-range st.LK > late-active L Power Charge > cr.LP > st.LP > H Rising Tackle
A late-active, tip-range L Power Charge can leave up to approximately +7F.
5. Basic Fire Kick route
cr.MK > cr.HK (Fire Kick) > H Burning Knuckle
Prioritizes damage
Fire Kick > H Power Charge > delayed H Rising Tackle
6 cr.MK Drive Rush
cr.MK > CDR > cr.HP > H Power Charge > delayed H Crack Shoot > Quick Burn
For more damage, use H Rising Tackle as the final move.
SA3 ender: H Rising Tackle > SA3
7 st.MPDrive Rush
st.MP > CDR > cr.HP > H Power Charge > delayed H Crack Shoot > Quick Burn
For more damage, choose H Rising Tackle.
8. Basic st.HP route
st.HP hit 1 > H Power Charge > H Burning Knuckle
All inputs can be immediate. The available follow-ups change with when st.HP connects.
9. High-damage meterless st.HP route
st.HP 1st hit > H Power Charge > delayed H Crack Shoot (3 hits) > Quick Burn
For damage, replace the final move with H Rising Tackle.
Delay H Crack Shoot so all 3 hits connect.
10 st.HK Punish Counter
st.HK PC > st.HP hit 1 > H Power Charge > delayed H Crack Shoot > H Rising Tackle
st.HK Punish Counter causes a crumple at +59F.
OD Power Charge
OD Power Charge > wall bounce > follow-up opportunity at +75F or more
Can cancel into special moves in the version described here.
easy
cr.MP > OD Power Charge > H Burning Knuckle
Alternative option
OD Power Charge > H Crack Shoot > M Rising Tackle
Corner combos
basic
st.HP hit 1 > H Power Charge > Round Wave > M Power Charge > H Rising Tackle
SA3
st.HP hit 1 > H Power Charge > Round Wave > M Power Charge > L Rising Tacklehit 1 > SA3
Jump-in starter
j.HK > st.HP hit 1 > H Power Charge > Round Wave > H Rising Tackle
Corner: use SA1 twice
Fire Kick > SA1 > SA1
In the corner, another SA1 can connect if the height is right.
Example
st.HP hit 1 > H Power Charge > Round Wave > SA1 > SA1
SA2 Power Geyser
SA2 > Power Geyser > PP Twin Geyser > Then PP Triple Geyser
From light attacks
Light attacks > OD Quick Burn 2nd hit > SA2 > Twin Geyser > Triple Geyser
Important
Only OD Quick Burn's 2nd hit can cancel into a Super Art.
To use SA2, cancel the 2nd hit.
To save Super meter, let the 3rd hit finish for 1600 damage and +33F wake-up pressure.
Maximum punish after blocking an invincible reversal
Midscreen
cr.HP PC > H Power Charge > delayed H Crack Shoot > H Rising Tackle
corner
cr.HP PC > H Power Charge > Round Wave > M Power Charge > H Rising Tackle
High damage with Super meter
cr.HP PC > H Power Charge > Round Wave > OD Burning Knuckle > SA2 > Twin Geyser > Triple Geyser
Drive Impact wall splat
easy
DI wall splat > cr.HP > M Crack Shoot > H Rising Tackle
SA1
DI wall splat > cr.HP > M Crack Shoot > SA1
SA2
DI wall splat > cr.HP > M Power Charge > SA2 > Twin Geyser > Triple Geyser
Key Frame Advantage by Ender
forward throw > +22F
back throw > +18F
cr.HK > +40F
Fire Kick > +35F
OD Quick Burn > +33F
M Burning Knuckle > +30…42F
H Burning Knuckle > +28…41F
OD Burning Knuckle > +60F…
L Rising Tackle > +33F
M Rising Tackle > +25F
H Rising Tackle > +27F
OD Rising Tackle > +27F
H Crack Shoot > +43F
OD Crack Shoot > +29F
SA1 > +22F
SA2 > +24F
SA3 > +22F
CA > +37F
Burning Knuckle's advantage varies with spacing and airborne hit height.
1 M Burning Knuckle > forward dash: Important
M Burning Knuckle > forward dash
Typical close-range combos leave approximately +11F here.
From there:
Options: walk-up throw, cr.MP, DR 6HP, or walk back to shimmy.
2 corner / forward throwthrow loop
forward throw > +22F
forward dash 19F > +3F
From there:
Options: forward throw, cr.MP, briefly block, neutral j.HK, or backdash into st.MP.
3 corner / forward throw > DR st.HP
forward throw > DR st.HP
Late-active hit
hit: +8F
block: +5F
From there:
Options: walk-up throw, cr.MP, or another strike.
4 M Burning Knuckle > cr.MP whiff > cr.MP
corner
M Burning Knuckle > cr.MP whiff > cr.MP active frames
Approximate values
hit: +7F
block: +1F
On hit, another cr.MP can combo.
5 M Burning Knuckle > Round Wave
corner
M Burning Knuckle > Round Waveactive-frame meaty
block > +7F approximately
The proximity-guard trigger was also improved in Year 4.
6. Rising Tackle ender into Round Wave
Corner
A Rising Tackle ender > Round Wave
Easy to time as a meaty on wake-up.
on block: > +5F
Later active frames give even more advantage.
7. After H Power Charge into H Burning Knuckle
H Power Charge > H Burning Knuckle > two forward dashes
> point-blank +6F
From there:
cr.MP active-frame meaty
This allows cr.MP > cr.MP.
Another setup
H Power Charge > H Burning Knuckle > whiff st.LP > late-active H Burning Knuckle
block > +2F
8. Year 4: after OD Quick Burn
OD Quick Burn > +33F
Year 4 reduced the launch distance.
New option
Hold back during OD Quick Burn > opponent wakes up > walk back > their throw tech whiffs > Punish Counter.
> st.HP / H Power Chargeetc.
9 H Crack Shoot +43F
H Crack Shoot > +43F
A long knockdown.
In the corner:
Options: jumping attack, empty-jump low, or empty-jump throw.
Choose an appropriate follow-up.
Check each route and spacing in Training Mode to confirm whether the jump is fully safe.
10 SA3 after
SA3 > +22F
forward dash 19F > +3F
At midscreen, there is distance to cover:
SA3 > DR > throw
This is a strong option.
CA
CA > +37F
forward dash > DR cr.MP
Approximate values
hit: +11F
block: +5F
Round Wave【Year4 Important】
Round Wave
startup 29F
low
hit +8F
block +5F
In Year 4, the proximity-guard trigger activates 5F earlier.
Pressure sequences
st.MP > Round Wave
cr.MP > Round Wave
These more easily catch opponents walking backward.
After the opponent blocks
• cr.MP
• throw
• delayed strike
• shimmy
If the opponent is looking for:
• invincible reversal
• Perfect Parry
Respond with:
Hold back and block instead of attacking, or walk forward and throw.
Continue into these options.
DR overhead
6HP > 22F overhead > hit +2 > block-3
DR 6HP
Approximate values
hit: +6F
block: +1F
On hit
> cr.MP > H Rising Tackle
etc.
After st.HP is blocked
st.HP
hit +2
block +1
After the opponent blocks
Options: cr.LP, throw, or walk back to shimmy.
In combos, follow-up options change depending on whether st.HP connects early or late.
Why choose Burning Knuckle as the ender?
Midscreen
Burning Knuckle can be more valuable than Rising Tackle here.
Consider it as your ender.
Reasons
Corner carry, wake-up pressure, and gaining space.
Choosing by position
Midscreen: carry with Burning Knuckle and apply wake-up pressure.
Corner: prioritize damage with Power Charge / Round Wave.
10 Practical Starter Routes
1.
cr.LK > cr.LP > M Burning Knuckle
2.
cr.MP > st.LK > M Burning Knuckle
3.
Fire Kick > H Burning Knuckle
4.
st.MP > CDR > cr.HP > H Power Charge > delayed H Crack Shoot > Quick Burn
5.
cr.MK > CDR > cr.HP > H Power Charge > delayed H Crack Shoot > Quick Burn
6.
st.HP hit 1 > H Power Charge > H Burning Knuckle
7.
corner
st.HP hit 1 > H Power Charge > Round Wave > M Power Charge > H Rising Tackle
8.
M Burning Knuckle > forward dash > throw / cr.MP / shimmy
9.
corner
Forward throw > forward dash > throw / cr.MP / neutral j.HK
10.
OD Quick Burn > Year4 shimmy
Current Game Plan
Make contact with cr.MP, cr.MK, or st.MP > carry with M Burning Knuckle > forward dash > strike / throw / shimmy > corner forward-throw loop > late-active meaty Round Wave > convert larger openings through H Power Charge > aerial combo > use Triple Geyser for high damage when SA2 is available.
Notes for Older Guides
Use the following current-version replacements.
st.MP has a larger hurtbox on whiff.
Round Wave's proximity-guard trigger improved.
Regular Quick Burn is +3 on hit.
OD Quick Burn: 800 damage on the final hit, 1600 total, +33F afterward, and reduced launch distance.
OD Power Charge can cancel into special moves.
UFD lists cr.HK at +40F for this version.
References
Sources: official Street Fighter 6 battle adjustments; Ultimate Frame Data, August 2026 version; Terry combo material updated 2026-8-8; Year 4 adjustment testing dated 2026-8-23; combo and wake-up pressure research updated March 2026; 2026-8-3 adjustment differences.
Combo and setplay conditions and advantage can vary with spacing, late-active timing, airborne hit height, and position relative to the corner.
Recheck in Training Mode before using these routes in matches.
Frame advantage may vary with spacing, airborne hits, recovery options, and corner position. Verify important routes in Training Mode.