① Jump-in
j.HP > Short Uppercut > H Shoryuken ↳ +37 ↳ forward dash > Solar Plexus Strike meaty
FIGHTER GUIDE IORI'S STRATEGY
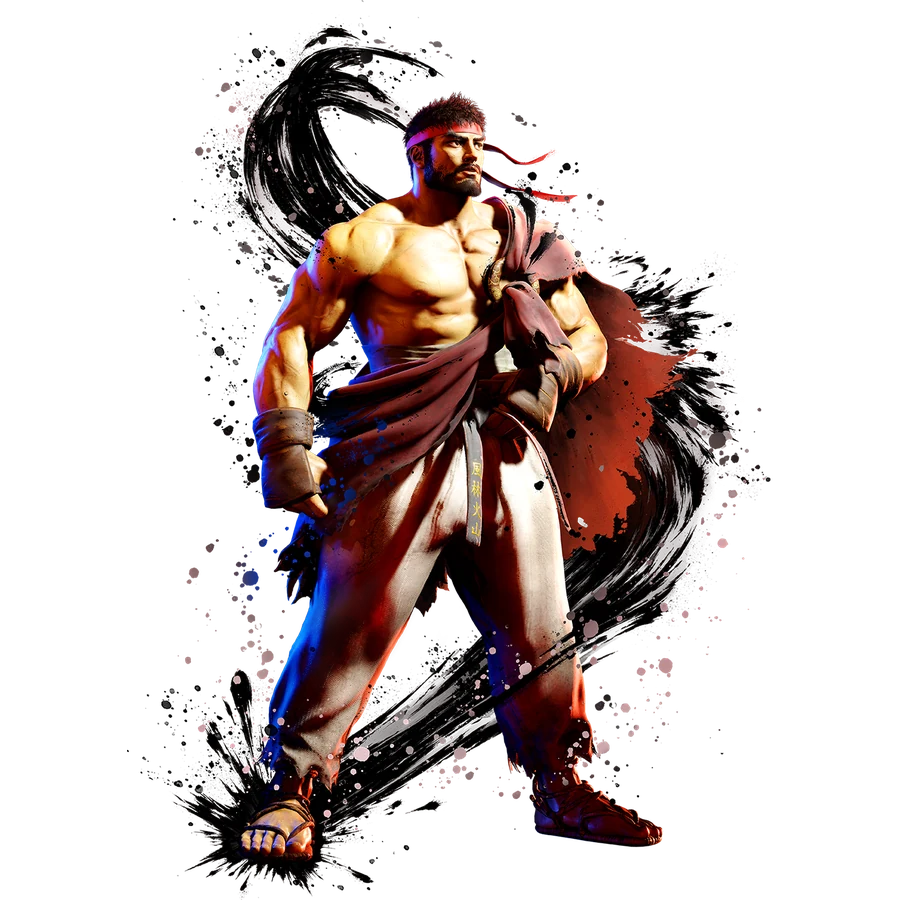
Use this hub to reach practical combos, move data, matchup notes, frame data, and Iori's published videos for RYU.
Practical routes organized by starter, resources, corner position, and knockdown.
Classic-control routes are grouped by practical situation. Commands, frame values, and route order are preserved from the current Japanese source guide.
Move names use CAPCOM's official English Frame Data terminology. Route order and numerical values are shared with the Japanese guide.
j.HP > Short Uppercut > H Shoryuken ↳ +37 ↳ forward dash > Solar Plexus Strike meaty
st.MP > cr.MP > OD High Blade Kick > slightly delayed Whirlwind Kick > Tatsumaki Senpu-kyaku ↳ two forward dashes ↳ throw / strike / shimmy
cr.LK > st.LP > st.LP > H Shoryuken ↳ +37 ↳ forward dash > Solar Plexus Strike meaty
Okizeme-focused route cr.LK > st.LP > st.LP > L Tatsumaki Senpu-kyaku ↳ forward dash > L Hashogeki as a late-active-frame meaty
cr.MK > Cancel Drive Rush > st.HP > Short Uppercut > H Shoryuken ↳ +37
SA3 cr.MK > Cancel Drive Rush > st.HP > Short Uppercut > H Shoryuken > SA3
After an H Shoryuken ender, approach with Raw Drive Rush.
basic mix-up throw strike shimmy
After confirming a throw-tech attempt st.HK or st.HP Punish Counter into a combo
st.HK Punish Counter > st.HP > H Shoryuken
stable route st.HK Punish Counter > st.HP > H Shoryuken ↳ +37
corner carry st.HK Punish Counter > forward dash > cr.HP > M Tatsumaki Senpu-kyaku
lethal route st.HK Punish Counter > cr.HP > Cancel Drive Rush > st.HK > cr.HP > Cancel Drive Rush > st.HK > cr.HP > H Shoryuken > SA3
st.MP Punish Counter > st.HP > H Shoryuken ↳ +37
Spend Drive Gauge to close the round st.MP Punish Counter > st.HP > Cancel Drive Rush… ↳ Continue into the maximum-damage route.
DI wall splat > cr.HP > M Hashogeki > H Shoryuken ↳ +37 ↳ Basic meterless route
high-damage route DI > Short Uppercut > H High Blade Kick > M Shoryuken
DI Punish Counter > Solar Plexus Strike > cr.MP > OD High Blade Kick > Whirlwind Kick > Tatsumaki Senpu-kyaku ↳ corner carry + Okizeme
easy route DI Punish Counter > Solar Plexus Strike > cr.MP > H Shoryuken
SA3 DI Punish Counter > Solar Plexus Strike > cr.MP > OD High Blade Kick > Axe Kick > H Shoryuken > SA3
DI Punish Counter > during the crumple: forward dash or walk forward > cr.HP > OD High Blade Kick > forward dash > M Shoryuken
↳ side switch ↳ Combo to escape the corner
Note: OD High Blade Kick switches sides. Input Shoryuken using the direction you faced before the side switch.
cr.MK > Cancel Drive Rush > st.HP > Short Uppercut > Cancel Drive Rush > st.HK > st.HP > H Shoryuken > SA3
cr.MK > Cancel Drive Rush > st.HP > Short Uppercut > H High Blade Kick > Denjin Charge
cr.MK > Cancel Drive Rush > st.HP > Short Uppercut > H High Blade Kick > M Shoryuken > SA3
Solar Plexus Strike > cr.MP > OD High Blade Kick > Whirlwind Kick > Tatsumaki Senpu-kyaku ↳ two forward dashes ↳ throw / strike / shimmy
Raw Drive Rush > Collarbone Breaker > Short Uppercut > OD High Blade Kick > Whirlwind Kick > Tatsumaki Senpu-kyaku ↳ two forward dashes ↳ throw / strike / shimmy
MP/MK or stronger normal > / Hashogeki > M Tatsumaki Senpu-kyaku
MP/MK or stronger normal > / Hashogeki > Cancel Drive Rush > Short Uppercut > H Shoryuken
st.HK Punish Counter > st.HP > OD Hashogeki > st.HP > Cancel Drive Rush > st.HK > cr.HP > Cancel Drive Rush > st.HK > cr.HP > H Shoryuken > SA3
+37
after a forward dash, +18
basic forward dash > Solar Plexus Strike ↳ hits meaty on wake-up
Note: forward dash > the throw is not meaty.
Raw Drive Rush ↳ throw ↳ st.MP ↳ Collarbone Breaker ↳ shimmy
Frame-kill setup
H Shoryuken > whiff st.HP > throw or st.MP
H Shoryuken > whiff cr.LK > Collarbone Breaker
Time Collarbone Breaker to connect on a later active frame. ↳ Approximately +4 on block
H Shoryuken > whiff st.MK or cr.MK > st.MP
↳ Time st.MP to connect on a later active frame. ↳ +10 situation
forward dash > L Hashogeki ↳ Time L Hashogeki to connect on a later active frame.
On hit ↳ Gain Denjin Charge through a follow-up such as Fuwa Triple Strike.
block ↳ st.MP ↳ cr.MP ↳ throw ↳ shimmy
airborne hit +27
forward dash, +8
↳ strike / throw / shimmy
Corner grounded hit +23
forward dash, +4
↳ throw / strike / shimmy
two forward dashes ↳ the throw is meaty ↳ strike / throw / shimmy
Medium-normal starters Solar Plexus Strike starters cr.MK Drive Rush routes Drive Rush overheads
These routes all lead to the same okizeme.
Typical situations that give +42
L High Blade Kick grounded hit H High Blade Kick airborne hit
+42 > forward jump HK
↳ safe jump
basic mix-up
j.HK empty jump > throw empty jump > cr.LK delayed Aerial Tatsumaki Senpu-kyaku ↳ catches fuzzy mashing
+38 approximately
Year4 reduced the horizontal knockback on grounded hits, making it easier to continue pressure than before.
+17
Throw loop
forward throw > whiff st.LP > throw
basic mix-up
Throw Strike Walk back for a shimmy Show a shimmy, then go for another throw
Against an opponent who tries to tech throws
Step back slightly > confirm the whiffed throw > st.HP or st.HK Punish Counter
Establish the throw threat with forward throws or similar options.
Once the opponent starts trying to tech your throws:
Step back slightly > st.HP Punish Counter
Alternatively:
Step back slightly > st.HK Punish Counter
After st.HK scores a Punish Counter
stable route st.HK Punish Counter > st.HP > H Shoryuken
corner carry st.HK Punish Counter > forward dash > cr.HP > M Tatsumaki Senpu-kyaku
To finish the round, use the maximum-damage route.
Denjin Charge
52F total duration Gain the stock on frame 51F Maximum: 1 stock
Situations where charging is relatively safe
After a High Blade Kick knockdown After a knockdown that leaves the opponent far away Through a target combo with a Denjin Charge follow-up
After gaining Denjin Charge
Continue pressure from Denjin-enhanced Hashogeki.
OD Hadoken with Denjin Charge +2 on block
OD Hashogeki with Denjin Charge +4 on block
After the opponent blocks OD Hashogeki with Denjin Charge
throw st.LP cr.MP shimmy
+42
L High Blade Kick grounded hit H High Blade Kick airborne hit
↳ Forward-jump HK safe jump
+37
H Shoryuken grounded hit
↳ forward dash, +18 ↳ Solar Plexus Strike meaty
+27
M Tatsumaki Senpu-kyaku airborne hit
↳ forward dash, +8
+23
Corner: M Tatsumaki Senpu-kyaku on grounded hit
↳ forward dash, +4
+17
Corner forward throw
↳ Throw loop
+4
OD Hashogeki with Denjin Charge, on block
Corner M Tatsumaki Senpu-kyaku > forward dash
↳ throw / strike / shimmy
+3
Solar Plexus Strike on block
↳ throw or shimmy
+2
OD Hadoken with Denjin Charge, on block
↳ Continue pressure.
+38 approximately
Whirlwind Kick > Aerial Tatsumaki Senpu-kyaku
↳ Continue pressure.
STEP 1
STEP 2
STEP 3
STEP 4
STEP 5
STEP 6 Okizeme after H Shoryuken Okizeme after OD High Blade Kick > Whirlwind Kick > Tatsumaki Senpu-kyaku Corner forward throws
STEP 7 +42 safe jumps Denjin Charge combos
Street Fighter 6 Year4 Based on the 2026-8-3 update For Classic controls
Frame advantage may vary with spacing, airborne hits, recovery options, and corner position. Verify important routes in Training Mode.