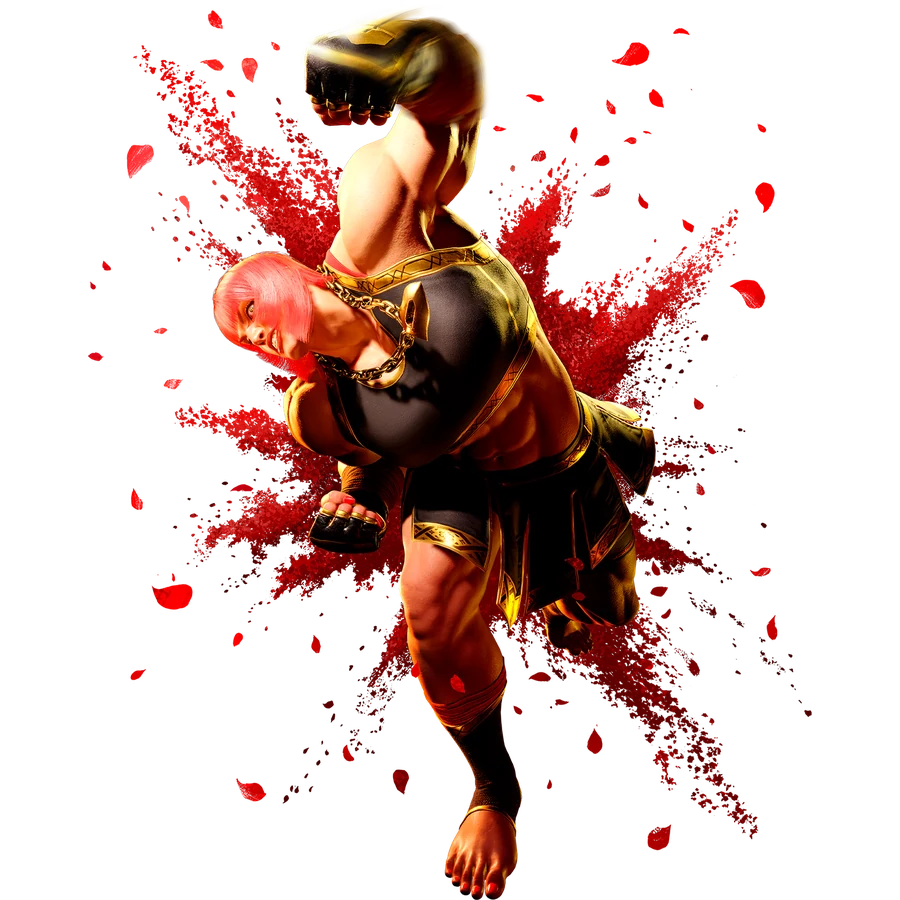
COMBO ROUTESMARISA Combos & Okizeme
Practical routes organized by starter, resources, corner position, and knockdown.
YEAR 4 COMBO & OKIZEME GUIDEClassic-control routes are grouped by practical situation. Commands, frame values, and route order are preserved from the current Japanese source guide.
2026-08-31 updatedYear 4 / 2026-08-03 battle balance update
Move names use CAPCOM's official English Frame Data terminology. Route order and numerical values are shared with the Japanese guide.
Jump to a section (12)
CONTENTSESSENTIAL ROUTES01Notation
5 = standing
2 = crouching
4 = back
6 = forward
3 = down-forward
DR = Parry Drive Rush
CDR = Cancel Drive Rush
PC = Punish Counter
CH = Counter Hit
Gladius = 236P
Dimachaerus = 214P > 6P follow-up
Phalanx = 623P
Quadriga = 236K
Scutum = 214K
Enfold = LP+LK during Scutum
10 essential starter combos
1 Light starter
cr.LK or cr.LP > cr.LP > L Dimachaerus > 6P variation
• Approximate damage: 1430
• After the L Dimachaerus follow-up: +31F
• Basic route from a defensive button press, low starter, or close-range punish
2 Basic st.MP route: prioritize damage
st.MP > MP > M Gladius
• Approximate damage: 2420
• A simple, high-damage basic combo
3 Basic st.MP route: prioritize okizeme
st.MP > MP > M Dimachaerus > 6P variation
• Approximate damage: 2280
• After the M Dimachaerus follow-up: +36F
• Use when okizeme matters more than damage.
4 Basic cr.MP route
cr.MP > M Gladius
• Approximate damage: 2100
• A simple route for grounded play
5 cr.MP damage
cr.MP > CDR > st.MK > 4HP > H Dimachaerus > 6P variation > H Gladius
• Approximate damage: 3314
• High damage for 3 Drive bars
6 cr.MP corner carry + safe jump
cr.MP > CDR > st.MK > 4HP > H Dimachaerus > 6P variation > DR > cr.HP > H Phalanx
• Approximate damage: 3501
• H Phalanx ender: +42F
• Go straight into a safe jump.
7 st.MP safe jump
st.MP > MP > OD Dimachaerus > 6P variation > DR > 4HP > H Phalanx
• Approximate damage: 3156
• H Phalanx ender: +42F
• Prioritizes okizeme
8 Heavy-attack starter
6HK or 4HP > H Dimachaerus > 6P variation > H Gladius
• Damage Approx.: 3140
When also spending SA3: 6HK or 4HP > H Dimachaerus > 6P follow-up > H Gladius > SA3
• Damage Approx.: 5140
9 st.HK Punish Counter
st.HK PC > DR > 6HK > 6HK variation > M Dimachaerus > 6P variation > cr.HK
• Approximate damage: 3623
• For whiff punishes
10 Large punish after blocking an invincible reversal
fully charged st.HP PC > 6HK > CDR > st.MK > 4HP > CDR > st.HP > st.MP > MP > M Gladius > SA3
• Approximate damage: 6683
• A high-end punish option after blocking an invincible reversal
Drive Rush overhead
DR > 3HP > cr.LP > cr.LP > L Dimachaerus > 6P variation
• Approximate damage: 2220
• At point-blank range, an additional cr.LP may connect.
To finish the round: DR > 3HP > cr.LP > SA3
• Damage Approx.: 4400
6MP starter
Counter Hit
6MP CH > cr.LP > L Dimachaerus > 6P variation
• Damage Approx.: 2160
Punish Counter
6MP PC > HK variation > SA3
• The Year4 update increased the reward on PC.
• A punish option for moves such as sweeps
Key points about 6HK
After the Year4 update
• Normal hit: +4F
• On block: -2F
• On PC or after Drive Rush: +8F
This enables routes such as:
DR > 6HK > 4HP > H Dimachaerus…
Aim for high-damage routes like this one.
Corner combos
stable route+safe jump
st.MP > MP > OD Dimachaerus > 6P variation > fully charged 4HP > L Phalanx
• After L Phalanx: +42F
• Go straight into a safe jump.
Punish a large opening
fully charged st.HP PC > 6HK > OD Quadriga > 4HP > H Gladius
• SA3 can be added.
• OD Quadriga gives strong corner extensions.
Key frame advantage by combo ender
L Dimachaerus > 6P variation > +31F
M Dimachaerus > 6P variation > +36F
Phalanx ender > +42F
forward throw > +23F
Enfold > +18F
1 L Dimachaerus variation ender: +31F
L Dimachaerus > 6P variation > +31F
basic Option
whiff st.LP > 6HK
Alternatively:
whiff st.LP > immediate Enfold
Important setplay after the Year4 update
L Dimachaerus follow-up > whiff cr.LP > 6HK
Time 6HK to connect on a later active frame.
Approximate values
• On hit: +7F
• On block: +1F
Strong okizeme without spending Drive Gauge.
2 M Dimachaerus variation ender: +36F
M Dimachaerus > 6P variation > +36F
DR > charged 6HK
When it connects on a later active frame:
• On hit: the 6HK follow-up combos.
• On block: large advantage within throw range.
This makes a strike / throw mix-up easy to establish.
3 Phalanx ender: +42F
Phalanx on hit > +42F
forward jump HP / HK > safe jump
basic
Combo > H Dimachaerus follow-up > DR > 4HP > H Phalanx > forward-jump HK
Making the opponent block a jumping attack low to the ground gives substantial advantage.
Options
4HP > strike meaty
Immediate Enfold > command-throw option
6HK > strike
4 corner / L Dimachaerus +31F
L Dimachaerus follow-up > whiff cr.MP
From there:
• cr.LK
• throw
Choose between these options.
5 corner / +36F
M Dimachaerus variation
Alternatively:
L Gladius
> +36F
whiff st.LP > fully charged 4HP
Alternatively:
whiff cr.MP > immediate Enfold
In the corner:
fully charged 4HP
vs
Enfold
This is a strong mix-up.
6 After a normal throw
forward throw > +23F
forward dash > +1F
From there:
• cr.LP
• throw
These are your basic options.
Alternative option
DR > st.MK active-frame meaty
Approximate values
• On hit: +10F
• On block: +4F
7 After Enfold
Enfold > +18F
Options
DR > Scutum > watch for an invincible reversal
From there, use an option such as delayed Enfold.
8 fully charged jumpattack
From the safe-jump setup:
fully charged j.HP / j.HK
If the opponent blocks, you gain substantial advantage.
From there:
fully charged 4HP
Look for follow-up pressure such as this.
9 H Quadriga late-active-frame meaty
After the Year4 update
H Quadriga
• Normally +1F on block
Connecting on a later active frame can give additional advantage.
Example
L Dimachaerus ender > H Quadriga on a later active frame > strike / Enfold
Continue pressure without spending Drive Gauge.
10 Quadriga pressure against Burnout
Under normal conditions
M Quadriga > -3F
H Quadriga > +1F
Approximate values against an opponent in Burnout
M Quadriga > +1F
H Quadriga > +5F
Example pressure sequence
6HK > H Quadriga > st.LP target combo > M Quadriga > cr.LP > st.LK
After the opponent blocks H Quadriga at point-blank range:
• strike
• Enfold
This is a strong mix-up.
When expecting an invincible reversal
A reliable option is:
Phalanx ender > +42F > forward jumpattack
Use this safe-jump sequence.
Against a typical strike-invincible reversal, this can let you attack and still land in time to block.
Example of a grounded bait
L Dimachaerus variation +31F > DR > cr.LP > walk back / block
etc.
Armor, counters, and unusual invincible moves behave differently by character. Check those interactions individually.
Key Year4 changes
• 6HK improved
> Stronger combos and okizeme
• Phalanx knockback changed
> Easier to create a +42F safe jump at midscreen
• H Quadriga
> +1F on block
• M Quadriga
> -3F on block
• Stronger Quadriga pressure against Burnout
• st.MP target combo
> More reliable against jumps
• 6MP PC
> Increased reward
Training Priorities
1.
st.MP > MP > M Gladius
2.
st.MP > MP > M Dimachaerus > +36F Okizeme
3.
cr.MP > CDR > st.MK > 4HP > H Dimachaerus
4.
H Dimachaerus variation > DR > 4HP > H Phalanx > +42F safe jump
5.
L Dimachaerus +31F > 6HK active-frame meaty
6.
corner > fully charged 4HP vs Enfold
7.
st.HK PC combo
8.
Maximum punish after blocking an invincible reversal
9.
OD Quadriga corner combos
10.
Quadriga pressure against Burnout
References
• Official Street Fighter 6 balance update information
• Ultimate Frame Data
• Marisa strategy and combo-testing articles
• Player testing after the Year4 update
Frame values and combo results may vary with character position, spacing, active-frame timing, and distance from the corner. Recheck important routes in Training Mode before using them in matches.
Frame advantage may vary with spacing, airborne hits, recovery options, and corner position. Verify important routes in Training Mode.