FIGHTER GUIDE IORI'S STRATEGY

LUKE
ルーク

Use this hub to reach practical combos, move data, matchup notes, frame data, and Iori's published videos for LUKE.

Health
10000
Published data
4 sections
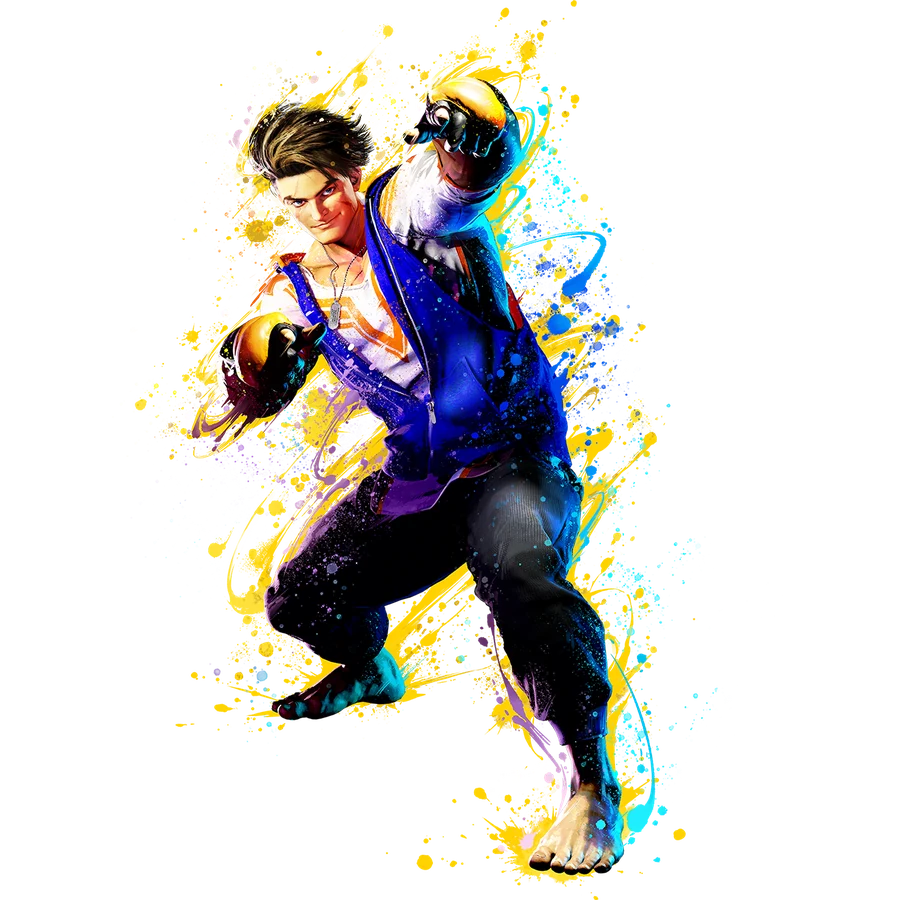
LUKELUKE character artwork
Home›Fighter Guides›LUKE›Combos & Okizeme
COMBO ROUTES

LUKE Combos & Okizeme

Practical routes organized by starter, resources, corner position, and knockdown.

YEAR 4 COMBO & OKIZEME GUIDE

Classic-control routes are grouped by practical situation. Commands, frame values, and route order are preserved from the current Japanese source guide.

2026-08-31 updatedYear 4 / 2026-08-03 battle balance update

Move names use CAPCOM's official English Frame Data terminology. Route order and numerical values are shared with the Japanese guide.

Jump to a section (9)CONTENTS
ESSENTIAL ROUTES01

① Game Plan

When learning Luke, start with the following tools rather than trying to master every difficult perfect Flash Knuckle route at once:

• Okizeme after an L Flash Knuckle ender • cr.MK Cancel Drive Rush • High damage on Punish Counter • L Rising Uppercut enders in the corner • Reliable okizeme after DDT

Make these your first practice priorities.

At midscreen, choose an L Flash Knuckle, H Rising Uppercut, No Chaser, or DDT ender to suit the situation.

In the corner, aim for okizeme after L Rising Uppercut and throw loops after a forward throw.

Perfect Flash Knuckle routes are powerful, but practice them after you can perform the basic 10 routes reliably.

Back to top ↑
ESSENTIAL ROUTES02

② 10 Essential Starter Routes

1. Jump-in

j.HK > st.LP > st.MP > st.HP > H Flash Knuckle ↳ Meter: none ↳ Okizeme: depends on the situation

A basic route when a jump-in connects. Start with a reliable target-combo ender instead of attempting difficult perfect-release timings.

2. Basic combo

cr.MP > cr.LP > L Flash Knuckle ↳ +36 ↳ Parry Drive Rush > throw or cr.MP or shimmy

Luke's first basic route to learn. Practice the okizeme after L Flash Knuckle together with the combo itself.

3. Light starter

cr.LK > cr.LP > L Flash Knuckle ↳ +36 ↳ Parry Drive Rush > throw or cr.MP or shimmy

A basic route from a low starter.

Corner cr.LK > cr.LP > L Flash Knuckle > L Rising Uppercut ↳ Approximately +28–31 ↳ forward dash > ←+HK ↳ Frame advantage varies with the height at which L Rising Uppercut connects.

4. Cancel Drive Rush starter

cr.MK > Cancel Drive Rush > cr.MP > cr.HP > fully charged M Flash Knuckle > fully charged L Flash Knuckle > M Flash Knuckle ↳ Drive Gauge: 3 bars ↳ Okizeme varies with spacing and whether the route reaches the corner.

A reliable cr.MK route. First prioritize a version you can complete without perfect-release timings.

5. Midscreen Shimmy

st.HP PC > fully charged L Flash Knuckle > delayed OD Flash Knuckle > DDT ↳ Drive Gauge: 3 bars ↳ +12 ↳ Hard knockdown ↳ Walk-up throw or shimmy

A high-reward punish for a whiffed throw tech. It gives both damage and okizeme without perfect-release timings.

6. Punish after blocking an invincible reversal

←+HP PC > cr.HP > fully charged L Flash Knuckle > M Sand Blast > M Rising Uppercut ↳ Intended for the corner ↳ Approximately +28–31 ↳ forward dash > ←+HK ↳ Frame advantage varies with Rising Uppercut's hit height.

Use this to punish a large opening, such as a blocked invincible OD reversal. At midscreen, you can simplify it to cr.HP > fully charged M Flash Knuckle > No Chaser, depending on spacing.

7. Corner Drive Reversal Punish

cr.MP PC > st.LP > st.MP > st.HP > M Sand Blast > L Rising Uppercut ↳ Meter: none ↳ Approximately +28–31 ↳ forward dash > ←+HK ↳ Frame advantage varies with hit height.

cr.MP punishes a blocked Drive Reversal. In the corner, finish with L Rising Uppercut to get okizeme.

8. Corner Drive Impact

Impaler wall splat > st.HP > fully charged L Flash Knuckle > L Sand Blast > M Rising Uppercut ↳ Drive Gauge: 1 bar for Drive Impact ↳ Okizeme after the Rising Uppercut ender ↳ Frame advantage varies with hit height.

A reliable route after Drive Impact causes a corner wall splat on block. No perfect-release timing is needed.

9. Countering Drive Impact at midscreen

Impaler PC > cr.HP > fully charged M Flash Knuckle > No Chaser ↳ Drive Gauge: 1 bar for Drive Impact ↳ Okizeme: depends on the situation

An easy route with good corner carry. Start with this when countering Drive Impact at midscreen.

10. Countering Drive Impact with your back to the corner

Impaler PC > cr.HP > fully charged M Flash Knuckle > Parry Drive Rush > st.HP > fully charged H Flash Knuckle ↳ Drive Gauge: 2 bars total ↳ +64 ↳ Immediate No Chaser > +15 > st.HK late-active-frame meaty ↳ Alternatively: forward dash x3 > +7 > cr.MP late-active-frame meaty

This route improves your position when your back is to the corner and leads into strong okizeme.
Back to top ↑
COMBO ROUTES03

③ Additional practical combos

Spend meter from a light starter

cr.LK > cr.LP > OD Flash Knuckle > DDT ↳ Drive Gauge: 3 bars ↳ +12 ↳ Walk-up throw or shimmy

An easy route with strong okizeme. Use it when you have meter to spare.

Large-opening punishes: practice perfect releases

cr.HP > M Flash Knuckle (perfect release) > L Flash Knuckle (perfect release) > H Flash Knuckle ↳ Meter: none ↳ High damage ↳ Okizeme depends on how H Flash Knuckle connects.

This requires 2 perfect releases, so learn it after the basic 10 routes.

Advanced cr.MK Drive Rush route

cr.MK > Cancel Drive Rush > cr.MP > cr.HP > M Flash Knuckle (perfect release) > L Flash Knuckle (perfect release) > whiff No Chaser ↳ Drive Gauge: 3 bars ↳ Point-blank +7 ↳ Time cr.MP to connect on its final active frame. ↳ Throw, strike, or shimmy

The target cr.MK Drive Rush route, including its okizeme follow-up.

st.HP PC / high damage

st.HP PC > M Flash Knuckle (perfect release) > walk forward into H Rising Uppercut ↳ Meter: none ↳ Okizeme after the H Rising Uppercut ender

Use this once you can perform the perfect release reliably.

Corner: key Year4 combo

st.HP > fully charged L Flash Knuckle > j.MP > delayed M Flash Knuckle > L Rising Uppercut ↳ Meter: none ↳ Approximately +28–31 ↳ forward dash > ←+HK ↳ Frame advantage varies with the timing of the airborne Flash Knuckle and L Rising Uppercut.

After the 2026-08-03 balance update, j.MP can follow a fully charged L Flash Knuckle.

corner / OD Sand Blast

st.HP > OD Sand Blast > Fatal Shot > H Rising Uppercut ↳ Drive Gauge: 3 bars ↳ Okizeme after the H Rising Uppercut ender

An easy meter-spending route when st.HP connects in the corner.

Round-ending route without perfect releases

st.HP > Cancel Drive Rush > ←+HK > cr.HP > Cancel Drive Rush > ←+HK > cr.HP > H Flash Knuckle > SA3 ↳ Drive Gauge: 6 bars ↳ SA Gauge: 3 bars ↳ Intended to finish the round

No perfect-release timing is needed. Prioritize this when it will finish the round: otherwise, you will be left in Burnout.

Back to top ↑
COMBO ROUTES04

④ SA

SA1

st.HP > fully charged L Flash Knuckle > M Sand Blast > SA1 ↳ Okizeme depends on the situation after the Super Art.

SA2

st.HP > fully charged L Flash Knuckle > L Flash Knuckle > SA2 ↳ Okizeme depends on the situation after the Super Art.

SA3

st.HP > fully charged L Flash Knuckle > SA3 ↳ Easy SA3 route ↳ Prioritize it when it will finish the round.

If you need more damage, add perfect Flash Knuckle routes or Cancel Drive Rush extensions.

Back to top ↑
SETPLAY05

⑤ Okizeme & Setplay

L Flash Knuckle ender

L Flash Knuckle ↳ +36

Immediate Parry Drive Rush ↳ Throw ↳ cr.MP ↳ Walk back for a shimmy

One of Luke's most frequently used okizeme situations.

L Flash Knuckle ender / active-frame meaty

L Flash Knuckle ↳ +36

forward dash > Parry Drive Rush > cr.MP late-active-frame meaty ↳ Large frame advantage on hit ↳ Continue pressure on block

Adjust the timing for this setup.

+7 Setplay

M Flash Knuckle (perfect release) > L Flash Knuckle (perfect release) > whiff No Chaser ↳ Point-blank +7

Time cr.MP to connect on its final active frame. ↳ Throw, strike, or shimmy

H Rising Uppercut ender

H Rising Uppercut connects close to its base ↳ forward dash > walk-up throw ↳ Manually adjust the timing.

H Flash Knuckle on airborne hit

H Flash Knuckle on airborne hit > No Chaser late-active-frame meaty ↳ +3 within throw range ↳ Throw or crouching light kick

If No Chaser hits: ↳ Two forward dashes ↳ Return to throw range at +3

Fully charged / perfect H Flash Knuckle ender

Fully charged or perfect H Flash Knuckle on airborne hit ↳ +64

Immediate No Chaser ↳ +15 ↳ Time st.HK to connect on its final active frame.

Alternatively:

Forward dash x3 ↳ +7 ↳ cr.MP late-active-frame meaty ↳ Throw, strike, or shimmy

DDT ender

DDT ↳ +12 ↳ hard knockdown

Walk-up throw ↳ Time the throw to catch the opponent on wake-up.

Alternatively:

Walk forward, then walk back for a shimmy.

Midscreen forward throw

forward throw ↳ +19

Parry Drive Rush > st.LP ↳ Meaty ↳ +2 on block ↳ Within throw range

Mix strikes with throws.

Corner forward throw loop

Corner forward throw ↳ +19

walk forward ↳ forward throw ↳ cr.MP ↳ shimmy

A basic part of Luke's corner pressure.

corner / L Rising Uppercut ender

L Rising Uppercut on airborne hit ↳ Approximately +28–31 ↳ Varies with hit height

forward dash > ←+HK ↳ Use the move's long active duration to hit meaty.

corner / safe jump

Fully charged or perfect H Flash Knuckle on airborne hit ↳ +64

whiff st.LP > forward-jump HK ↳ Safe jump

If the opponent looks for Perfect Parry, mix in an empty jump into a throw.

Back to top ↑
ESSENTIAL ROUTES06

⑥ Key Frame Numbers

+36 L Flash Knuckle ender ↳ Parry Drive Rush into throw / cr.MP / shimmy

+64 Fully charged / perfect H Flash Knuckle on airborne hit ↳ No Chaser > st.HK ↳ Forward dash x3 > +7

+19 Forward throw ↳ In the corner, walk forward to continue the throw loop.

+12 DDT ↳ Hard knockdown ↳ Walk-up throw / shimmy

+7 Whiff No Chaser after the advanced route. ↳ Time cr.MP to connect on its final active frame.

Approximately +28–31 Corner L Rising Uppercut on airborne hit ↳ forward dash > ←+HK ↳ Varies with hit height

+3 No Chaser late-active-frame meaty after H Flash Knuckle hits an airborne opponent ↳ Throw or crouching light kick

Back to top ↑
ESSENTIAL ROUTES07

⑦ Training Order

STEP 1 cr.MP > cr.LP > L Flash Knuckle

STEP 2 L Flash Knuckle ender > Parry Drive Rush > throw/cr.MP/shimmy

STEP 3 A reliable combo from cr.MK > Cancel Drive Rush

STEP 4 Punish a blocked Drive Reversal with a cr.MP PC starter.

STEP 5 After blocking an invincible reversal

STEP 6 corner cr.LK > cr.LP > L Flash Knuckle > L Rising Uppercut

STEP 7 Corner forward throw loops

STEP 8 OD Flash Knuckle > DDT

STEP 9 Perfect-release timing for M Flash Knuckle

STEP 10 Perfect M Flash Knuckle > perfect L Flash Knuckle > +7 setplay

Back to top ↑
ESSENTIAL ROUTES08

Update Notes

Based on the changes made on 2026-08-03.

In Year4, fully charged L Flash Knuckle > j.MP is available as a corner follow-up.

When using combo videos or guides from Year3 or earlier, check in Training Mode that the routes still work.

Back to top ↑
ESSENTIAL ROUTES09

References

• CAPCOM 2026-08-03 balance update • Luke combo guide (updated 2026-08) • Luke setplay guide (updated 2026-08)

Note: Where knockdown advantage varies with spacing, airborne hit height, or whether the combo reaches the corner, the guide lists the relevant conditions and range of values.

Back to top ↑

Frame advantage may vary with spacing, airborne hits, recovery options, and corner position. Verify important routes in Training Mode.