① Jump-in
j.HP > st.MP > st.HP > [Quick Dash] Tatsumaki Senpu-kyaku ↳ Corner carry ↳ Two forward dashes leave +5F. ↳ If you reach the corner: st.MP > st.LK leaves +3F for a throw or shimmy. Recommended.
FIGHTER GUIDE IORI'S STRATEGY
Use this hub to reach practical combos, move data, matchup notes, frame data, and Iori's published videos for KEN.
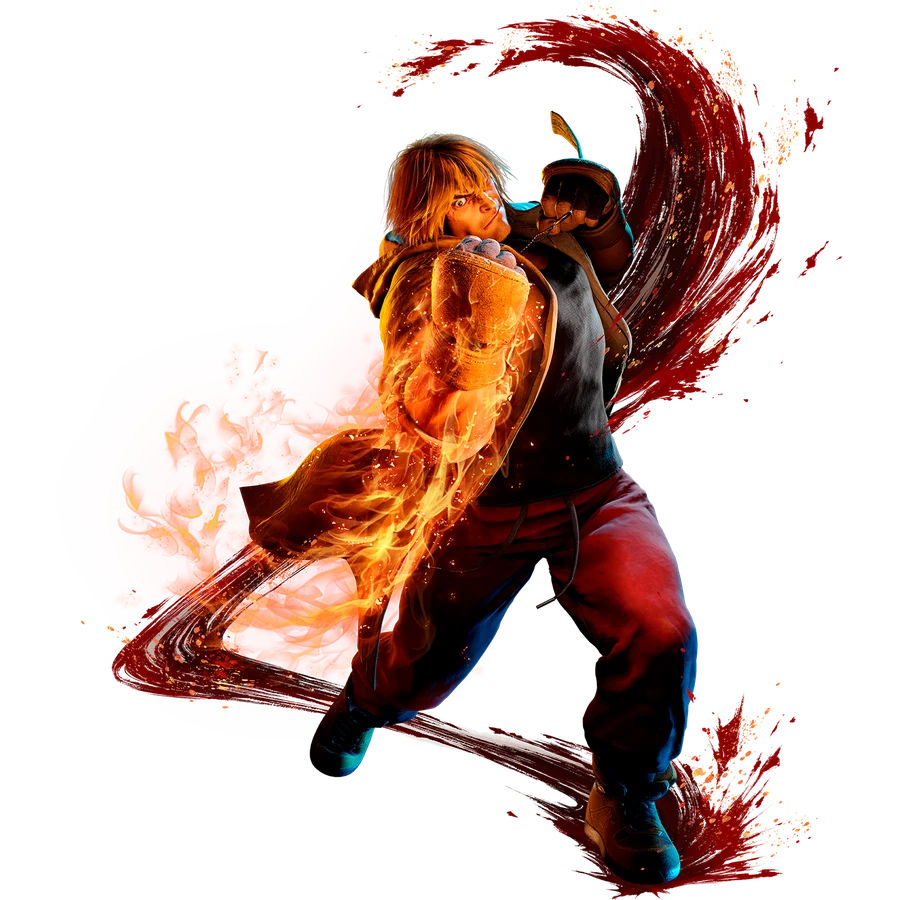
Practical routes organized by starter, resources, corner position, and knockdown.
Classic-control routes are grouped by practical situation. Commands, frame values, and route order are preserved from the current Japanese source guide.
Move names use CAPCOM's official English Frame Data terminology. Route order and numerical values are shared with the Japanese guide.
j.HP > st.MP > st.HP > [Quick Dash] Tatsumaki Senpu-kyaku ↳ Corner carry ↳ Two forward dashes leave +5F. ↳ If you reach the corner: st.MP > st.LK leaves +3F for a throw or shimmy. Recommended.
From farther away cr.MP > st.LK > H Shoryuken ↳ 2020 ↳ +25 ↳ Forward dash leaves +6. ↳ Raw Drive Rush okizeme
point-blank cr.MP > st.MPー HP > [Quick Dash] Shoryuken ↳ 2540 ↳ +25 ↳ forward dash, +6
cr.LK > cr.LP > st.LK > H Shoryuken ↳ 1490 ↳ +25 ↳ forward dash, +6 ↳ Raw Drive Rush Okizeme
easy route
cr.MK > Cancel Drive Rush > st.LP > st.MP > st.HP > [Quick Dash] Tatsumaki Senpu-kyaku ↳ Prioritizes corner carry ↳ Midscreen: two forward dashes can leave +5, depending on the situation. ↳ On reaching the corner, use the dedicated setplay.
Year4 version
cr.MK > Cancel Drive Rush > cr.HP > Emergency Stop > cr.MP > st.MP > st.HP > [Quick Dash] Tatsumaki Senpu-kyaku ↳ 2072 ↳ Improves corner carry and SA Gauge gain. ↳ If you reach the corner: st.MP > st.LK leaves +3F for a throw or shimmy. Recommended.
high-damage route
cr.MK > Cancel Drive Rush > cr.HP > Emergency Stop > cr.MP > L Tatsumaki Senpu-kyaku > M Shoryuken ↳ 2360 ↳ Use near the corner when damage matters more than carry. ↳ Corner: +33F setplay ↳ A cr.MK frame kill leaves +5F for a throw or shimmy. Recommended.
cr.MP PC > cr.MK > [Quick Dash] Shoryuken ↳ 2700 ↳ +25 ↳ forward dash, +6
Use this after making the opponent whiff a throw tech.
st.HP PC > cr.MK > [Quick Dash] Shoryuken ↳ +25 ↳ Forward dash leaves +6. ↳ Walk-up throw or st.HP
Prioritizes damage
cr.HP PC > Cancel Drive Rush > cr.HP > Emergency Stop > cr.MP > st.MP > st.HP > [Quick Dash] Tatsumaki Senpu-kyaku ↳ Prioritizes okizeme ↳ If you reach the corner: st.MP > st.LK leaves +3F for a throw or shimmy. Recommended.
Stable route
cr.MP PC > H Jinrai Kick > HK follow-up > L Shoryuken ↳ In Year4, cr.MP can combo into H Jinrai Kick. ↳ Perform every input as soon as possible. ↳ Whiff cr.MK for +5 okizeme. ↳ Throw, cr.MP, or shimmy
DI wall splat > st.HP > H Jinrai Kick > HK follow-up > M Shoryuken ↳ Perform every input as soon as possible. ↳ Works after Drive Impact on hit or block. ↳ M Shoryuken leaves +33. ↳ Whiff cr.MK > +5 ↳ Throw, cr.MP, or shimmy
stable route / corner carry
DI PC > st.MP > st.HP > [Quick Dash] Tatsumaki Senpu-kyaku ↳ 2120 ↳ Corner carry ↳ Use the dedicated okizeme if you reach the corner.
damage
DI PC > neutral-jump HK > Drive Rush HP > [Quick Dash] Shoryuken ↳ +25 ↳ Forward dash leaves +6.
Start with the reliable version. Use the neutral-jump version when you are near the corner or want more damage.
DI PC > neutral-jump HK > [Quick Dash] Dragonlash Kick > H Shoryuken ↳ 3220 ↳ Switches sides ↳ Prioritizes escaping the corner ↳ Knockdown advantage varies with how H Shoryuken connects.
From farther away cr.MP > st.LK > H Shoryuken ↳ 2020 ↳ Works on normal hit
point-blank cr.MP > st.MP > st.HP > [Quick Dash] Shoryuken ↳ 2540 ↳ forward dash, +6
Counter Hit cr.MP CH > cr.MK > [Quick Dash] Shoryuken ↳ 2580 approximately ↳ forward dash, +6
cr.HP > H Jinrai Kick > HK follow-up > L Shoryuken ↳ 2910 ↳ Whiff cr.MK > +5 ↳ Throw, cr.MP, or shimmy
st.HK PC > Raw Drive Rush > st.HP > [Quick Dash] Shoryuken ↳ Damage-focused route
Year4 high-damage route
cr.HP > H Jinrai Kick > OD Dragonlash Kick > OD Jinrai Kick > Quick Dash HK follow-up > SA1 ↳ Use this to finish the round.
Route updated for Year4
cr.HP > H Jinrai Kick > OD Dragonlash Kick > OD Jinrai Kick > Quick Dash HK follow-up > SA2 ↳ Extends damage from an H Jinrai Kick starter.
Common sequences for a clean hit
H Shoryuken (first hit connects on the ground) > SA3
[Quick Dash] Dragonlash Kick > SA3
[Quick Dash] Shoryuken (second hit) > SA3
M Jinrai Kick > HK variation > SA3
Connect SA3 close to its base so that it triggers the cinematic sequence.
+25
forward dash ↳ +6
basic mix-up
Walk-up throw
st.HP ↳ Trades with the opponent's fastest 4F attack. ↳ The trade leaves Ken at a large advantage.
backdash > st.HP ↳ Read a throw-tech attempt. ↳ Also scores a PC against an immediate throw. ↳ Reaches after either normal or backward recovery.
An okizeme option that became important in Year4.
H Shoryuken ender > Raw Drive Rush > st.MP
After the opponent blocks
throw
cr.LK > cr.LP > H Shoryuken ↳ Low option ↳ Be careful: this will not connect if st.MP was blocked on a later active frame.
shimmy
forward throw > Drive Rush > st.MP
After the opponent blocks
throw
cr.LK > cr.LP > H Shoryuken ↳ Low option ↳ Be careful: this will not connect if st.MP was blocked on a later active frame.
shimmy
Drive Rush > st.LP ↳ Bait an invincible reversal.
[Quick Dash] Tatsumaki Senpu-kyaku on airborne hit > st.MP > st.LK ↳ +3F allows a throw or shimmy.
+33
Reliable frame kill
Whiff cr.MK ↳ +5
+22
forward dash ↳ +3
Corner
cr.LK ↳ +5
H Shoryuken > whiff st.LP > st.HP
↳ Late-active-frame meaty ↳ +1 on block ↳ +6 on hit
On hit, cr.MP combos afterward.
Benefits
• High reward against jump attempts • Reduces the opponent's Drive Gauge • High combo damage on hit
[Quick Dash] Shoryuken > forward dash
↳ +6
st.MP ↳ Late-active-frame meaty ↳ ±0 on block ↳ +6 on hit
Throw ↳ An immediate throw is too early. ↳ Delay by at least 1F.
shimmy
backdash > st.HK
+20
Walk forward > forward throw ↳ Throw loop
Walk forward > st.HP ↳ Covers jumps and backdashes. ↳ Can also be timed as a late-active-frame meaty.
Walk forward, then wait. ↳ Look for delayed throw techs, invincible reversals, or Drive Reversal.
forward dash ↳ +1
cr.LP
Forward throw ↳ Loses to an immediate 4F attack. ↳ Use it after establishing your strike threat.
[Quick Dash] Tatsumaki Senpu-kyaku on airborne hit > st.MP > st.LK ↳ +3F allows a throw or shimmy.
cr.MP PC > H Jinrai Kick > HK variation > L Shoryuken
Whiff cr.MK ↳ +5
forward throw
cr.MP
shimmy
This setup became particularly practical in Year4.
Use it deep in throw range for okizeme and make the opponent block.
basic mix-up
cr.LK > cr.LP > H Shoryuken
Raw Drive Rush st.LP remains useful.
+25
H Shoryuken [Quick Dash] Shoryuken
↳ forward dash, +6
+6
H Shoryuken > forward dash [Quick Dash] Shoryuken > forward dash
↳ throw / strike / shimmy
+33
↳ Whiff cr.MK to leave +5.
+22
OD Shoryuken
↳ forward dash, +3
+20
Corner forward throw
↳ Walk-up throw ↳ Walk forward into st.HP ↳ Walk forward, then wait
+5
Year4 cr.MP on normal hit
↳ st.LK combos afterward. ↳ At point-blank range, use st.MP instead.
+5
Corner M Shoryuken > whiff cr.MK
After the reliable corner Drive Reversal punish combo > whiff cr.MK
↳ throw / strike / shimmy
+3
After [Quick Dash] Tatsumaki Senpu-kyaku reaches the corner > whiff st.LP > Quick Dash LK
Jinrai Kick LK follow-up on hit
OD Shoryuken > forward dash
block +1 hit +6
Corner H Shoryuken > whiff st.LP > st.HP
block±0 hit +6
Corner [Quick Dash] Shoryuken > forward dash > st.MP
+1
Year4 Quick Dash MK hit
STEP 1
STEP 2
Start with the easy version > [Quick Dash] Tatsumaki Senpu-kyaku
STEP 3
STEP 4
STEP 5
STEP 6
[Quick Dash] Shoryuken > forward dash, +6
Walk-up throw st.HP backdash > st.HK
STEP 7
H Shoryuken > Raw Drive Rush
st.MP Throw Stop after st.LP
STEP 8
After [Quick Dash] Tatsumaki Senpu-kyaku reaches the corner > whiff st.LP > Quick Dash MK or Quick Dash LK
STEP 9
Corner H Shoryuken > whiff st.LP > st.HP
STEP 10
Corner [Quick Dash] Shoryuken > forward dash > st.MP
STEP 11
Corner forward throw loop
STEP 12
Jinrai Kick juggles Quick Dash stop combos SA3 clean hits Round-ending combos
Damage 700 > 600
Frame advantage on hit +3 > +5
Reduced pushback on hit.
As a result, the following route is available:
cr.MP > st.LK > H Shoryuken
This works on normal hit.
At point-blank range:
cr.MP > st.MP > st.HP
This sequence also combos.
Its mix-up potential improved significantly when it connects deep in throw range during okizeme.
After the opponent blocks
Throw Low attack Shimmy Frame trap Catch backdashes or jumps
Choose among these options to match the opponent's response.
The cancel from Quick Dash is faster.
startup 10F > 8F
Frame advantage on normal hit +3 > +1
Older videos and guides may state:
“Quick Dash MK is +3 on hit.”
That value differs from the current version.
Based on the Ken setplay video published on 2026-06-17.
The video emphasizes these ideas:
• Throw / strike / shimmy after Shoryuken enders • Overhead / Emergency Stop after [Quick Dash] Tatsumaki Senpu-kyaku reaches the corner • HP late-active-frame meaties in the corner • Throw / strike / shimmy after corner forward throws • Feints to bait invincible reversals
These ideas remain part of the guide.
The following tools changed in the 8/3 update:
• cr.MP • Quick Dash MK • Raw Drive Rush st.MP
Their explanations have been updated for Year4.
• 2026-06-17 Ken setplay video: “Are you using weak setplay? These are the strong setups to use!”
• CAPCOM balance update, 2026-08-03
• Issei — Ken Lab: Ken's Year4 balance changes, 2026-08-04
• Kakuburo (fighting game blog): Ken combo guide, updated 2026-08-28
• Kakuburo (fighting game blog): Ken setplay guide, updated 2026-08-28
• H Shoryuken's knockdown advantage can vary with the height at which it catches an airborne opponent.
• With delayed Jinrai Kick follow-ups, timing can affect whether the combo connects and the resulting frame advantage.
• When [Quick Dash] Tatsumaki Senpu-kyaku reaches the corner, small timing adjustments may be needed depending on position and hit height.
• When watching Year3 or earlier videos, distinguish the old Quick Dash MK hit advantage from the current value.
Street Fighter 6 Ken For Classic controls As of 2026-08-31
Frame advantage may vary with spacing, airborne hits, recovery options, and corner position. Verify important routes in Training Mode.