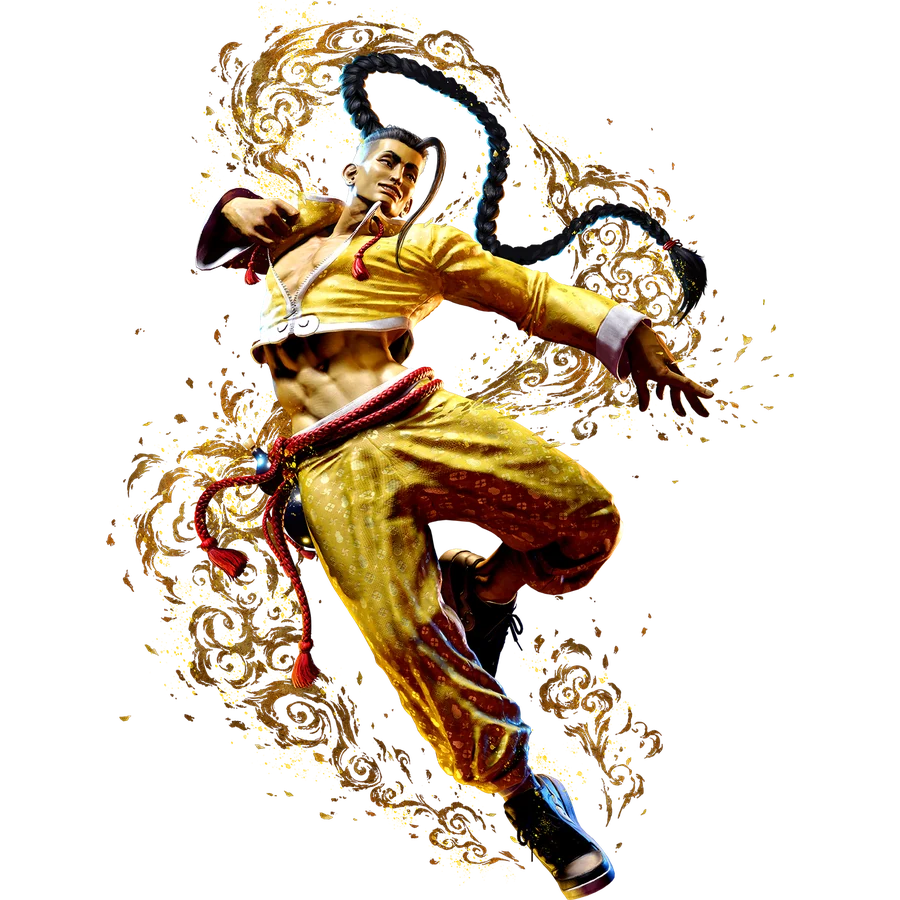
Read the drink level before the next knockdown
Jamie can end a combo for damage, a drink, or continued pressure. These are different outcomes for the defender. Watch his drink indicator and the move that leaves you on the floor; the fact that he took a drink does not by itself tell you whether you can move first.
What to watch for
A changing move selection
The move list separates Luminous Dive Kick, Bakkai, and Tenshin by drink requirement. Recheck what Jamie can threaten after a level increase. A defense based on his opening move selection can become incomplete later in the round.
Light Arrow Kick versus a damage ender
The setplay guide uses light Arrow Kick for two dashes midscreen or a corner jump setup. Heavy Arrow Kick is also used to obtain a drink. Identify the ending instead of expecting the same approach after every uppercut.
How to deal with common situations
He drinks at the end of Freeflow Kicks
The source distinguishes an ordinary drink ending from the transition into the highest drink level. Do not reuse a challenge timing learned against the ordinary ending without testing that transition. Keep guarding while you identify which case occurred.
A corner jump follows light Arrow Kick
Jamie has a recorded safe-jump route here. Check the complete knockdown before treating the incoming jump as a reversal opportunity. His alternatives include landing into throw and retreating to catch a throw-tech attempt.
Distance-specific responses
Away from contact
Track whether Jamie is using the separation to drink. Choose an approach from the distance you can actually cover; a late attempt to stop a drink may instead run into his newly available options.
At low-kick range
The Japanese material builds offense from crouching medium kick into Drive Rush. Approach with short steps and low guard rather than watching only the drink animation.
After the corner knockdown
Account for both the jump setup and the drink-dependent follow-ups. Parrying the expected jump attack does not cover an empty landing into throw.
Common mistakes
- Ignoring a drink-level change during a combo.
- Using the same wake-up timing after light Arrow Kick and a drinking ender.
- Parrying every corner jump after Jamie has shown empty-jump throw.
Training mode practice steps
Use your own character as the defender. Turn on the frame meter and input history so you can distinguish a real answer from a mistimed recording.
Compare the drink transition
Record the Freeflow Kicks drink ending at two starting levels, including the level that reaches the maximum. Use the frame meter to compare recovery, then test your intended challenge against both. Save the results with the starting level.
Defend the light-Arrow-Kick branch
Copy the corner ender from the combo page. Record the jump attack and an empty landing into throw separately. Verify the jump timing before randomizing; note whether each loss came from an attack or your parry being thrown.
Uses Jamie’s Japanese assessment and the combo guide’s light-Arrow-Kick, drink-transition, and corner safe-jump sections. Drink-specific timing should be checked in the corresponding Frame Data rows. For current numerical values, use the linked Frame Data page and confirm important situations in Training Mode.