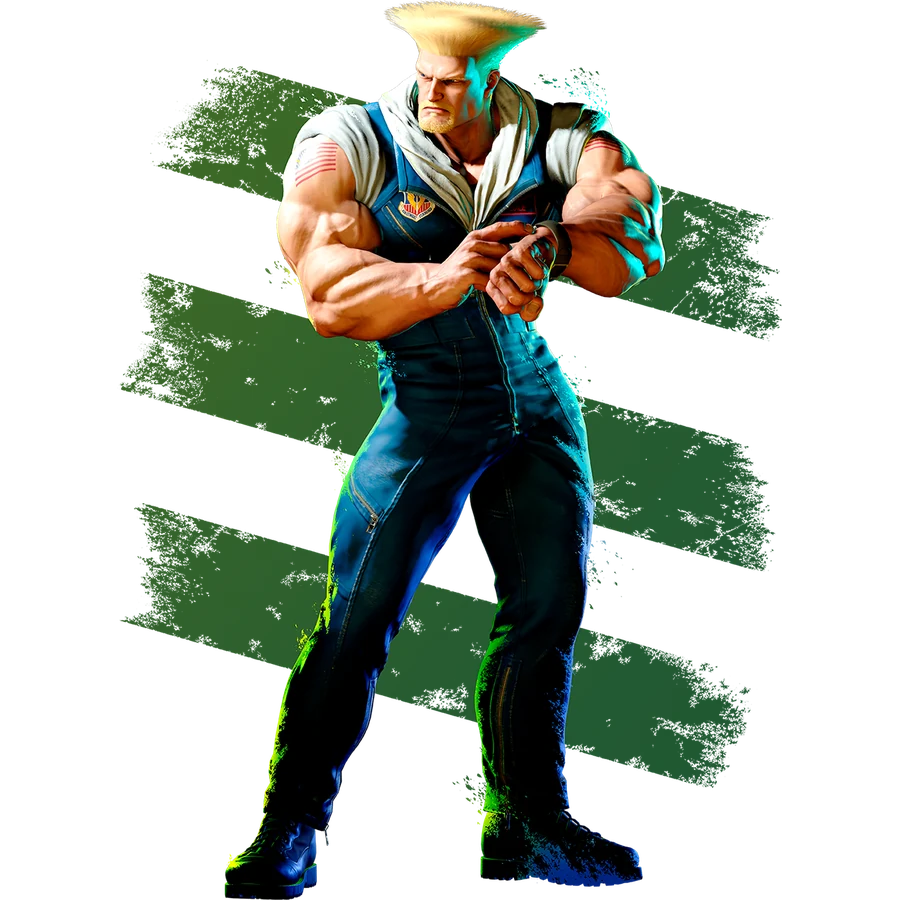
Earn the distance where a Sonic Boom read can matter
Clearing a Sonic Boom is not the same as reaching Guile before his anti-air. Iori’s Japanese matchup guide separates getting closer from attacking once you arrive. Keep the ground you gain, notice Guile’s posture, and make him respond to a threat that actually reaches. Repeated full-distance jump-ins let him defend the same situation over and over.
What to watch for
The recovery distance behind Sonic Boom
The Japanese guide describes a distance where Guile can throw Sonic Boom and still anti-air the jump that follows. If you keep landing on Somersault Kick, shorten the approach before trying again. The boundary depends on your character and the jump timing.
Walking back does not remove every anti-air
The video uses backward walking as a cue to consider jumping because it interrupts downward charging. It also shows normal anti-airs. Seeing Guile walk back is information to weigh with distance, not proof that the air is now safe.
Sonic Blade after a knockdown
The current combo guide uses heavy Somersault Kick into Sonic Blade, then distinguishes an airborne opponent from a grounded one. Guile can wait to anti-air rather than immediately release Sonic Cross. Do not assume the placed Blade means he has committed to another projectile.
How to deal with common situations
Every blocked Boom pushes your approach back
The original guide suggests mixing parry with walking between projectiles to retain more of your progress. Compare the ground gained with walk-and-block in practice. Make the next step depend on the next Boom; remaining in place and repeating parry is not the approach you are trying to build.
Guile stays crouched after you reach him
Iori’s example uses a long heavy normal to put pressure on Guile’s Drive gauge. Find a suitable reaching attack for your own character rather than copying the Ken demonstration unchanged. After he starts poking back or looking for Drive Impact, pause and respond to that choice instead of continuing the same heavy attack.
You want to challenge Sonic Blade
The older video demonstrates hitting Guile’s extending hurtbox during Blade with a Ken attack. Treat that as a spacing test for your own long normal. Check that it reaches during the actual animation, and also record Guile waiting. A button that catches Blade is not a reason to swing whenever Guile stands still.
Distance-specific responses
Full screen: travel and attack are different goals
The Japanese demonstration sometimes jumps over a distant Boom to gain ground. That jump is a way to travel; it is not a promise of a jump-in hit. Reassess the distance on landing before repeating it closer to Somersault Kick range.
Mid-range: find your jump-in boundary
Compare the distance where Guile recovers in time to anti-air with the distance where a read on Boom lets your attack reach. Keep a grounded approach available while you look for that opportunity. Jumping merely because you saw a projectile ignores the timing of its release.
Within reach: observe the answer to your pressure
Make a reaching attack count, then look for Guile’s response. Against a poke, practice stepping out and punishing its whiff. Against Drive Impact, leave room in your offense to react. Continuing to press solely because the first heavy attack was blocked makes the next one easier to target.
Common mistakes
- Counting every cleared Sonic Boom as a successful jump even when Somersault Kick catches the landing.
- Using backward walking as a guaranteed jump signal and forgetting Guile’s normal anti-airs.
- Repeating a long heavy attack after Guile has started answering it with Drive Impact.
- Treating the 2023 video’s perfect-parry-to-jump input or a Ken-specific spacing example as a current universal technique.
Training mode practice steps
Use your own character as the defender. Turn on the frame meter and input history so you can distinguish a real answer from a mistimed recording.
Compare two ways of gaining ground
Record repeated Sonic Booms from a fixed position. Approach once with walking and blocking, then with parry and short walks between projectiles. Compare your position after the same number of Booms. Add a pause in Guile’s firing pattern so your forward movement follows the projectile rather than a memorized rhythm.
Map the anti-air boundary
Record Sonic Boom followed by the earliest available Somersault Kick. Test your character’s forward jump from several starting positions. Add a wait-and-anti-air recording before randomizing playback. Distinguish a read that reaches during Boom recovery from a jump that only works when the dummy forgets to defend.
Make your close-range pressure adaptable
Choose one long normal for your character. Give Guile separate responses: keep guarding, poke back, and use Drive Impact. First test each response in isolation, then mix them. Practice stopping your attack sequence when the recording demands it, rather than measuring success only by how often you touch his guard.
This guide reorganizes the Japanese Guile counter article based on Iori’s September 2023 video, with Sonic Blade knockdown context from the current combo guide. Older perfect-parry inputs and Ken-specific demonstrations are not presented as verified current answers for every character. For current numerical values, use the linked Frame Data page and confirm important situations in Training Mode.