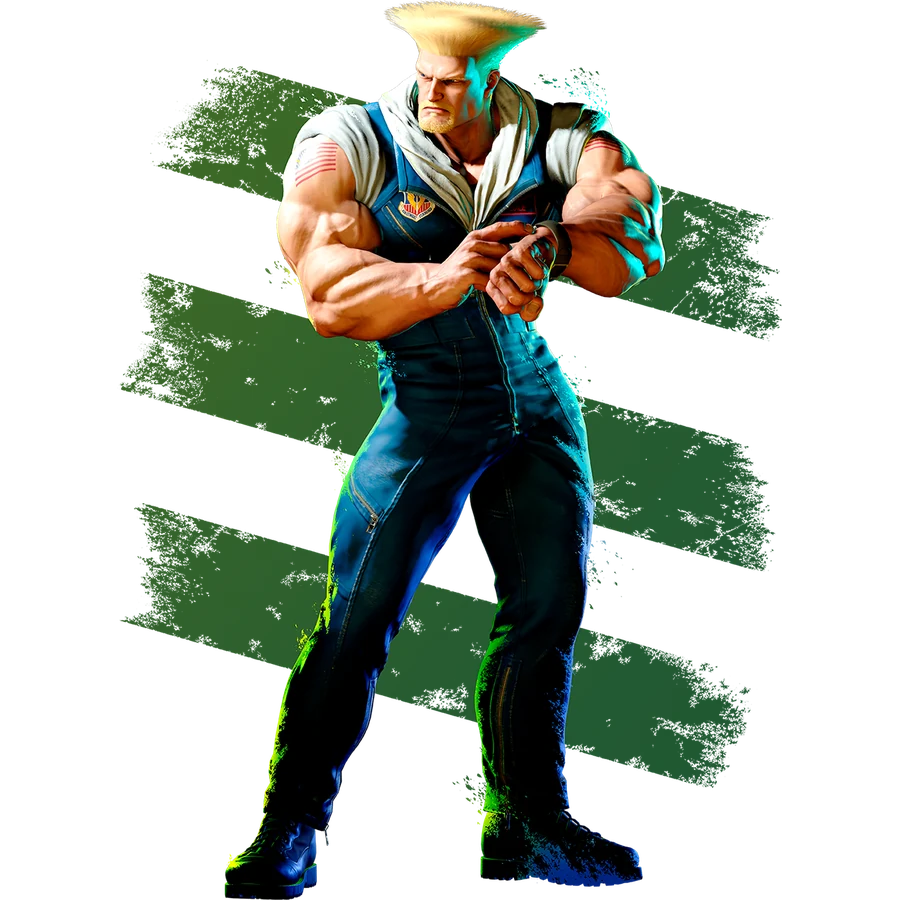
COMBO ROUTESGUILE Combos & Okizeme
Practical routes organized by starter, resources, corner position, and knockdown.
YEAR 4 COMBO & OKIZEME GUIDEClassic-control routes are grouped by practical situation. Commands, frame values, and route order are preserved from the current Japanese source guide.
2026-08-31 updatedYear 4 / 2026-08-03 battle balance update
Move names use CAPCOM's official English Frame Data terminology. Route order and numerical values are shared with the Japanese guide.
Jump to a section (23)
CONTENTSESSENTIAL ROUTES01Notation
DR = Parry Drive Rush
CDR = Cancel Drive Rush
PC = Punish Counter
CH = Counter Hit
J Sonic = Just Sonic Boom
Sonic Boom = [4]6P
Somersault Kick = [2]8K
Sonic Blade = 214P
Sonic Cross = 6P after Sonic Blade
SA1 Sonic Hurricane = [4]6・4・6P
SA2 Solid Puncher = 214214P
SA3 Crossfire Somersault = [4]6・4・6K
Key changes in the 2026-8-3 version
st.HK
Startup changed from 13F to 12F.
OD Sonic Blade
Block advantage changed from -4F to +1F, improving block pressure as well as combo applications.
SA1 Sonic Hurricane
The horizontal version gained improved combo utility and coverage higher up. The upward HP version connects more reliably against standing opponents. Against a standing opponent, HP SA1 (upward) can now combo into LP/MP SA1 (horizontal).
cr.HP
The March 2026 adjustments made cr.HP cancelable into special moves and Super Arts.
Because st.HK's startup changed, older corner Sonic Boom loops may need different timing.
10 essential starter combos
1. cr.LK starter
cr.LK > cr.LP > H Somersault Kick
If the extra light attack reaches: cr.LK > cr.LP > st.LK > H Somersault Kick
Return the direction to neutral before st.LK, or you may get 4LK Knee Bazooka instead.
2 Basic st.MP route
st.MP > cr.MP > H Somersault Kick
Start charging down immediately after pressing st.MP.
3. Basic target combo
st.MP > 4HP > H Somersault Kick
A basic Recoil Cannon route. Begin the down charge from st.MP.
4. Single cr.MP starter
cr.MP > H Somersault Kick
cr.MP starts in 6F. It is useful for close-range confirms and punishes.
5. cr.HP combo
cr.HP > H Somersault Kick
An important route since March 2026: cr.HP can cancel into special moves and Super Arts.
6. Reliable DR MP route
DR > st.MP > cr.HP > H Somersault Kick
7. Higher-damage DR MP route
DR > st.MP > st.MP > cr.MP > H Somersault Kick
8. Drive Rush overhead
DR > 6MP > cr.MP > H Somersault Kick
6MP is an overhead. Drive Rush's added advantage lets it start a combo.
9 st.HP Punish Counter
st.HP PC > st.MP > 4HP > H Somersault Kick
Use after blocking an invincible reversal, after a successful shimmy, or in similar punish situations.
10 6HP Punish Counter
6HP PC > st.MP > cr.MP > H Somersault Kick
6HP is +3F on block. It whiffs against crouching opponents, so this route requires a standing opponent.
basic
cr.MP > H Somersault Kick > SA3
Easy route
st.MP > 4HP > SA3
Note: st.MP > 4HP > H Somersault Kick > SA3
That route may not give all of SA3's hits. Also learn the direct cancel from 4HP into SA3.
New SA1 combo: August 2026 version
Standing opponents only
st.MP > 4HP > HP SA1 (upward) > LP/MP SA1 (horizontal)
Uses 2 Super bars. A new damage route in the version described here.
Earlier option
st.MP > 4HP > HP version SA1 > OD Somersault Kick
HP SA1 can miss a crouching opponent, so confirm that the opponent is standing.
2 HK Punish Counter
cr.HK PC > 3HK > H Somersault Kick
Then
> L/M SA1
The combo can extend this far.
cr.HK > 3HK only combos when the first hit is a Punish Counter.
6HK Punish Counter
6HK PC > L or M SA1
6HK Punish Counter causes a large stagger, allowing an efficient direct combo into SA1.
High-damage st.HP / 6HP Punish Counter routes
st.HP PC
st.HP PC > st.HP > CDR > st.HK > cr.MP > H Somersault Kick > SA3
6HP PC: high-damage option
6HP PC > st.HP > CDR > st.HK > st.HP > CDR > st.HK > cr.MP > H Somersault Kick > SA3
st.HK starts in 12F in this version, so input timing may differ from older videos.
Corner combos
Stable route
6HP PC > st.MP > 4HP > L Sonic Blade > H Somersault Kick
Using OD Sonic Blade
6HP PC > st.HP > OD Sonic Blade > Sonic Cross > H Somersault Kick
OD Sonic Blade is +1F on block in the version described here.
Just Sonic Boom
After completing the charge, press forward and P within 2F of each other to get Just Sonic Boom.
The Just version has 1F more advantage on hit and block than the regular version.
On hit, this can allow a follow-up normal in some situations.
Practical Just Sonic Boom combos
Midscreen
6HP PC > cr.MP > L Just Sonic Boom > cr.LP > H Somersault Kick
Corner: relatively reliable route
j.HP > cr.HP > L Just Sonic Boom > cr.LP > st.LK > H Somersault Kick
Sonic Boom loops
Example against a standing opponent
st.MP > cr.MP > delayed L Just Sonic Boom > cr.MP > delayed L Just Sonic Boom > 3HK > H Somersault Kick
Requirements: recognize standing versus crouching hits, use Just inputs, connect on later active frames, and maintain charge.
An advanced option.
SA2 Solid Puncher
easy
st.HK > SA2 > OD Sonic Boom > Sonic Break
Example of a long corner-carry route
st.HK > SA2 > 6HP > st.LP > cr.LP > st.LK > H Sonic Boom > repeated Sonic Break > forward dash > late-active 6HP > cr.MP target combo > H Somersault Kick
SA2 also serves corner carry, Drive recovery, and chip damage against a burned-out opponent.
Key Frame Advantage by Ender
L Somersault Kick > +36F…
M Somersault Kick > +37F…
H Somersault Kick > +37F…
OD Somersault Kick > +29F…
cr.HK > +34F
OD Sonic Boom > at least approximately +48F
OD Sonic Blade > +54F or more
forward throw > +15F
back throw > +18F
Horizontal SA1 > +41F
Upward HP SA1 > +70F
SA3 > +16F
Somersault Kick's advantage varies with hit height. H Somersault Kick does not always leave +42F.
1. Midscreen: after H Somersault Kick
After H Somersault Kick: approximately +39–41F in common situations.
Midscreen
H Somersault Kick > L Sonic Blade
This is a reliable option.
From there:
Options: L Sonic Cross, crouch and wait, or anti-air a jump.
At midscreen, instead of forcing your way into point-blank range:
Score a knockdown > set Sonic Blade > resume your game plan behind the projectile.
These are your basic options.
2. Midscreen H Sonic Blade setup
H Somersault Kick > H Sonic Blade
If the opponent stays grounded, fire Sonic Boom to produce Sonic Cross.
If the opponent jumps, do not fire Sonic Boom; anti-air instead.
basic
Set Sonic Blade, then anti-air a jump or use Sonic Cross against a grounded opponent.
3 corner / H Somersault Kick > Guile High Kickwhiff
corner
H Somersault Kick > 3HK whiff
> +4F
From there:
• throw
• strike
• walk-back shimmy
An important corner setplay sequence.
4 corner / H Somersault Kick > Sonic Blade meaty
H Somersault Kick > L or H Sonic Blade
Make the later active frames overlap the opponent's wake-up.
Afterward
Follow-up options: strike, throw, shimmy, or Sonic Cross.
Continue into these options.
Sonic Blade is a projectile, so it can also cover some strike-invincible SA1 moves and counters.
Watch out for Perfect Parry.
5. Important Year 4 change: OD Sonic Blade at +1
OD Sonic Blade > +1F even on a regular block
From there:
cr.LP makes it easier to beat a 4F interrupt.
Other options:
OD Sonic Blade > Sonic Cross
OD Sonic Blade > throw
OD Sonic Blade > wait and observe
Choose among these options to match the opponent's response.
6. H Somersault Kick into a late-active overhead
corner
H Somersault Kick > st.LK whiff > 6MP
Connect 6MP on a later active frame.
On hit, this can leave enough advantage to combo into cr.LP.
An overhead option against opponents watching for a throw.
7. Midscreen: Drive Rush after M Somersault Kick
cr.MP > M Somersault Kick
Afterward
• DR > cr.MP
• DR > 6MP
• DR > throw
Choose among these options to match the opponent's response.
At midscreen, recovery choices change the spacing. Setting Sonic Blade is often more reliable.
8 forward throw after
forward throw > +15F
This does not give a meterless throw loop.
Options
Options: L Sonic Boom; whiff LP and check for an invincible reversal; DR into throw; or DR into a strike.
Repeating DR throw every time is vulnerable to an invincible reversal on reaction to the rush.
9 HP version SA1 after +70F
HP version SA1 > +70F
two forward dashes > 70 - 21 - 21 > +28F
From there:
Prepare Sonic Blade, Drive Rush, or a meaty projectile.
These options can be prepared from this situation.
10 +42F approximately safe jump
If the combo's hit height leaves approximately +42F after H Somersault Kick or a similar ender:
> immediateforward jumpattack
An immediate forward jump attack is the basic safe-jump timing.
Somersault Kick's advantage varies with hit height. Always confirm +42F using Training Mode's frame meter.
After Drive Rush MP is blocked
Key sequence
4HP > CDR > st.MP
If the opponent blocks through st.MP:
You are point-blank, at approximately +4F, and within throw range.
From there:
throw
An immediate throw leaves no gap for an interrupt.
st.MP
At +4F, the 7F move beats a 4F interrupt.
walk back
Walk back to bait a throw tech with a shimmy.
An important part of Guile's pressure.
After 6HP is blocked
6HP > block +3F > hit +5F
From there:
• cr.LP
• st.MP
• throw
Continue into these options.
This whiffs against a crouching opponent.
Pressure against a burned-out opponent
When the opponent is in Burnout, normals and projectiles give more advantage on block.
Example
DR Knee Bazooka > cr.LP > Sonic Boom
Sequences like this more easily form true blockstrings.
In the corner, make the opponent block L Sonic Boom on a later active frame, then use:
cr.LP > another Sonic Boom
This is also strong for chip damage.
Invincible-Reversal Punishes
stable route
st.HP PC > st.MP > 4HP > H Somersault Kick
lethal route
st.HP PC > st.HP > CDR > st.HK > cr.MP > H Somersault Kick > SA3
In the corner, continue with:
H Somersault Kick > 3HK whiff > shimmy
Practice the follow-up situation as part of the sequence.
10 Practical Starter Routes
1.
cr.LK > cr.LP > H Somersault Kick
2.
st.MP > cr.MP > H Somersault Kick
3.
st.MP > 4HP > H Somersault Kick
4.
DR st.MP > cr.HP > H Somersault Kick
5.
DR 6MP > cr.MP > H Somersault Kick
6.
cr.MP > H Somersault Kick > SA3
7.
st.HP PC > st.MP > 4HP > H Somersault Kick
8.
corner
H Somersault Kick > 3HK whiff > +4F > throw / strike / shimmy
9. H Somersault Kick > set Sonic Blade > anti-air a jump, or use Sonic Cross if the opponent stays grounded.
10.
4HP > CDR > st.MP block > +4F > throw / st.MPframe trap / shimmy
Current Game Plan
Make the opponent move with Sonic Boom > anti-air jumps with Somersault Kick > combo from medium attacks > set Sonic Blade at midscreen > use +4F shimmies or meaty Sonic Blade in the corner > land strikes and throws > return to Sonic Boom pressure.
Notes for Older Guides
Use the following current-version replacements.
OD Sonic Blade is +1F on block.
st.HK starts in 12F.
HP SA1 can be followed by horizontal SA1.
cr.HP can cancel into special moves and Super Arts.
Older Sonic Boom loops using st.HK may require different input timing.
Advantage after Somersault Kick varies with hit height; do not treat it as a fixed value.
References
Sources: official Street Fighter 6 battle adjustments; Ultimate Frame Data; Year 4 Guile combo material; Guile-specific setplay testing; 2026-8-3 adjustment information.
Combo and setplay conditions can vary with spacing, late-active hits, hit height, recovery choice, and position relative to the corner.
Recheck in Training Mode before using these routes in matches.
Frame advantage may vary with spacing, airborne hits, recovery options, and corner position. Verify important routes in Training Mode.