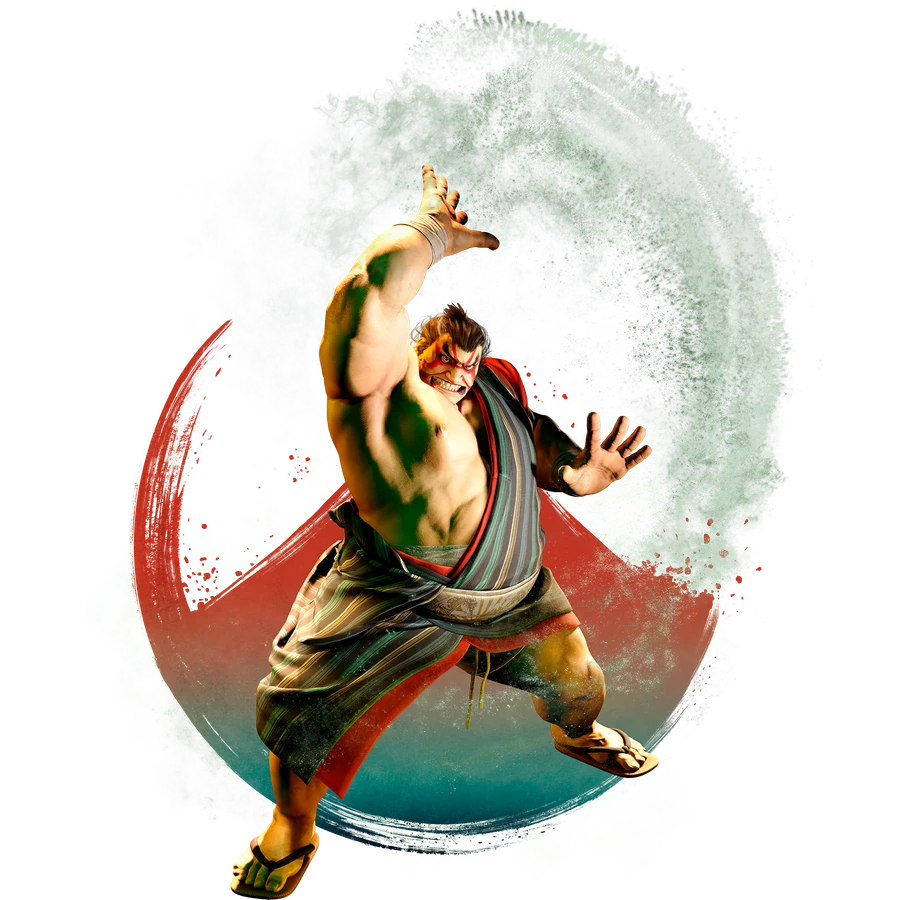
Prepare for the decision after Sumo Smash lands
Dealing with Sumo Headbutt and Sumo Smash is only part of the Honda matchup. When Smash knocks you down, his setplay uses a whiffed crouching light punch to prepare a strike, Oicho Throw, or a wait. Recognize that setup rather than jumping solely because the command throw is frightening.
What to watch for
The deliberately missed light punch
After a Smash hit, the guide uses crouching light punch to consume time. The whiff is part of the setup; it is not necessarily a mistake you can immediately attack.
Standing heavy kick against jump attempts
Honda’s notes explicitly use this strike after the timed Smash setup to catch an opponent avoiding Oicho Throw. Guarding the strike and escaping the grab need different decisions.
How to deal with common situations
You escape Oicho once, then get hit jumping
Check whether Honda changed from the grab to standing heavy kick. Do not repeat the escape just because it beat the previous choice. Prepare a grounded defense against the strike as a separate option.
A blocked special leaves Honda far away
Identify Headbutt or Smash, its version, and the actual landing distance in the frame reference. Test a reaching starter against recovery into guard; a theoretical punish is no help when your attack falls short.
Distance-specific responses
During the approach
Practice Headbutt and Smash as separate visual events. The assessment highlights both as frequent ways in, but that does not make one parry timing or one response suitable for both.
At close normal range
Standing medium punch and repeated crouching light punches appear in the pressure notes. Include the next light attack in your recording before declaring that the first blocked normal ended the turn.
After Smash knocks you down
Look for the timing punch and the next branch. Honda can wait for an invincible reversal as well as strike or grab, so the reversal also needs a risk assessment.
Common mistakes
- Attacking the timing punch as though it were an accidental whiff.
- Jumping every time Oicho Throw is possible.
- Using old landing-advantage numbers for every Sumo Smash contact.
Training mode practice steps
Use your own character as the defender. Turn on the frame meter and input history so you can distinguish a real answer from a mistimed recording.
Defend the Smash setup
Record Smash hit, whiffed crouching light punch, and then Oicho, standing heavy kick, or guard. Verify the knockdown timing. Randomize and note whether you lost to the grab, the jump-catching strike, or the reversal bait.
Check the reach after Headbutt
Record the Headbutt strength you encounter followed by guard. Block it at two distances and test the same starter. Confirm the Punish Counter display before saving it as a response.
Uses Honda’s Sumo Smash, Oicho setup, and close-pressure sections. Older fighter-assessment frame claims are not substituted for the current Frame Data. For current numerical values, use the linked Frame Data page and confirm important situations in Training Mode.