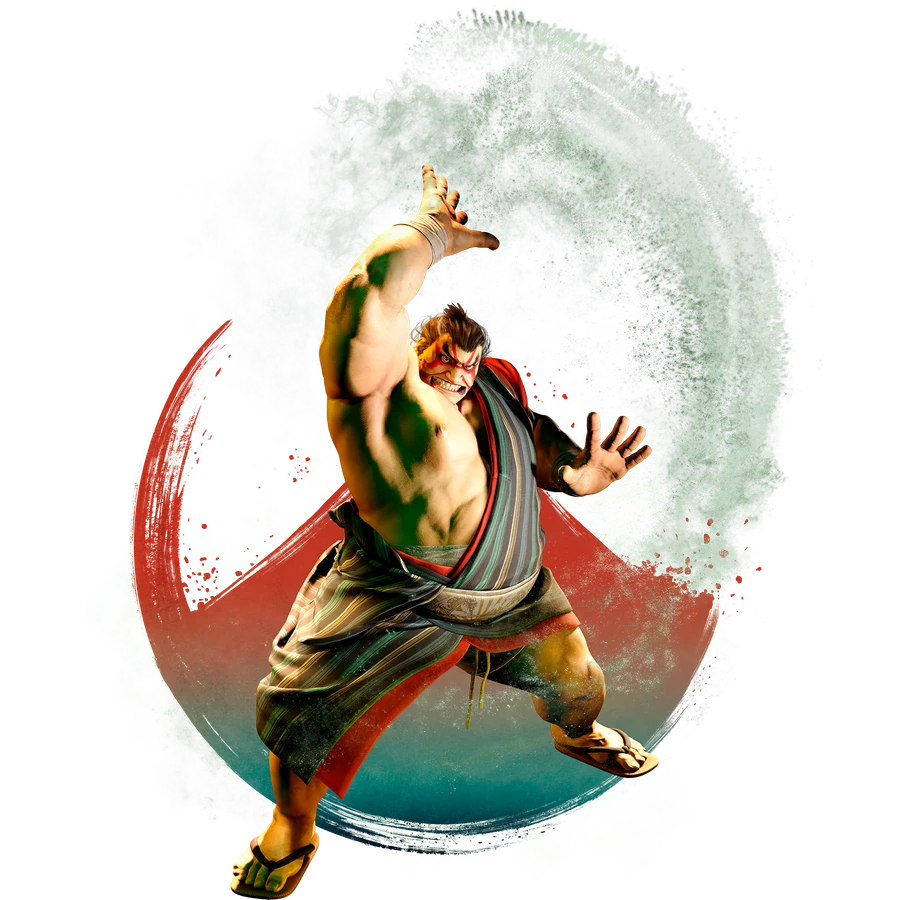
COMBO ROUTESE. HONDA Combos & Okizeme
Practical routes organized by starter, resources, corner position, and knockdown.
YEAR 4 COMBO & OKIZEME GUIDEClassic-control routes are grouped by practical situation. Commands, frame values, and route order are preserved from the current Japanese source guide.
2026-08-31 updatedYear 4 / 2026-08-03 battle balance update
Move names use CAPCOM's official English Frame Data terminology. Route order and numerical values are shared with the Japanese guide.
Jump to a section (16)
CONTENTSESSENTIAL ROUTES01Notation
DR = Parry Drive Rush
CDR = Cancel Drive Rush
PC = Punish Counter
CH = Counter Hit
Hundred Hand Slap = 214P
Sumo Headbutt = [4]6P
Sumo Smash = [2]8K
Oicho Throw = 63214K
Sumo Dash = 236K
Teppo Triple Slap = Sumo Dash > P
Taiho Cannon Lift = Sumo Dash > 2P
Neko Damashi = 22P
Sumo Spirit = 22K
Key changes in the 2026-8-3 version
Sumo Dash
• Total duration: 51F > 44F
• Teppo Triple Slap follow-up is also 1F faster.
• st.MP can now combo into Teppo Triple Slap.
• Teppo Triple Slap travels farther forward.
st.MP
• Whiff recovery: 15F > 17F
• Larger hurtbox on whiff
• Some older Drive Reversal-safe setups no longer work.
cr.HP
• Can cancel directly into SA1 / SA2 / SA3
st.HK
• First hit on block: -11F > -9F
6HK
• Causes a sliding knockdown on grounded PC
10 essential starter combos
1 Basic light-attack route
cr.LP or cr.LK > cr.LP > L Hundred Hand Slap
• Honda's most important light-attack combo
• Can also continue into SA3
Options to check against the opponent's posture: cr.LP > cr.LP > M Sumo Headbutt
Alternatively, finish with H Sumo Smash.
2 Basic st.MP route
st.MP > Sumo Dash > Teppo Triple Slap
• A new main route in Year4
• st.MP: +6F on hit / +1F on block
• Whiffing carries more risk than before.
3 Drive Rush Taiho Cannon Lift
st.MP > CDR > st.MP > st.HP > Sumo Dash > Taiho Cannon Lift
/ Sumo Smash, TC, into follow-ups
4 Midscreen / Taiho Cannon Lift > Sumo Smash
st.MP > CDR > st.MP > st.HP > Taiho Cannon Lift > H Sumo Smash
• Approximately +23F after Sumo Smash
• Continue into a mix-up with Oicho Throw.
5 Taiho Cannon Lift > TC
st.MP > CDR > st.MP > st.HP > Taiho Cannon Lift > DR st.MP > 3HK > cr.HK
• Gain Sumo Spirit
• Switch sides
• Transition into alternative setplay
TCafter Sumo Spirit > +13F
6 corner / Taiho Cannon Lift > >
st.MP > CDR > st.MP > st.HP > Taiho Cannon Lift > > H Sumo Headbutt
• Important Year4 corner route
• Around +42F after H Sumo Headbutt, depending on the situation
7 DI Punish Counter / Midscreen
DI PC > st.HP > Taiho Cannon Lift > Sumo Smash
• Basic meterless option
• Continue into okizeme after Sumo Smash.
8 DI Punish Counter / OD Taiho Cannon Lift
DI PC > st.HP > OD Taiho Cannon Lift > st.HK > Teppo Triple Slap at a high position > SA1
• New Year4 route where st.HK connects after OD Taiho Cannon Lift
9 Corner DI: new Year4 route
DI PC or > st.HP (whenst.HK) > Taiho Cannon Lift > >
• Finishes around +42F
• Easy to transition into a safe jump
10 High-end damage with Sumo Spirit
Taiho Cannon Lift > DR st.HP > CDR > DR st.HK > CDR > Neko Damashi > [Sumo Spirit]M Hundred Hand Slap > H Sumo Headbutt > SA3
• High meter use
• High-end damage option
Direct Super Art cancel from cr.HP
cr.HP > SA1
cr.HP > SA2
cr.HP > SA3
cr.HP > CA
• Important new Year4 option
• Also useful for finishing a round while in Burnout
6HK Punish Counter
6HK PC > M Sumo Headbutt > forward dash
after a forward dash: +4F
From there: strike or Oicho Throw
Continue into this okizeme mix-up.
Frame Advantage by Ender
Sumo Smash grounded hit > +23F
Sumo Headbutt on grounded hit > approximately +40F
Sumo Dash > Teppo Triple Slap first hit > +42F
OD Teppo Triple Slap first hit > +45F
Taiho Cannon Lift > approximately +64F, with a follow-up expected
forward throw > +17F
SA1 > +13F
SA3 > +11F
CA > +34F
1 After Sumo Smash at +23F: first priority
Sumo Smash > +23F
Whiff cr.LP > approximately +7F
From there: H Oicho Throw / st.HK / st.MP / normal throw / wait
A basic midscreen game plan.
2 Sumo Smash > whiff cr.LP > st.HK
Sumo Smash > whiff cr.LP > st.HK
st.HK catches an opponent jumping to avoid Oicho Throw.
On hit, follow with Sumo Headbutt, Hundred Hand Slap, or OD Taiho Cannon Lift.
Choose an appropriate follow-up.
3 Sumo Smash > active frames
Sumo Smash >
Approximate values when connecting on a later active frame
hit: +5F
block: -1F
• Character-specific conditions apply.
• Can also lead to options that avoid invincible reversals or Drive Reversal.
4 Sumo Smash > forward dash
Sumo Smash +23F > forward dash 19F > +4F
From there: cr.LP / normal throw / Oicho Throw
The same forward dash sets up strikes, normal throws, and command throws.
5 Sumo Smash > DR st.MK
Sumo Smash > DR st.MK
Approximate values
hit: +11F
block: +4F
From there: st.HK / Oicho Throw / shimmy
6 Teppo Triple Slap first hit: +42F into a safe jump
Sumo Dash > Teppo Triple Slap first hit > +42F > immediate forward-jumping attack
• basic safe jump
7 Corner Sumo Headbutt: +40F
Sumo Headbutt on grounded hit > +40F
st.LKwhiff > active-frame meaty
Approximate values
hit: +8F
block: +2F
On hit, st.HK combos afterward.
8 Corner Sumo Headbutt > whiff st.LK > forward dash
Sumo Headbutt > whiff st.LK > forward dash
Approx.: +7F
From there: Oicho Throw or strike
Choose between these two threats.
9 Sumo Headbutt > whiff cr.MK > st.MP
Corner Sumo Headbutt at +40F > whiff cr.MK > st.MP
st.MP on a later active frame
Approximate values
hit: +9F
block: +4F
On hit, st.HK combos afterward.
10 corner / Taiho Cannon Lift > > H Sumo Headbutt
Taiho Cannon Lift > > H Sumo Headbutt
Time the following st.MP to connect on a later active frame.
Approximate values
st.MP hit: +8F
st.MP block: +4F
From there: st.HK or a cr.MP hit confirm
11 Teppo Triple Slap ender +41F approximately
Airborne follow-up > Teppo Triple Slap ender > approximately +41F
From there: safe jump, or two forward dashes to approximately +3F > strike / Oicho Throw
12 TC > Sumo Spirit
DR st.MP > TC > Sumo Spirit
> +13F
From there:
/ cr.HP
/ Neko Damashi
Approximate late-active-frame values
On hit: +6F
On block: roughly even
Further options: walk forward into st.MP / throw / Oicho Throw / shimmy
13 TC > forward jump
TC > forward jump > opponent Jump-in
Approximately +3F on landing
From there: crouching light kick or Oicho Throw
Side-switch okizeme.
14 DI PC >
DI PC > > +59F
Whiff cr.LP > approximately +42F > cross-up safe jump
• Prioritizes a side switch and setplay
15 After OD Sumo Headbutt
OD Sumo Headbutt > cr.LKx2 > st.MP
st.MP on a later active frame
Approximate values
block: +4F
• Within M Oicho Throw range
• On hit, follow with st.HK.
easy route
OD Sumo Headbutt > st.MK
> +7F
From there: strike or Oicho Throw
How to establish Oicho Throw
The goal of Honda's setplay
Meaty strike
↓
Make the opponent focus on blocking
↓
Oicho Throw
Oicho Throw has 6F startup in the current version.
Pay particular attention to:
• Sumo Smash: +23F
• Sumo Headbutt: +40F
• Teppo Triple Slap: +41–42F
Use a frame kill from these situations to leave approximately 6–7F of advantage, making a strike / command-throw mix-up easier to establish.
Basic pressure on block
st.MP
block +1F
From there:
> cr.LP
Whiffing is riskier, but +1F on block is unchanged.
cr.LP
block -1F
It can be chain-canceled, so use:
cr.LP > cr.LP
Use this sequence to maintain pressure.
On hit, follow with L Hundred Hand Slap or Sumo Headbutt.
Enhanced Hundred Hand Slap
Hundred Hand Slap enhanced by Sumo Spirit
Light version: 0F on block
Medium / heavy version: -4F on block
OD > block +1F
Enhanced OD Hundred Hand Slap > +1F > continue pressure
OD Sumo Dash > Teppo Triple Slap
OD Teppo Triple Slap first hit: +3F on block
Frame advantage at close range.
From there: cr.LP or Oicho Throw
Vary these choices in the mix-up.
Invincible-Reversal Punishes
Easy, reliable option
cr.HP PC > SA3
In Year4, cr.HP can cancel directly into a Super Art.
Meterless option prioritizing okizeme
st.HP PC > Taiho Cannon Lift > Sumo Smash
corner
st.HP PC > Taiho Cannon Lift > >
10 Practical Starter Routes
1.
cr.LP > cr.LP > L Hundred Hand Slap
2.
st.MP > Sumo Dash > Teppo Triple Slap
3.
st.MP > CDR > st.MP > st.HP > Taiho Cannon Lift
4.
Taiho Cannon Lift > Sumo Smash > cr.LP whiff > Oicho Throw / st.HK
5.
Sumo Smash > forward dash > +4F > strike / throw / Oicho Throw
6.
corner
Taiho Cannon Lift > > H Sumo Headbutt
7. +40F > st.LKwhiff > active frames
8.
+42F > safe jump
9.
DI PC > st.HP > Taiho Cannon Lift > >
10.
cr.HP > SA3
Current Game Plan
duringmove ↓
Taiho Cannon Lift into
↓
Midscreen Sumo Smash
↓
corner > ↓ F ー cost
↓
strike vs Oicho Throw
↓ Okizeme
Notes for Older Guides
Use the following current-version replacements.
• st.MP whiff recovery weakened
> Some Drive Reversal-safe setups no longer work.
• Faster Sumo Dash
• st.MP > Teppo Triple Slap is now possible.
/ corner Taiho Cannon Lift > >
• cr.HP is Super Art-cancelable.
References
• Official Street Fighter 6 balance update information
• Ultimate Frame Data
• Year4 Honda combo and setplay references
• Testing after the 2026-8-3 update
Combo and setplay conditions may vary with spacing, active-frame timing, recovery type, and position relative to the corner.
Recheck in Training Mode before using these routes in matches.
Frame advantage may vary with spacing, airborne hits, recovery options, and corner position. Verify important routes in Training Mode.