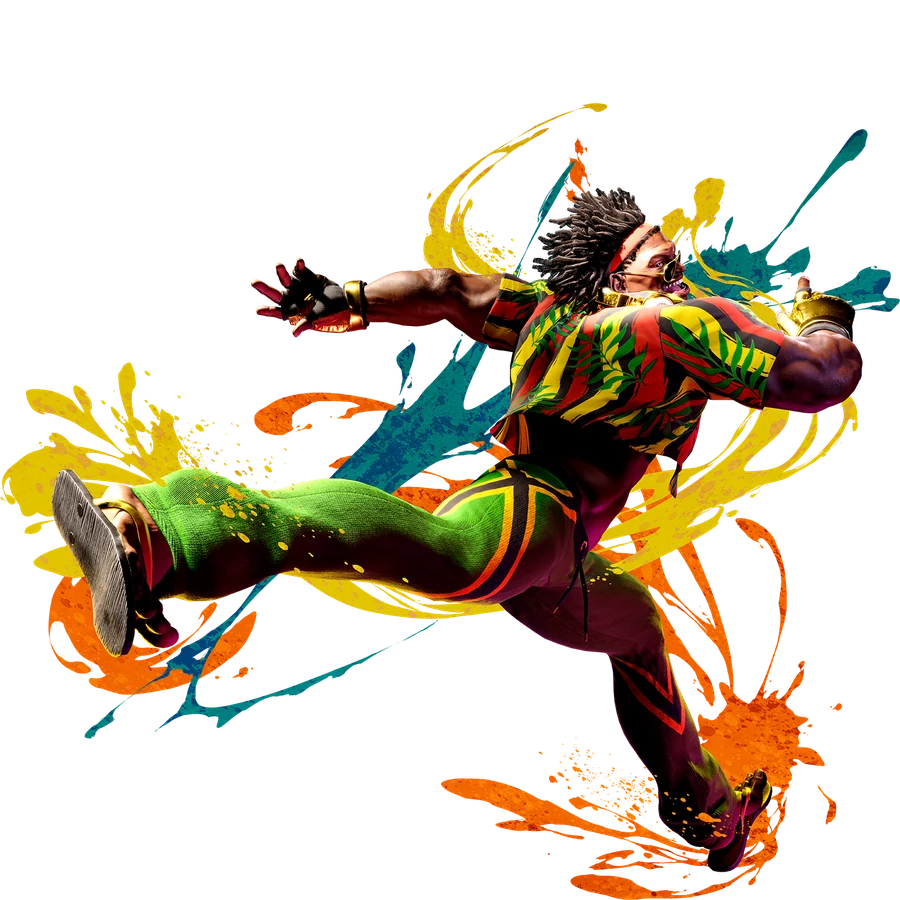
COMBO ROUTESDEE JAY Combos & Okizeme
Practical routes organized by starter, resources, corner position, and knockdown.
YEAR 4 COMBO & OKIZEME GUIDEClassic-control routes are grouped by practical situation. Commands, frame values, and route order are preserved from the current Japanese source guide.
2026-08-31 updatedYear 4 / 2026-08-03 battle balance update
Move names use CAPCOM's official English Frame Data terminology. Route order and numerical values are shared with the Japanese guide.
Jump to a section (20)
CONTENTSESSENTIAL ROUTES01Notation
5 = standing
2 = crouching
4 = back
6 = forward
DR = Parry Drive Rush
CDR = Cancel Drive Rush
PC = Punish Counter
CH = Counter Hit
Air Slasher = charge 4, then 6P
Jackknife Maximum = charge 2, then 8K
Rolling Sobat = 236K
Machine Gun Uppercut = 214P
Jus Cool = 214K
Jus Cool follow-ups
LK = Funky Slicer (low)
MK = Waning Moon (overhead)
HK = Maximum Strike
Key changes in the 2026-8-3 version
OD Machine Gun Uppercut
Previously: +23F after a hit
Current version: +52F after a hit
A forward dash takes 19F.
OD Machine Gun Uppercut > two forward dashes > +14F
Light attacks
st.LP / st.LK / cr.LP / cr.LK
• Reduced pushback on hit
• Reduced pushback on block
6MK Sunrise Heel
• Causes a ground bounce on airborne hit
OD Double Rolling Sobat
Waning Moon
• Throw invulnerability added
L Jackknife Maximum
• Hold back after activation to reduce forward movement.
10 essential starter combos
1 Basic light-attack route
st.LP > cr.LP > Quick Rolling Sobat
2 Basic st.MP route: prioritize the resulting situation
st.MP > st.LK > H Double Rolling Sobat
• Approximately +2F after H Double Rolling Sobat
• cr.MP / throw / walk-back shimmy
3 st.MP SA3
st.MP > st.LK > Quick Rolling Sobat > SA3
4 st.MP corner carry + Okizeme
st.MP > st.LK > CDR > cr.LP > cr.HP > cr.MP > H Jackknife Maximum
• Approximately +42F after H Jackknife Maximum on grounded hit
5 Basic cr.MP > OD Jus Cool route
cr.MP > OD Jus Cool > HK variation > delayed H Jackknife Maximum
6 Damage from cr.MP > OD Jus Cool
cr.MP > OD Jus Cool > MK variation > H Double Rolling Sobat
Alternative: > SA1
7 OD Jus Cool SA3
cr.MP > OD Jus Cool > HK variation > OD Double Rolling Sobat > SA3
8 Meterless heavy-attack starter
cr.HP > cr.MP > L Machine Gun Uppercut
9 cr.HP corner carry
cr.HP > cr.MP > CDR > st.MP > cr.HP > cr.MP > H Jackknife Maximum
• H Jackknife Maximum ender: +42F
10 cr.HP SA3
cr.HP > cr.MP > CDR > cr.HP > st.HP > M Machine Gun Uppercut > SA3
Finish the round from light attacks
st.LP > cr.LP > CDR > cr.LP > cr.HP > cr.MP > Quick Rolling Sobat > SA3
st.HK Punish Counter
st.HK PC > DR > st.MP > cr.HP > cr.MP > H Jackknife Maximum
Without spending Drive Gauge: st.HK PC > cr.HK
Alternatively, finish with H Double Rolling Sobat.
cr.HP Punish Counter
cr.HP PC > st.HP > M Machine Gun Uppercut
From farther away: cr.HP PC > H Jackknife Maximum
Corner basics
Meterless corner route
cr.HP > cr.MP > M Jackknife Maximum > H Jackknife Maximum
• Approximately +37F after the final H Jackknife Maximum
• Continue into a Knee Shot safe jump.
Corner punish for a large opening
st.HP PC > 4HK > OD Air Slasher > st.LK > OD Jus Cool > HK variation > Quick Rolling Sobat > H Jackknife Maximum
High-end corner damage
j.HP > 4HK hit 2 > OD Jus Cool HK variation > OD Air Slasher > Jus Cool HK variation > OD Air Slasher > Jus Cool HK variation > H Double Rolling Sobat hit 1 > SA3
DI wall splat
DI wall splat > st.MP > MP > HP > H Jackknife Maximum
Frame Advantage by Ender
cr.HK > +33F
Quick Rolling Sobat > +34F
H Double Rolling Sobat > grounded hit +2F
M Jackknife Maximum > +41F
H Jackknife Maximum > +42F
H Machine Gun Uppercut > +40F approximately
OD Machine Gun Uppercut > +52F
forward throw > +34F
back throw > +22F
1 +42F: basicsafe jump
H Jackknife Maximum on grounded hit > +42F > immediate forward-jumping attack
In the corner, neutral-jump HK is another safe-jump option.
Midscreen
H Jackknife Maximum > two forward dashes > +4F > cr.MP / throw / shimmy / Jus Cool
2 +37F: Knee Shotsafe jump
+37F > forward jump > immediate Knee Shot
Examples: corner M Jackknife Maximum > H Jackknife Maximum, or Quick Rolling Sobat on grounded hit
3 +43F: L Jackknife Maximum safe jump
From +43F > L Jackknife Maximum > j.HP
• L Jackknife Maximum adjusts the timing and trajectory.
4 cr.HK +33F
cr.HK > whiff st.LP > 6MK
Time 6MK to connect on a later active frame.
Approximate result: +6F on hit / +2F on block / within throw range
> st.LK / cr.MP / throw
5 Quick Rolling Sobat +34F
Quick Rolling Sobat > DR
DR 6MK: approximately +5F on block, within throw range
Alternatively, DR st.MP: approximately +6F on block
6 forward throw +34F
forward throw > forward dash > DR > DR st.MP / throw / Jus Cool
Alternative: forward throw > direct DR > delay cr.HK by approximately 1F
• Approximately +2F at point-blank range on block
7 Corner Quick Rolling Sobat: +37F
Quick Rolling Sobat > cr.LPx2 > st.MP active-frame meaty
Alternatively:
Quick Rolling Sobat > immediate Knee Shot > safe jump
8 Year4 Important: OD Machine Gun Uppercut +52F
OD Machine Gun Uppercut > +52F
Two forward dashes leave approximately +14F at point-blank range.
> Meaty strike / throw / delayed throw / shimmy / Jus Cool / block an invincible reversal
9 After st.MP is blocked
st.MP: +2F on block
• cr.LP: frame trap against a 4F button
• Walk back > cr.MP: whiff-punish throw techs or button presses
• Walk back and wait
• st.MP > MP > HP: target-combo frame trap
10 DR st.MP
DR st.MP: +6F on block
> Walk forward slightly into a throw / st.MP / cr.MP / walk-back shimmy
After H Double Rolling Sobat hits
H Double Rolling Sobat: approximately +2F at close range
• cr.LP / cr.MP: frame trap
• Throw
• Immediately walk back for a shimmy
Jus Cool mix-ups
LK follow-up: Funky Slicer — low
MK follow-up: Waning Moon — overhead / +1F on block / throw-invulnerable in the current version
HK follow-up: Maximum Strike — combos and airborne conversions
OD Jus Cool
OD LK > low
OD MK > overhead
OD HK > Combo starter
Chip pressure against Burnout
Midscreen example
6MK > st.LK > OD Air Slasher > cr.MP > OD Double Rolling Sobat > SA3 / SA2
corner
H Air Slasher > cr.MP > H Air Slasher
If the opponent presses buttons: st.LP CH > cr.MP > H Air Slasher
Invincible-Reversal Punishes
basic
cr.HP PC > st.HP > M Machine Gun Uppercut
Spend Drive Gauge to extend: cr.HP PC > cr.HP > cr.MP > CDR…
In the corner, incorporate OD Jus Cool, OD Air Slasher, and similar extensions.
10 Practical Starter Routes
1. st.LP > cr.LP > Quick Rolling Sobat
2. st.MP > st.LK > H Double Rolling Sobat > +2F > throw / strike / shimmy
3. st.MP > st.LK > Quick Rolling Sobat > SA3
4. cr.HP > cr.MP > L Machine Gun Uppercut
5. cr.MP > OD Jus Cool HK > H Jackknife Maximum
6. cr.MP > OD Jus Cool HK > OD Double Rolling Sobat > SA3
7. Combo > H Jackknife Maximum > +42F > safe jump
8. Quick Rolling Sobat / +37F > Knee Shot safe jump
9. OD Machine Gun Uppercut > two forward dashes > +14F okizeme
10. DR st.MP > strike / throw / shimmy
Current Game Plan
Approach with fast Drive Rush
↓
Confirm st.MP or light attacks
↓
Combo
↓
Gain an advantageous situation with H Jackknife Maximum or OD Machine Gun Uppercut
↓
Strike / throw / shimmy / Jus Cool
↓
Repeat the Drive Rush approach and mix-up
Notes for Older Guides
• OD Machine Gun Uppercut: previously +23F, now +52F
• OD Double Rolling Sobat: now 17F startup
• L Jackknife Maximum: hold back to adjust movement
• 6MK Sunrise Heel: ground bounce on airborne hit
• st.LP / st.LK / cr.LP / cr.LK: reduced knockback
• Waning Moon: throw invulnerability added
References
• Official Street Fighter 6 balance update information
• Ultimate Frame Data
• Year4 Dee Jay combo references
• Year4 Dee Jay setplay references
• Testing after the 2026-8-3 update
Combo and setplay conditions may vary with spacing, recovery type, active-frame timing, and position relative to the corner. Recheck in Training Mode before using them in matches.
Frame advantage may vary with spacing, airborne hits, recovery options, and corner position. Verify important routes in Training Mode.