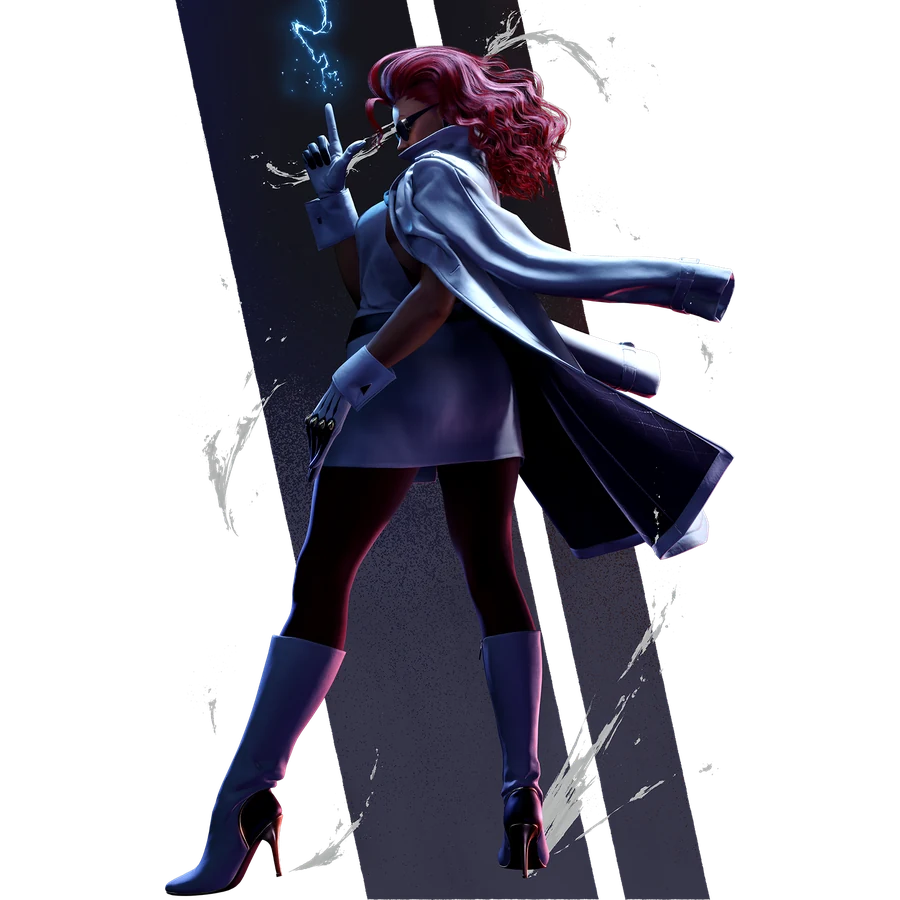
Follow the feint and the actual recovery, not the first wind-up
C. Viper’s Thunder Dash sequences can include Tracer Combination, a dash, or a feint used to arrange another attack. A canceled wind-up is not the same event as a completed special. Record the full path that reached you before deciding where to interrupt or punish.
What to watch for
Thunder Dash into Tracer Combination
The current guide follows a close heavy Thunder route with Tracer Combination and a dash, then throw, medium punch, low kick, or shimmy. The recovery choice and contact distance matter to the resulting spacing.
A Thunder feint used as a timing action
One setplay replaces movement with a medium Thunder feint before crouching light punch. If you remove that cancel from the recording, you have changed the wake-up timing you intended to test.
How to deal with common situations
You try to punish the first Thunder animation
First distinguish a completed Thunder Dash from a feint. Use the completed version’s frame row only for that event. Test your interruption against the follow-up normal too, rather than assuming the cancel leaves the same recovery.
A corner light kick misses before medium punch arrives
The source uses that whiff to time the next attack after a close Thunder/Tracer ending. Do not chase the light kick. Recreate the close contact and recovery choice before trying your own wake-up button.
Distance-specific responses
Outside the completed Thunder
Observe whether Viper finishes the move or cancels its start. A punish aimed at recovery needs the completed attack; an interrupt aimed at a feint needs a different test.
At low-kick range
The assessment highlights high-jump-cancel routes from crouching medium kick. Keep the subsequent special in the recording so an answer to the normal alone is not mistaken for an answer to the route.
Close after Tracer
The setplay source itself qualifies some shimmy options by distance and recovery. Use the exact recorded position rather than assuming every backstep creates the same missed throw-tech.
Common mistakes
- Treating a feint as a completed special’s recovery.
- Dropping Tracer Combination from a training recording.
- Copying an unlabeled old Burning Kick punish number across contact heights.
Training mode practice steps
Use your own character as the defender. Turn on the frame meter and input history so you can distinguish a real answer from a mistimed recording.
Distinguish completion from cancel
Record Thunder Dash followed by guard and a separate Thunder feint into a normal. Try your chosen button against each and label whether it punishes recovery or interrupts a gap. Vary the feint timing before trusting the result.
Match the Tracer spacing
Copy heavy Thunder into Tracer and dash from the combo page. Record medium punch, throw, and wait. Use the same recovery option as the replay, then repeat with the alternate recovery to expose spacing assumptions.
Uses C. Viper’s heavy-Thunder/Tracer, timing-feint, and corner medium-punch setups. English names follow the official-reference move list; incomplete older counter-note numbers are excluded. For current numerical values, use the linked Frame Data page and confirm important situations in Training Mode.