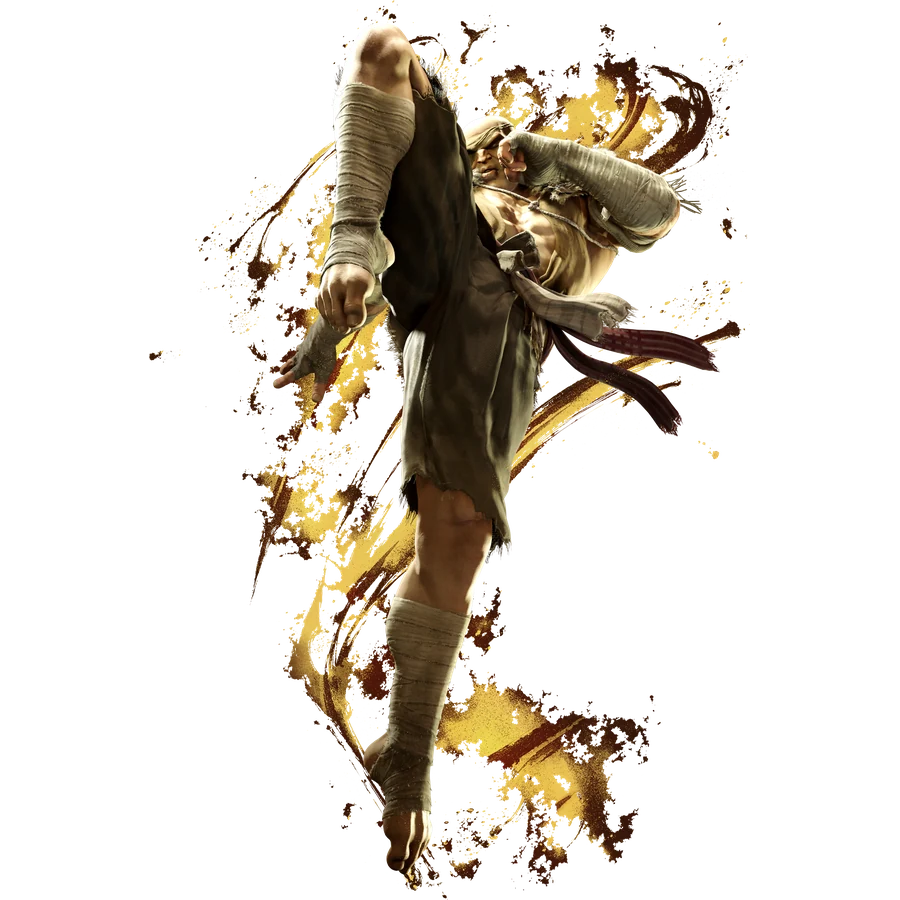
COMBO ROUTESSAGAT Combos & Okizeme
Practical routes organized by starter, resources, corner position, and knockdown.
YEAR 4 COMBO & OKIZEME GUIDEClassic-control routes are grouped by practical situation. Commands, frame values, and route order are preserved from the current Japanese source guide.
2026-08-31 updatedYear 4 / 2026-08-03 battle balance update
Move names use CAPCOM's official English Frame Data terminology. Route order and numerical values are shared with the Japanese guide.
Jump to a section (17)
CONTENTSESSENTIAL ROUTES01Notation
DR = raw Drive Rush
CDR = Cancel Drive Rush
PC = Punish Counter
CH = Counter Hit
Low Tiger Shot = 236LP
High Tiger Shot = 236MP / HP
Tiger Uppercut = 623P
Tiger Knee Crush = 236K
Tiger Nexus = 214K
Tiger Nexus follow-ups: LK = Mighty Tiger; MK = Greedy Tiger; HK = Nova Tiger.
SA1 Tiger Cannon = 236236P
SA2 Savage Tiger = 214214K
SA3 Tiger Vanquisher = 236236K
Key changes in the 2026-8-3 version
cr.MP
cr.MP: 7F startup / +4F on hit / -1F on block. Year 4 added 15% starter scaling, reducing damage in longer combos that start with it. Using it partway through a combo is unaffected.
st.LK
Normal-hit advantage changed from -1F to 0F. Cancel Drive Rush becomes available 1F later. On Punish Counter, a practical route connects CDR into st.MP.
st.MK > HK target combo
The 2nd hit's startup changed from 19F to 16F, with a dedicated hitbox that connects more easily against low profiles. Leaves +38F on hit, improving wake-up pressure.
cr.MP > HP
The 2nd hit's damage increased from 600 to 700.
cr.MP > HK
Damage increased from 1000 to 1100.
OD Tiger Nexus > Mighty Tiger
Block disadvantage changed from -5F to -3F.
Neutral
st.MK is riskier on whiff. cr.MK has more block pushback, making immediate throws after blocked DR cr.MK harder to reach. DR cr.MK is better suited to covering invincible options, while DR cr.MP makes throw pressure easier.
10 essential starter combos
1. Reliable light-attack route
cr.LK > cr.LK > st.LP > M Tiger Uppercut
Easy and does not require a standing/crouching confirm. M Tiger Uppercut leaves approximately +27F.
2. Light attacks into Tiger Nexus
cr.LP > st.LP > L Tiger Nexus > Mighty Tiger
Mighty Tiger is +3 on hit, allowing continued pressure without a knockdown.
When you confirm a standing opponent
cr.LK > st.LP > L Tiger Nexus > Greedy Tiger
3. Basic st.MP route
st.MP > cr.LP > M Tiger Uppercut
st.MP: 6F startup / +4 on hit / +2 on block.
point-blank
st.MP > st.MP > st.LP > M Tiger Uppercut
4 Basic cr.MP route
cr.MP > M Tiger Nexus > Mighty Tiger
Year 4 added cr.MP starter scaling. Keeping meter and continuing pressure at +3 is also strong.
5. Basic cr.MP Drive Rush route
cr.MP > CDR > st.MP > 4HP > H Tiger Knee Crush > L Tiger Uppercut
SA3
> L Tiger Uppercut > SA3
6 Okizeme focus Drive Rush
cr.MP > CDR st.MP > st.HK hit 1 > H Tiger Nexus > Nova Tiger > 6HK
Prioritizes carry and wake-up pressure over damage, fitting Year 4's cr.MP scaling change.
7 st.MPCounter Hit
st.MP CH > 4HP > H Tiger Knee Crush > L Tiger Uppercut
Near tip range
st.MP CH > cr.MP > H Tiger Uppercut
8. st.MK > HK target combo
st.MK > HK
Leaves +38F on hit. The 2nd hit starts in 16F in Year 4. Continue into late-active H Tiger Knee Crush setplay.
9 6HK starter
6HK > cr.MP > H Tiger Knee Crush
corner
6HK > cr.MP > OD Tiger Knee Crush > L Tiger Uppercut
6HK whiffs against crouching opponents.
10 Jump-in
j.HP > 4HP > H Tiger Knee Crush > L Tiger Uppercut
easy
j.HP > cr.HP > H Tiger Uppercut
New in Year 4: 6HK PC combo
basic
6HK PC > 4HP > M High Tiger Shot > 6HK > M Tiger Uppercut
New Year 4 route
6HK PC > st.HK hit 2 > OD Tiger Nexus > Greedy Tiger > 4HP > fully charged H Tiger Uppercut
SA3
6HK PC > st.HK 2nd hit > OD Tiger Nexus > Greedy Tiger > 4HP > clean H Tiger Knee Crush > M Tiger Uppercut > SA3
cr.MP Punish Counter target combo
cr.MP PC > HP > H Tiger Uppercut
Year 4 increased the 2nd hit's damage to 700.
Meter-spending option
cr.MP PC > HP > OD Tiger Nexus > Nova Tiger > 6HK > SA
cr.MP's 15% starter scaling makes meter use less efficient than in the older version.
5 LK PC
st.LK PC > CDR > st.MP > 4HP > H Tiger Knee Crush > L Tiger Uppercut
Useful for distant -7F punishes, for example. st.MP does not combo on normal hit; this route requires a Punish Counter confirm.
Invincible-Reversal Punishes
easy
6HK PC > 4HP > H Tiger Knee Crush > L Tiger Uppercut
corner Year4
6HK PC > st.HK hit 2 > OD Tiger Nexus > Greedy Tiger > 4HP > fully charged H Tiger Uppercut
Maximum-damage option
6HK PC > 4HP > M High Tiger Shot > DR st.HK > CDR st.HK > CDR st.HK > H Tiger Knee Crush > L Tiger Uppercut > SA3
Clean Drive Impact hit
easy
DI PC > wait briefly > airborne 4HP hit > fully charged H Tiger Uppercut
Near-maximum damage option
DI PC > 4HPgrounded hit > M High Tiger Shot > DR cr.MP > CDR 4HP > H Tiger Knee Crush > M Tiger Uppercut > SA3
Corner combos
basic
4HP > M High Tiger Shot > 6HK > M Tiger Uppercut
At point-blank range in the corner, M High Tiger Shot may need a slight delay.
DR overhead
DR 6MP > cr.MP > OD Tiger Knee Crush > L Tiger Uppercut
Jump-in
j.HP > cr.HP > OD Tiger Knee Crush > L Tiger Uppercut
SA1 Tiger Cannon
Startup: 7F; damage: 2200; strike and throw invincibility during 1–13F.
After a hit
> +22…34F
easy Combo
OD High Tiger Shot > SA1
SA2 Savage Tiger
Regular version
> 3000
Forward follow-up: less damage, but a follow-up opportunity at +53F.
Back / down follow-ups change the knockdown situation.
Example
st.MP > cr.LP > SA2forward variation > DR 4HP > fully charged H Tiger Uppercut
Key Frame Advantage by Ender
st.MK > HK TC > +38F
st.HP > HK TC > +39F
L Tiger Uppercut > +32F
M Tiger Uppercut > +27F
H Tiger Uppercut > +27F
fully charged H Tiger Uppercut > +23F
L Tiger Knee Crush > +36…46F
M Tiger Knee Crush > +39…49F
H Tiger Knee Crush > +41…47F
OD Tiger Knee Crush > +44–65F with a follow-up available
Greedy Tiger > follow-up opportunity at +48F
Nova Tiger > follow-up opportunity at +62F
forward throw > +21F
back throw > +21F
cr.HK > +29F
SA1 > +22…34F
SA2 down follow-up > +19F
SA3 > +15F
Tiger Knee Crush's advantage varies with active-frame timing and airborne hit height.
1. st.MK > HK at +38 into H Tiger Knee Crush
st.MK > HK > +38F
H Tiger Knee Crushactive-frame meaty
block > +4F
From there:
• st.MP
• throw
• walk-back shimmy
2. st.HP > HK at +39 into H Tiger Knee Crush
st.HP > HK > +39F
H Tiger Knee Crushactive frames
block > +5F
From there:
Options: st.MP, walk-up throw, or shimmy.
3 L Tiger Uppercut +32 > DR
L Tiger Uppercut > +32F
Options
• DR 6MP
• DR cr.MK
• DR st.MP
• DR throw
corner
L Tiger Uppercut > cr.MP whiff > st.MP active frames
Approximate values
hit: +7F
block: +3F
4. Low airborne L Tiger Uppercut at +34 into DR overhead
L Tiger Uppercut connects low in an aerial combo > +34F
DR 6MP on a later active frame
Approximate values
hit: +9F
block: +4F
On a corner hit, 4HP connects more easily afterward.
5 H Tiger Uppercut +27 > forward dash
H Tiger Uppercut > +27F
forward dash 23F > +4F
Midscreen Option
Options: st.MP, cr.MK, walk forward slightly and throw, or confirm a parry attempt and throw.
In the corner, a throw reaches after the forward dash.
6 fully charged H Tiger Uppercut +23 > M Tiger Knee Crush
fully charged H Tiger Uppercut > +23F
M Tiger Knee Crush meaty
Standing block: approximately +1F.
Crouching block: approximately +2F.
Easy to use both midscreen and in the corner.
7 L Tiger Knee Crush +36
L Tiger Knee Crush > +36F
forward dash > +13F
> cr.HP active-frame meaty
Alternative option
Options: DR st.MP, DR throw, or DR then wait.
corner
cr.MK whiff > st.MP active frames
8 M Tiger Knee Crush +39
M Tiger Knee Crush > +39F
Midscreen
forward dash > +16F > st.HP active frames
corner
cr.HP whiff > +4F > throw
9. H Tiger Knee Crush at +41 into a corner overhead/low mix-up
H Tiger Knee Crush > +41F
overhead
st.LP whiff > 6MPactive frames
Approximate values
hit: +5F
block: 0F
low
Whiff st.LP > chain-cancel into another whiffed st.LP > late-active cr.MK
Approximate values
On hit: approximately +7F. On block: approximately 0F.
10. Airborne H Tiger Knee Crush at +42 into a safe jump
H Tiger Knee Crushairborne hit > +42F
> forward jump HP > safe jump
Grounded option
cr.LK whiff > 6MPactive frames
Approximate values
hit: +5F
block: 0F
11 6HKairborne hit +48
For example, Tiger Nexus > Nova Tiger > 6HK.
> +48F
two forward dashes > +2F
From there:
> throw
Alternative option
M Tiger Knee Crush > point-blank+2F approximately > throw / shimmy
12 forward throw +21
forward throw > +21F
The forward dash takes 23F, so this does not give a simple throw loop.
forward throw > L Tiger Knee Crush
Crouching block: approximately +2F.
Standing block: approximately 0F.
DR cr.MKimmediate
Approximate advantage from a late-active meaty
hit: +10F
block: +4F
Year 4's increased block pushback makes a direct throw harder to reach.
13. st.MP at +2 on block: the core of close pressure
st.MP > block +2F
From there:
Options: cr.LP, st.MP, cr.MK, a slight walk-up throw, or walk-back shimmy.
st.MP is central to Sagat's close-range game.
14 CDR st.MP +6
cr.MP > CDR > st.MP block
> +6F
From there:
Options: repeated st.MP, delayed throw, cr.MK, or st.HK into Tiger Nexus.
With lower cr.MP starter damage in Year 4, using the sequence for block pressure has become relatively more valuable.
15 OD Tiger Nexus > Mighty Tiger【Year4】
OD Tiger Nexus > Mighty Tiger
block > -3F
Regular version
> -5F
Tiger Nexus Counter Hit
L Tiger Nexus CH > Mighty Tiger > M Tiger Uppercut
Alternative option
Tiger Nexus CH > Nova Tiger > DR cr.MP > HP > H Tiger Knee Crush
10 Practical Starter Routes
1.
cr.LKx2 > st.LP > M Tiger Uppercut
2.
st.MP > cr.LP > M Tiger Uppercut
3.
cr.MP > M Tiger Nexus > Mighty Tiger
4.
cr.MP > CDR > st.MP > 4HP > H Tiger Knee Crush > L Tiger Uppercut
5.
st.MP CH > 4HP > H Tiger Knee Crush > L Tiger Uppercut
6. st.MK > HK > +38 > late-active H Tiger Knee Crush
7.
6HK PC > 4HP > H Tiger Knee Crush > L Tiger Uppercut
8.
L Tiger Uppercut+32 > DR 6MP / st.MP / throw
9. Airborne H Tiger Knee Crush at +42 > forward j.HP safe jump
10. st.MP at +2 on block > light attack / walk-up throw / shimmy
Current Game Plan
Make the opponent move with Tiger Shot > play grounded neutral with st.MP / cr.MP / st.MK > carry hits with Tiger Knee Crush / Tiger Uppercut > reach the corner > H Tiger Knee Crush at +42 > safe jump > strike/throw pressure around st.MP at +2 > counter opponents who interrupt > convert for damage > punish large openings with 6HK PC.
Notes for Older Guides
Use the following current-version replacements.
cr.MP applies 15% starter scaling.
st.LK is 0F on hit.
st.MK > HK: the 2nd hit starts in 16F.
cr.MP > HP: the 2nd hit deals 700 damage.
cr.MP > HK deals 1100 damage.
DR cr.MK has more block pushback, making throw pressure harder to reach.
OD Tiger Nexus > Mighty Tiger is -3F on block.
References
Sources: official Street Fighter 6 battle adjustments; Ultimate Frame Data, August 2026 version; Sagat combo material updated 2026-8-14; Year 4 analysis dated 2026-8-8; Sagat setplay material for this version; 2026-8-3 adjustment differences.
Combo and setplay conditions and advantage can vary with spacing, late-active timing, airborne hit height, and position relative to the corner.
Tiger Knee Crush in particular has different advantage depending on contact height and spacing.
Recheck in Training Mode before using these routes in matches.
Frame advantage may vary with spacing, airborne hits, recovery options, and corner position. Verify important routes in Training Mode.