5 = standing 2 = crouching 4 = back 6 = forward
DR = Parry Drive Rush CDR = Cancel Drive Rush PC = Punish Counter CH = Counter Hit
Triglav = 22P Stribog = 236P Departure = 214P Amnesia = 22K Torbalan = 236K Embrace = 214K
FIGHTER GUIDE IORI'S STRATEGY
Use this hub to reach practical combos, move data, matchup notes, frame data, and Iori's published videos for JP.
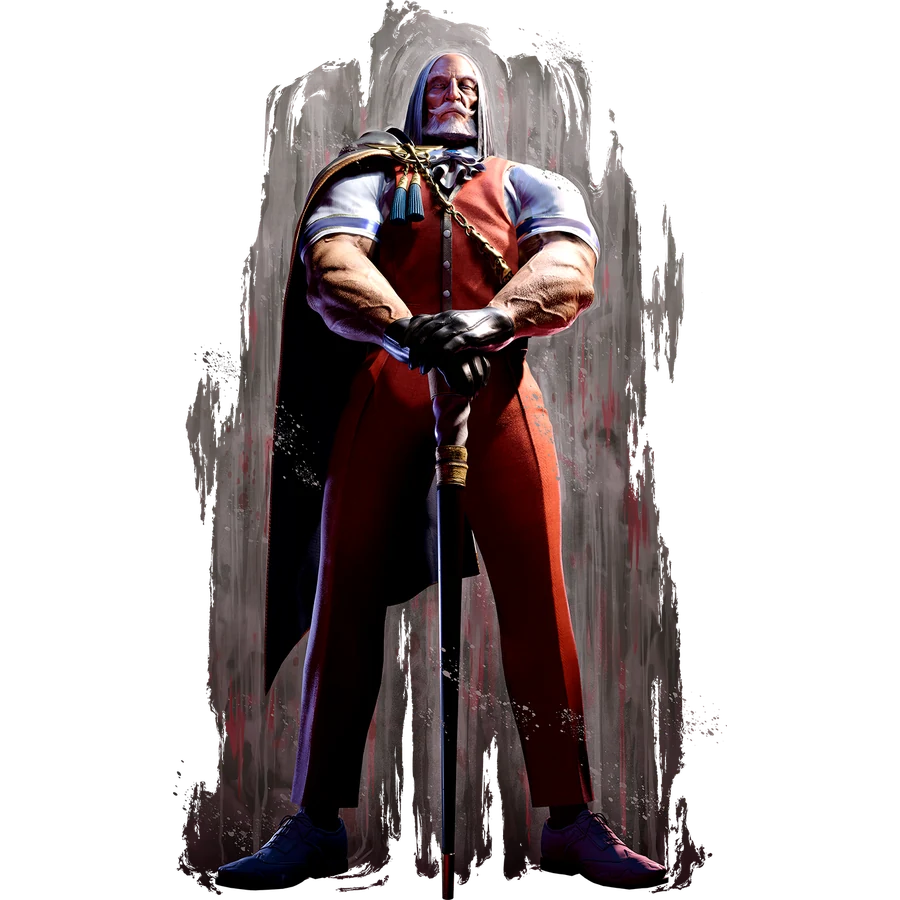
Practical routes organized by starter, resources, corner position, and knockdown.
Classic-control routes are grouped by practical situation. Commands, frame values, and route order are preserved from the current Japanese source guide.
Move names use CAPCOM's official English Frame Data terminology. Route order and numerical values are shared with the Japanese guide.
5 = standing 2 = crouching 4 = back 6 = forward
DR = Parry Drive Rush CDR = Cancel Drive Rush PC = Punish Counter CH = Counter Hit
Triglav = 22P Stribog = 236P Departure = 214P Amnesia = 22K Torbalan = 236K Embrace = 214K
• When OD Amnesia counters a normal throw, JP has 4F more recovery. • Older guaranteed routes such as OD Amnesia > back throw PC > detonation > large combo need rechecking in the current version. • The proximity-guard detection for st.HP and L / M / OD Stribog was adjusted. • L Stribog's attack hitbox extends farther forward.
• Corner forward-throw spacing and situations changed, weakening the old throw loop. • While Departure is set, normals such as st.MP / st.HK / cr.LK / cr.MK can cancel into its manual detonation follow-up.
cr.LP x1…2 > st.LP > L Stribog
• Basic close-range defensive button or punish route • After L Stribog: +38F
st.MK > M Stribog
• Basic route from a midscreen poke • Simple and frequently useful in matches
cr.MP > st.LK > L Stribog
• Close range only • Basic route when cr.MP connects
cr.MP or st.MK > CDR > cr.HP > H Stribog > M Torbalan > H Triglav
• Main high-damage midscreen route • SA3 can be added.
st.HP > L Torbalan
• Combos on hit • Important pressure sequence on block • Follow with a Departure setup or zoning.
st.HK > HP > M Stribog
• Basic st.HK starter • st.HK alone is plus on block, so stopping before the target combo is also important.
st.HP PC > H Stribog > M Torbalan > H Triglav
• Large meterless midscreen punish • At longer range, switch to an option such as st.HP PC > DR > st.HP…
DR > 6MK > cr.MP > M Stribog
For more damage: DR > 6MK > cr.MP > CDR > cr.HP > M Torbalan > H Triglav
DI PC > walk forward slightly > st.HP on airborne hit > H Stribog > M Torbalan > Triglav
• Basic midscreen DI route
st.HK > cr.MP > OD Stribog > DR > 6HK > M Stribog > st.HP > Triglav
• Practical high-damage corner route
H Stribog > M Torbalan > H Triglav
A basic sequence for JP's high-damage midscreen combos.
M Stribog > st.HP > Triglav
Frequently used in corner combos.
DI wall splat > 6HK > M Stribog > st.HP > Triglav
corner cr.LK > st.LP > CDR > cr.LP > st.MK > M Stribog > cr.HP > SA1 / SA3
High-meter example LP x2 > CDR > LP > st.MK > CDR > 6HK > L Torbalan > 6HK > M Stribog > st.HP > Triglav > SA3
Large corner punish option
DR 6HK PC > L Torbalan > 6HK > M Stribog > st.HP > OD Torbalan > Triglav > L Stribog > SA3
• High meter cost • High-end punish option for a large opening
L Stribog > +38F
M Stribog > +42F
Triglav > +44F
OD Triglav > +53F
L Torbalan grounded hit > +42F or more
Embrace > +18F
forward throw > +23F
SA3 > +23F
M Stribog grounded hit Alternatively: L Torbalan grounded hit
> +42F > immediateforward jump HK
• basic safe jump
Alternative: +42F > whiff cr.MK > st.HK late-active-frame meaty
Approximate values • On hit: +10F • On block: +5F
forward throw > +23F
forward dash > 22F
forward throw > forward dash > +1F
From there: throw or cr.LP
Spend Drive Gauge: forward throw > DR > st.HK late-active-frame meaty
Approximate values • On hit: +12F • On block: +7F
Since 2026-3, this is no longer the strong meterless throw loop it used to be.
corner 4MP > MP > M Stribog > cr.HP
After cr.HP hits an airborne opponent, cancel into M or H Torbalan to connect on a later active frame.
Approximate values hit: +11F block: -3F
• Creates a high / low mix-up • Torbalan's projectile also provides some protection against wake-up options such as SA1. • Use a Torbalan feint when expecting an invincible reversal.
st.HP on airborne hit > set Departure
Approximate values > +15F approximately
From there: • Manually detonate Departure • Slightly delayed st.HK • Forward throw • Walk-back shimmy • Departure teleport
A basic part of JP's corner pressure.
st.HP on airborne hit > Triglav > OD Departure
Approximate values > +4…+6F
From there: • Forward throw • cr.MP > L Stribog • Departure teleport • Throw after landing • j.HK • j.LK on the way up • cr.MK
A strong corner mix-up using a projectile setup.
Just before Departure detonates automatically, time cr.MK, 6MK, M Torbalan, or H Torbalan to connect.
On hit, the following Departure explosion can launch the opponent for a conversion.
Basic loop: automatic Departure detonation > mix-up > set Departure again
While Departure is set
st.MP or cr.MK > manual detonation
Alternatively:
st.MP or cr.MK > Departure teleport
Establish normal attack > manual detonation first. Mix in teleports if the opponent responds with Perfect Parry or similar options.
st.HP > L Torbalan
• Combos on hit • Also serves as pressure on block
Complementary options
st.HP > L Torbalan feint
st.HP > OD Torbalan
st.HP > CDR > cr.MK
st.HP > CDR > 4MP
Since 2026-8-3, the change to st.HP's proximity-guard detection makes it harder to hold opponents in guard at midrange as casually as before.
After Amnesia activates successfully, the generated projectiles explode after a delay.
A safer midscreen choice: successful Amnesia > backdash > set Departure
Time these with the explosion:
DR > throw DR > st.HK DR > 6MK DR > cr.MK
Since 2026-8-3, JP has 4F more recovery after OD Amnesia counters a normal throw.
Older routes such as OD Amnesia > back throw PC > detonation > large combo need rechecking in the current version.
Basic combo Example
st.HK > HP > SA2 > cr.MK > st.HK > cr.HP > H Departure > st.HK > HP > L Triglav > H Stribog > M Torbalan > H Triglav
Example corner chip sequence on block
st.HK > HP > SA2 > cr.LP > cr.MKx4
• Depletes substantial Drive Gauge • Easy to create a true blockstring
To mix in an opening attempt
cr.MK > 6MK
Alternatively:
Walk forward slightly into a throw
SA3 > +23F
From there, use immediate H Triglav to hit meaty on wake-up.
• Chip damage • Drive Gauge damage • Continue okizeme
The setplay reference lists approximately +44F after CA.
From there, an immediate L Torbalan or OD Torbalan can be used as a meaty.
A chip-KO option against an opponent in Burnout.
In the current version, it is +2F on block.
st.HK > cr.LP
Use this as the core sequence, then try:
cr.LP > L Stribog
Alternatively:
Walk back slightly > cr.MP
Use these to catch throw techs and button presses.
DR st.HK > substantial advantage on block
However, it often leaves you outside throw range, so use:
• st.MK • delayed st.HK
These options can create frame traps.
st.MK > L Stribog
A true blockstring.
st.MK > CDR > cr.MP
This is also a true blockstring and helps continue pressure from midrange.
1. cr.LPx2 > st.LP > L Stribog
2. st.MK > M Stribog
3. st.HP > L Torbalan
4. cr.MP / st.MK > CDR > cr.HP > H Stribog > M Torbalan > H Triglav
5. st.HP PC > H Stribog > M Torbalan > H Triglav
6. corner M Stribog or L Torbalan > +42F > forward jump HK safe jump
7. Corner M Stribog > cr.HP > M / H Torbalan late-active-frame meaty
8. st.HP on airborne hit > set Departure
9. Triglav > OD Departure > throw / strike / teleport
10. SA2 combos and corner SA2 chip sequences
Carry to the corner with a combo ↓ Set Departure ↓ High / low / throw / shimmy ↓ Detonation ↓ Follow-up combo ↓ Set Departure again
Corner forward throws and situations after OD Amnesia counters a throw are weaker than before.
However, pressure using normal cancels while Departure is set, manual detonation, teleporting, and automatic detonation timing remains important.
• Official Street Fighter 6 balance update information • Ultimate Frame Data • Year4 JP combo and setplay references • Testing articles after the 2026-3 and 2026-8 updates
Frame values and applicable situations may vary with spacing, active-frame timing, and position relative to the corner. Recheck in Training Mode before using them in matches.
Frame advantage may vary with spacing, airborne hits, recovery options, and corner position. Verify important routes in Training Mode.