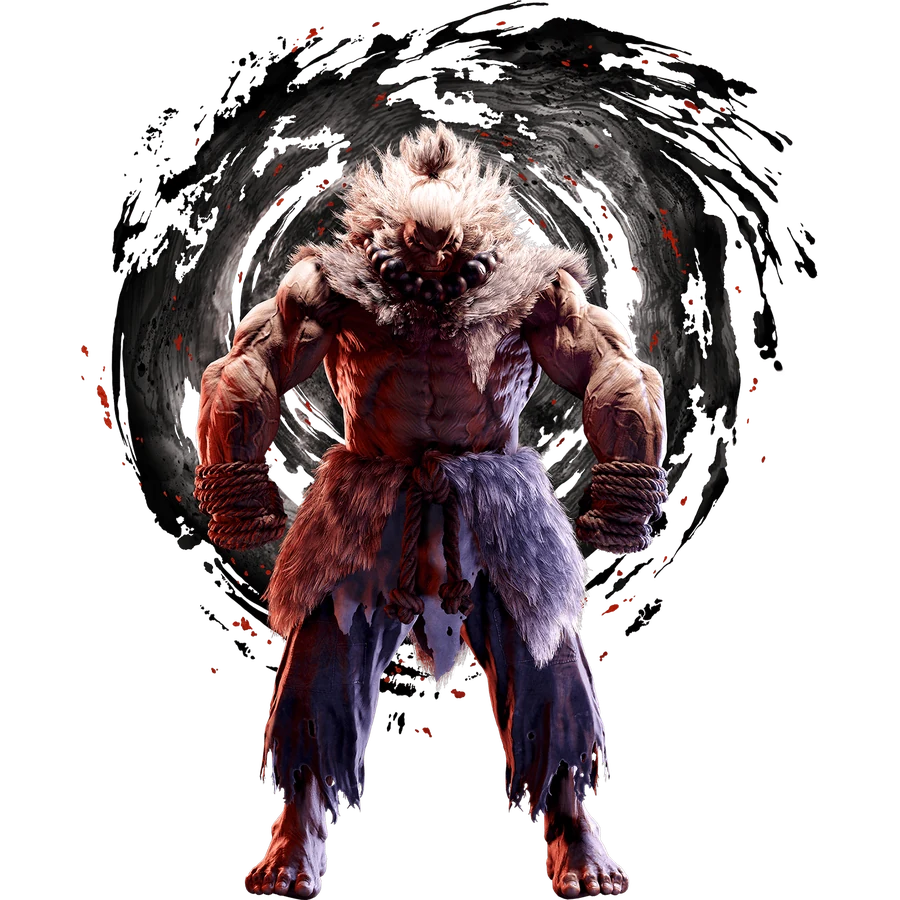
COMBO ROUTESAKUMA Combos & Okizeme
Practical routes organized by starter, resources, corner position, and knockdown.
YEAR 4 COMBO & OKIZEME GUIDEClassic-control routes are grouped by practical situation. Commands, frame values, and route order are preserved from the current Japanese source guide.
2026-08-31 updatedYear 4 / 2026-08-03 battle balance update
Move names use CAPCOM's official English Frame Data terminology. Route order and numerical values are shared with the Japanese guide.
Jump to a section (22)
CONTENTSESSENTIAL ROUTES01Notation
DR = raw Drive Rush
CDR = Cancel Drive Rush
PC = Punish Counter
CH = Counter Hit
Gou Hadoken = 236P
Gou Shoryuken = 623P
Tatsumaki Zanku-kyaku = 214K
Adamant Flame = 214P
Demon Raid = 236K
Ashura Senku = 6KKK / 4KKK
Oboro Throw = P+K during Ashura Senku
Key changes in the 2026-8-3 version
OD Tatsumaki Zanku-kyaku
The first hit's lower hitbox was expanded. It now hits crouching opponents, making combos easier without checking whether the opponent is standing or crouching.
6HP Kikoku Combination
Punish Counter pushback was reduced, making 6HP PC > cr.MK easier to connect.
fully charged Gou Hadoken
Both regular and OD versions give a better situation on block. Fully charged Gou Hadoken is more valuable as a meaty after knockdown. At close range, a blocked shot can allow a forward dash while retaining +2F or more.
10 essential starter combos
1. Reliable light-attack route
cr.LP > cr.LP > st.LK > H Gou Shoryuken
No standing/crouching confirmation needed. H Gou Shoryuken leaves approximately +30F.
2. Light attacks into wake-up pressure
cr.LP > cr.LP > st.LK > L Tatsumaki Zanku-kyaku > cr.HK
Standing opponents only. This now leaves approximately +37F; watch for older guides that list +42F.
3. Light attacks into OD Tatsumaki Zanku-kyaku
cr.LP > cr.LP > st.LK > OD Tatsumaki Zanku-kyaku > M Gou Shoryuken
Works against crouching opponents in Year 4. Leaves approximately +32F.
4 Basic cr.MP route
cr.MP > cr.MP > H Gou Shoryuken
5. cr.MP: confirm a standing hit
cr.MP > cr.MP > L Tatsumaki Zanku-kyaku > cr.HK
6 cr.MPDrive Rush
cr.MP > CDR > 6HP > cr.HP > ender
Ender options: H Adamant Flame, Tatsumaki Zanku-kyaku, OD Adamant Flame, or a Super Art.
7 cr.MK Drive Rush
cr.MK > CDR > st.HP > st.MK > ender
Ender options: H Gou Shoryuken, L Tatsumaki Zanku-kyaku > cr.HK, or OD Tatsumaki Zanku-kyaku.
8 st.HK starter
st.HK > st.MP > st.MP > H Tatsumaki Zanku-kyaku
This uses st.HK's ability to force the opponent to stand.
9. st.HK: prioritize the resulting situation
st.HK > cr.MP > L Tatsumaki Zanku-kyaku > cr.HK
10. Basic st.HP route
st.HP > H Adamant Flame
Easy to confirm, with strong pressure after knockdown.
Choosing a light-attack combo
stable route
cr.LPx2 > st.LK > H Gou Shoryuken
Reliable against both standing and crouching opponents. Gives +30F wake-up pressure.
Confirm a standing hit
cr.LPx2 > st.LK > L Tatsumaki Zanku-kyaku > cr.HK
Now leaves +37F. Do not reuse older +42F setups without adjustment.
Meter-spending option
cr.LPx2 > st.LK > OD Tatsumaki Zanku-kyaku > M Gou Shoryuken
Also works against crouching opponents in Year 4.
cr.MK Drive Rush
cr.MK > CDR > st.HP > st.MK > special move
st.MK forces the opponent to stand, making Tatsumaki Zanku-kyaku follow-ups easier.
On block
cr.MK > CDR > cr.LP
Follow this with:
• throw
• shimmy
• strike
Continue into these options.
Year4: 6HP PC
6HP PC > cr.MK > CDR > cr.MP > cr.HP > ender
The August 3 adjustments reduced Punish Counter pushback, improving the reward from midrange 6HP.
Invincible-Reversal Punishes
stable route
st.HK PC > cr.HP > H Adamant Flame
High-damage option
H Adamant Flame PC > 4HK > L Gou Hadoken > DR st.HP > M Tatsumaki Zanku-kyaku
To finish the round, extend with CDR or SA3.
4 F / 6F punish
4F
cr.LP PC > st.HP > H Adamant Flame
6F
cr.MP PC > st.HP > H Adamant Flame
Use after blocking Drive Reversal, for example.
Drive Impact wall splat
DI wall splat > cr.HP > briefly charged L Gou Hadoken > H Tatsumaki Zanku-kyaku
> +31F
Meter-spending option
DI wall splat
> cr.HP
> OD Adamant Flame
> H Tatsumaki Zanku-kyaku
> +35F approximately
Corner OD Adamant Flame
basic Example
cr.HP > OD Adamant Flame > cr.HP > L Gou Hadoken > H Tatsumaki Zanku-kyaku
When using Super meter:
Options include 4HK, OD Demon Raid, fully charged OD Gou Hadoken, OD Tatsumaki Zanku-kyaku, and SA3.
into follow-ups.
Key Frame Advantage by Ender
forward throw > +28F
H Gou Shoryuken > +30F
DI wall combos > approximately +31F
OD Tatsumaki Zanku-kyaku > M Gou Shoryuken > approximately +32F
H Tatsumaki Zanku-kyaku grounded hit > +34F
L Tatsumaki Zanku-kyaku > cr.HK > +37F
corner H Adamant Flame > L Gou Shoryuken > +37F
corner L Tatsumaki Zanku-kyaku > L Gou Shoryuken > +39F
M Tatsumaki Zanku-kyaku > +41F
H Adamant Flame > +47F
OD Adamant Flame Midscreen > +63F
1 H Gou Shoryuken +30F: basic
H Gou Shoryuken > +30F
st.MK whiff > +4F
From there:
• cr.LP
• cr.MP
• throw
• walk-back shimmy
Alternative option
H Gou Shoryuken > st.LK whiff > st.HP active-frame meaty
Approximate values
hit: +7F
block: +1F
2 +31F > st.MK whiff
+31F > st.MK whiff > +5F
From there:
/ strike
/ throw
/ shimmy
3 +32F
For example, after OD Tatsumaki Zanku-kyaku > M Gou Shoryuken.
+32F > 6MK whiff > +2F
Alternatively:
+32F > st.MP whiff > st.HP active frames
Approximate values
hit: +7F
block: +1F
4 H Tatsumaki Zanku-kyaku +34F
H Tatsumaki Zanku-kyaku > +34F
6MK whiff > +4F
Alternatively:
cr.MP whiff > st.HP active frames
Approximate values
hit: +7F
block: +1F
5 L Tatsumaki Zanku-kyaku > cr.HK +37F
L Tatsumaki Zanku-kyaku > cr.HK > +37F
This is not the +42F shown in older guides.
corner Option
Whiff cr.LP > L Gou Hadoken
block > +4F
Alternative option
cr.LP whiff > 6MPactive frames
Approximate values
hit: +5F
block: +1F
Alternatively:
cr.LP whiff > st.LK
At approximately +5F, choose a strike or throw.
6 M Tatsumaki Zanku-kyaku +41F
M Tatsumaki Zanku-kyaku > +41F
two forward dashes > +3F
From there: a 4F light attack or throw.
Alternative option
M Tatsumaki Zanku-kyaku > Demon Raid > Demon Low Slashactive frames
Approximate values
hit: +8F
block: +3F
7 H Adamant Flame +47F
H Adamant Flame > +47F
H Demon Raid > land without a follow-up > approximately +2F
From there:
• cr.LP
• throw
• delayed throw
• after shimmy
In Year 4, meaty fully charged Gou Hadoken is also a strong option.
8 OD Adamant Flame +63F
OD Adamant Flame > +63F
Ashura Senku > +12F
From there:
st.HP active-frame meaty
Approximate values
hit: +7F
block: +1F
From Ashura Senku:
Options: Oboro Throw, a strike, delayed strike, or shimmy.
Vary these options.
9 Corner / forward throw +28F
forward throw > +28F
forward dash 19F > +9F
From there:
• cr.MP
• throw
• shimmy
Important Year 4 option
forward throw > forward dash > cr.HP > OD Gou Hadoken
On block
> point-blank +2F
From there:
/ cr.MP
/ throw
easy route
forward throw > forward dash > OD Gou Hadoken
> +2F
Alternative option
Forward throw > Ashura Senku > Oboro Throw
Hits meaty on wake-up. It can beat a 4F interrupt or throw in some situations.
10 forward throw > DRLP
forward throw > DR st.LP > +4F
From there:
/ throw
/ strike
/ shimmy
5 MP active-frame meaty
st.MP on block: +1F.
A late-active meaty can increase the advantage to approximately +5F in some situations.
From there:
Options: walk-up throw, another st.MP, or shimmy.
If the opponent jumps:
st.MP > MP (Viscera Piercer)
Use this to catch the jump.
After st.HK is blocked
st.HK > block +3F
From there:
• cr.LP
• cr.MP
• throw
Be careful: the 2nd hit whiffs against crouching opponents.
Demon Raid Setplay
From Demon Raid:
Choose Demon Guillotine, Demon Blade Kick, Demon Low Slash, or land without an attack and throw.
Choose among these options to match the opponent's response.
Demon Guillotine gives substantial advantage when blocked low to the ground.
Approximate values
> block +4…+7F approx.
Normally, time it after a knockdown rather than using raw Demon Raid.
Year4 / fully charged Gou Hadoken meaty
Knock down > fully charged Gou Hadoken > make the opponent block > forward dash > retain +2F or more in suitable situations.
From there:
• cr.MP
• throw
If you expect a Perfect Parry:
Vary the charge time, throw, or use Demon Raid.
Vary these options.
Shun Goku Satsu
Available only in the CA state.
Representative combo
cr.LP > cr.LP > st.LK > L Adamant Flame > Shun Goku Satsu
For setplay:
+4…+5F approx. point-blank situation > Shun Goku Satsu
Look for these opportunities.
Options
Options: Demon Guillotine into delayed Shun Goku Satsu, or approach after L Tatsumaki Zanku-kyaku > cr.HK and threaten Shun Goku Satsu.
This is not guaranteed: jumps, invincible moves, and pre-buffered actions can beat it.
basic
cr.HP > M Tatsumaki Zanku-kyaku > L Gou Shoryuken > SA3
easy
cr.HP > H Adamant Flame > SA3
For higher damage:
Use OD Adamant Flame, 4HK, OD Demon Raid, OD Gou Hadoken, or OD Tatsumaki Zanku-kyaku.
Incorporate these options into the route.
10 Practical Starter Routes
1.
cr.LPx2 > st.LK > H Gou Shoryuken
2.
cr.LPx2 > st.LK > L Tatsumaki Zanku-kyaku > cr.HK
3.
cr.MPx2 > H Gou Shoryuken
4.
cr.MP > CDR > 6HP > cr.HP
5.
cr.MK > CDR > st.HP > st.MK
6.
st.HK > st.MPx2 > H Tatsumaki Zanku-kyaku
7.
6HP PC > cr.MK > CDR
8.
H Gou Shoryuken +30F > st.MK whiff > +4F
9. Corner forward throw > forward dash > cr.HP > OD Gou Hadoken > +2F
10. H Adamant Flame at +47F > H Demon Raid, then land > mix-up at +2F
Current Game Plan
Make contact with cr.MK, MP, or Gou Hadoken > carry to the corner with a combo > knock down with H Gou Shoryuken or sweep > use a timing move > strike / throw / shimmy > corner forward throw plus OD Gou Hadoken > against a defensive opponent, use Demon Raid, Oboro Throw, or Shun Goku Satsu.
Notes for Older Guides
Use the following current-version replacements.
L Tatsumaki Zanku-kyaku > cr.HK now leaves +37F, not +42F.
OD Tatsumaki Zanku-kyaku also hits crouching opponents from Year 4 onward.
6HP PC > cr.MK is easier to connect.
Fully charged Gou Hadoken gives a better situation on block.
UFD lists st.HK at +3F on block for this version.
References
Sources: official Street Fighter 6 battle adjustments; Ultimate Frame Data; Akuma combo material updated 2026-8-25; wake-up pressure material updated 2026-8-23; research updated 2026-8-22; 2026-8-3 adjustment testing.
Combo and setplay conditions vary with spacing, standing versus crouching hits, late-active timing, and position relative to the corner.
Recheck in Training Mode before using these routes in matches.
Frame advantage may vary with spacing, airborne hits, recovery options, and corner position. Verify important routes in Training Mode.