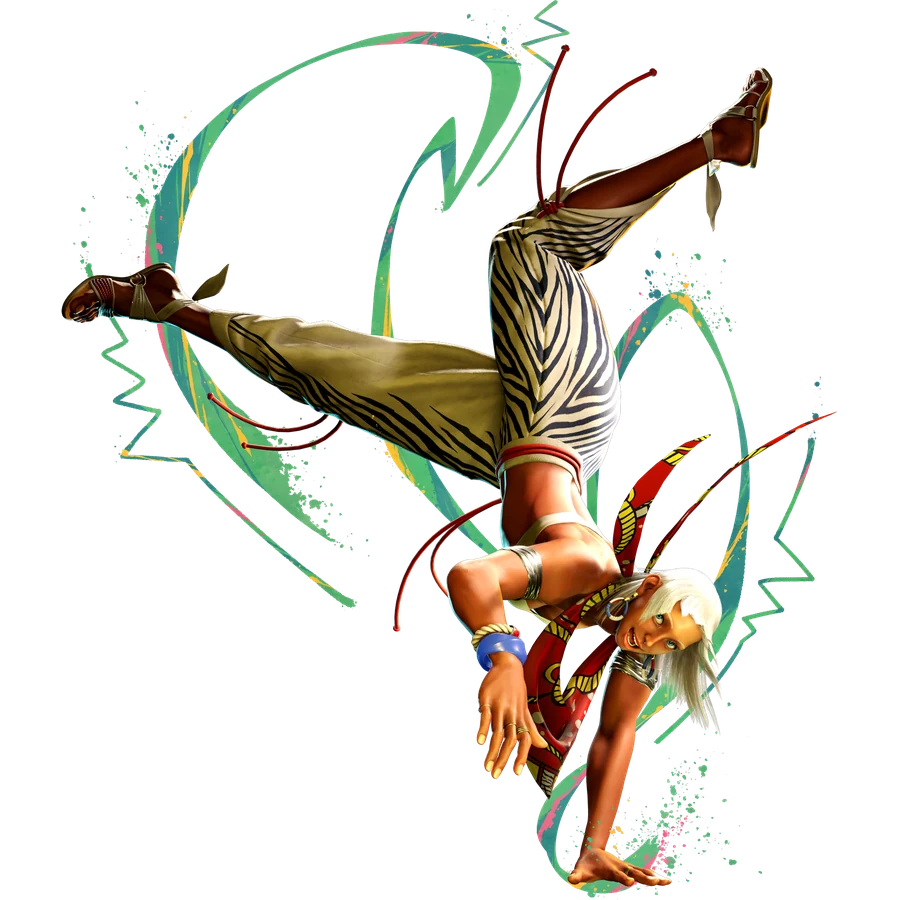
COMBO ROUTESELENA Combos & Okizeme
Practical routes organized by starter, resources, corner position, and knockdown.
YEAR 4 COMBO & OKIZEME GUIDEClassic-control routes are grouped by practical situation. Commands, frame values, and route order are preserved from the current Japanese source guide.
2026-08-31 updatedYear 4 / 2026-08-03 battle balance update
Move names use CAPCOM's official English Frame Data terminology. Route order and numerical values are shared with the Japanese guide.
Jump to a section (16)
CONTENTSESSENTIAL ROUTES01Notation
DR = raw Drive Rush
CDR = Cancel Drive Rush
PC = Punish Counter
CH = Counter Hit
Rhino Horn = 236K
Scratch Wheel = 623K
Lynx Song = 236P
Lynx Whirl = 6P during Lynx Song
Leopard Snap = 6LK from the Lynx Song sequence
Harvest Circle = 6MK from the Lynx Song sequence
Mallet Smash = 6HK from the Lynx Song sequence
Spinning Scythe = 214K
Moon Glider = 214P
Moon Glider follow-up = Moon Glider > 6P
SA1 Meteor Volley = 236236K
SA2 Revival Dance = 236236P
SA3 Song of the Grasslands = 214214K
Key changes in the 2026-8-3 version
cr.MK
Block disadvantage changed from -4F to -3F. Startup: 9F; on hit: +4F. A normal block no longer gives a 4F punish, making DR cr.MK a more useful low option.
cr.HP
The 2nd hit now launches into a knockdown on an airborne hit, making follow-ups easier even after an early anti-air. Anti-air invincibility: 8–20F. The 2nd hit can cancel into special moves and Super Arts.
OD Spinning Scythe and related routes
Hitbox improvements make combos less likely to drop. Follow-ups such as H Spinning Scythe > OD Rhino Horn > SA2 / SA3 connect more reliably.
SA2
Since March 2026, the healing follow-up also restores Drive meter.
10 essential starter combos
1 Basic light-attack route
cr.LPx1…3 > L Spinning Scythe
L Spinning Scythe leaves approximately +34F for wake-up pressure.
If you can confirm the opponent is standing:
cr.LPx1…3 > st.LK > L Rhino Horn
Be careful: Rhino Horn can miss crouching opponents.
Reliable option without checking standing/crouching state
cr.LP > st.LK > H Scratch Wheel
2. Basic low starter
cr.MK > cr.LP > L Spinning Scythe
Year 4 improved cr.MK to -3F on block.
3. st.MP target combo
st.MP > MP > M Rhino Horn
A grounded M Rhino Horn hit leaves approximately +39F.
4. Basic st.MK route
st.MK > cr.LP > st.LK > H Scratch Wheel
st.MK: 6F startup / +5 on hit / +1 on block.
5 st.MKCounter Hit
st.MK CH > st.MK / HK > H Rhino Horn
Meter-spending option
st.MK CH > st.MK / HK > OD Spinning Scythe > Lynx Whirl > Harvest Circle > M Rhino Horn
6. cr.MK target combo
cr.MK > HK > H Rhino Horn
Meter-spending option
cr.MK > HK > OD Rhino Horn > H Scratch Wheel
7. Main cr.MP Drive Rush route
cr.MP > CDR > st.MK > cr.HP > H Spinning Scythe > M Rhino Horn
Prioritizes corner carry
cr.MP > CDR > st.MK > cr.HP > H Spinning Scythe > DR cr.MP > H Rhino Horn
8 Okizeme focus
cr.MK / Medium-normal starter > OD Spinning Scythe > DR cr.MP > L Lynx Song > Harvest Circle
Creates wake-up pressure at approximately +41F.
9. Basic heavy-attack route
st.HP > HP (Turning Tail) > H Scratch Wheel
SA
st.HP > HP > SA3
Alternatively:
st.HP > HP > SA1 > H Scratch Wheel
10 Jump-in
j.HP > cr.HP > H Spinning Scythe > M Rhino Horn
Year 4 made cr.HP anti-airs and aerial follow-ups more reliable.
Using cr.MK in Year 4
cr.MK
startup 9F
hit +4F
block-3F
TC
cr.MK > HK
The 2nd hit can whiff against a crouching opponent.
From Drive Rush:
DR 6MK > overhead
vs
DR cr.MK > low
These form a strong overhead/low mix-up.
cr.HP anti-air (important in Year 4)
cr.HP anti-air > OD Rhino Horn > SA2
Routes like this are possible after the adjustments.
Depending on height:
cr.HP > H Spinning Scythe > Rhino Horn > SA1 / SA2 / SA3
Continue into these options.
st.HK Punish Counter
st.HK PC > restricted follow-up opportunity at +53F
basic
st.HK PC > OD Rhino Horn > H Scratch Wheel
With Super meter, follow OD Rhino Horn with SA2 / SA3.
Invincible-Reversal Punishes
stable route
st.MK PC > cr.HP > H Spinning Scythe > M Rhino Horn
Alternative
st.MK PC > cr.HP > Lynx Song > Harvest Circle > H Scratch Wheel
For higher damage, use st.HP PC or DR to extend through Spinning Scythe > Rhino Horn > SA3.
Corner combos
Light attacks
cr.LK > cr.LP > L Rhino Horn > M Scratch Wheel
Medium attacks
st.MP > MP > M Rhino Horn > M Scratch Wheel
cr.MK
cr.MK > HK > H Rhino Horn > M Scratch Wheel
Meter-spending option
st.MK / HK > OD Spinning Scythe > Lynx Whirl > Harvest Circle > L Scratch Wheel > H Scratch Wheel
SA2 Revival Dance
SA2
Startup: 12F. Regular damage: 2800. Healing-follow-up damage: 1950.
SA2 > hit after +25F
Healing follow-up: hold down to restore 1600 health and recover Drive meter. The resulting wake-up situation is +1F.
Choosing an ender
Choose regular SA2 for damage and wake-up pressure.
Choose healing when health recovery matters more.
Key Frame Advantage by Ender
L Spinning Scythe > +34F
M Spinning Scythe > +42F
H Spinning Scythe > follow-up opportunity at +52F
OD Spinning Scythe > follow-up opportunity at +52F
Grounded L / M Rhino Horn > approximately +39F
Grounded H Rhino Horn > approximately +40F
Grounded OD Rhino Horn > +43F
L Scratch Wheel > +36F…
M Scratch Wheel > +26F…
H Scratch Wheel > +23F…
OD Scratch Wheel > +25F…
Moon Glider follow-up > +39F
OD Moon Glider follow-up > +42F
Enhanced Leopard Snap > +48F
Enhanced Harvest Circle > follow-up opportunity at +50F
6HP TC > +40F
cr.HK > +31F
forward throw > +24F
back throw > +19F
SA1 > +42F
SA2 > +25F
SA3 > +24F
CA > +29F
Rhino Horn and Scratch Wheel advantage varies with airborne hit height.
1 M Spinning Scythe +42F: Important
M Spinning Scythe grounded hit > +42F
corner
> immediateforward jump HP > safe jump
Midscreen
two forward dashes > +2F
From there:
• throw
• cr.LP
• cr.LK
2 L Spinning Scythe +34F
L Spinning Scythe > +34F
corner
forward dash > +14F > st.HP active-frame meaty
Approximate values
hit: +5F
block: +1F
Alternative option
Whiff cr.LP > chain-cancel into cr.LK > meaty low
Midscreen
cr.LPx2whiff > +10F > cr.MK active frames
3. Rhino Horn at +39F into Lynx Song
Rhino Horngrounded hit > +39F
L Lynx Song > +11F
> Mallet Smashactive-frame meaty
Approximate values
hit: +4F
block: -1F
4. Enhanced Leopard Snap
Enhanced Leopard Snap > +48F
On block, Elena is +1F.
After a hit
• forward dash > DR > throw
• immediate cr.MK
• strike
Choose an appropriate follow-up.
5. Enhanced Harvest Circle
After going through Lynx Whirl
Enhanced Harvest Circle > follow-up available at +50F
block > -4F
On hit
• Rhino Horn
• Scratch Wheel
• SA
Choose an appropriate follow-up.
6. Enhanced Mallet Smash
Regular Mallet Smash
hit +2
block-3
Enhanced Mallet Smash
hit +4
block +3
An overhead that is also plus on block.
Lynx Song wake-up pressure
Choose enhanced Mallet Smash, cr.MK, throw, or stop Lynx Whirl early and shimmy.
7 +41F Setplay
Example
OD Spinning Scythe > DR cr.MP > L Lynx Song > Harvest Circle
> +41F
From +41:
Options: M Lynx Song into a late-active heavy follow-up; forward dash to leave approximately +21F; or a safe jump against 6F reversals.
etc.
8. Airborne Spinning Scythe hit into Lynx Whirl pressure
Spinning Scytheairborne hit after
L Lynx Whirl > +30F
M Lynx Whirl > +22F
H Lynx Whirl > +20F
Adding L Lynx Whirl can leave approximately +10F for:
Late-active cr.MK, enhanced Mallet Smash overhead, throw, or walk-back shimmy.
Continue into these options.
9 L Scratch Wheel +36F > active framesoverhead
corner
L Scratch Wheel > +36F
cr.LK whiff > +21F
6MK as a late-active-frame overhead
Approximate values
hit: +4F
block: 0F
10 L Scratch Wheel > Lynx Song > st.MK
L Scratch Wheel > +36F
L Lynx Song > +8F
st.MK on its last active frame
Approximate values
hit: +8F
block: +4F
From there:
Options: throw, cr.MP, or another st.MK.
11 forward throw
forward throw > +24F
corner
forward dash 20F > +4F
However, the forward dash leaves you outside throw range.
Main options
Meaty st.MK, meaty cr.LP, or walk back slightly to shimmy.
12. Sweep at +31F
cr.HK > +31F
forward dash 20F > +11F
From there:
Options: walk-up throw, walk into st.MK, or DR cr.MK.
13 6HP TC +40F
6HP > HP > HP
> +40F
Example timing moves
st.LPx2whiff > +8F
st.HK whiff > +6F
st.HP whiff > +5F
From there:
• throw
• shimmy
• strike
14 SA1 +42F
SA1 > +42F
corner
Forward j.HP: the baseline for a safe jump.
15 SA2 after
SA2 > +25F
Immediate DR st.HK connects on a later active frame.
Approximate values
hit: +9F
block: +3F
Healing follow-up > +1F
This does not allow the same setplay.
SA3 > +24F
immediate DR > st.HK active frames
Approximate values
hit: +10F
block: +2F
Because the approach uses DR, you can switch to blocking if you expect an invincible OD reversal.
10 Practical Starter Routes
1.
cr.LPx2…3 > L Spinning Scythe
2.
cr.MK > cr.LP > L Spinning Scythe
3.
st.MP / MP > M Rhino Horn
4.
st.MK > cr.LP > st.LK > H Scratch Wheel
5.
st.MK CH > st.MK / HK > H Rhino Horn
6.
cr.MK / HK > H Rhino Horn
7.
cr.MP > CDR > st.MK > cr.HP > H Spinning Scythe > M Rhino Horn
8.
M Spinning Scythe +42 > corner / forward jump HPsafe jump
9.
Rhino Horn +39 > L Lynx Song > Mallet Smashactive frames
10. Lynx Song > enhanced Mallet Smash / cr.MK / throw / shimmy
Current Game Plan
Play grounded neutral with long normals and cr.MK > carry with Rhino Horn on hit > choose Spinning Scythe / Harvest Circle enders when prioritizing wake-up pressure > Lynx Song > enhanced Mallet Smash overhead / cr.MK low / throw / shimmy > +42 safe jump in the corner > when SA2 is available, choose regular damage or 1600 health recovery.
Notes for Older Guides
Use the following current-version replacements.
cr.MK is now -3F on block.
cr.HP's 2nd airborne hit causes a knockdown, making anti-air follow-ups easier.
OD Spinning Scythe routes became more reliable.
OD Rhino Horn connects more easily into SA2 / SA3.
SA2 healing also restores Drive meter from March 2026 onward.
References
Sources: official Street Fighter 6 battle adjustments; Ultimate Frame Data, August 2026 version; Elena combo material updated 2026-8-14; Classic Elena research updated 2026-8-19; practical notes dated 2026-8-30; 2026-8-3 adjustment differences.
Combo and setplay conditions and advantage can vary with spacing, late-active timing, airborne hit height, corner position, and enhancement from Lynx Whirl.
Recheck in Training Mode before using these routes in matches.
Frame advantage may vary with spacing, airborne hits, recovery options, and corner position. Verify important routes in Training Mode.