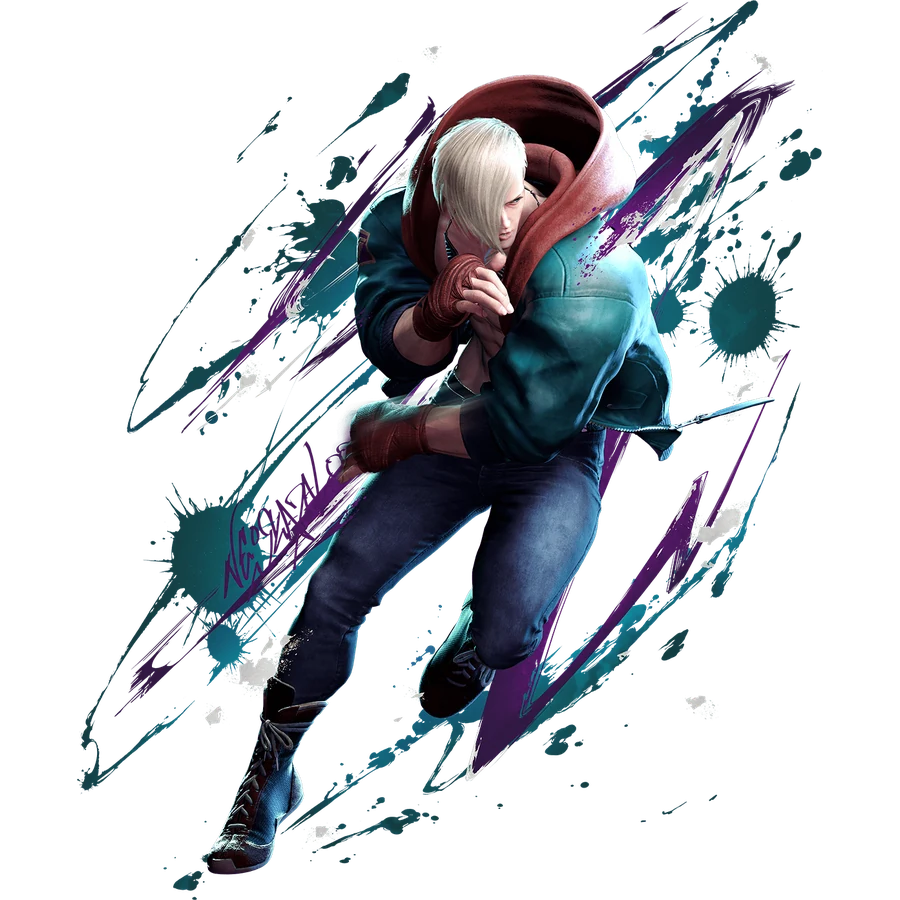
COMBO ROUTESED Combos & Okizeme
Practical routes organized by starter, resources, corner position, and knockdown.
YEAR 4 COMBO & OKIZEME GUIDEClassic-control routes are grouped by practical situation. Commands, frame values, and route order are preserved from the current Japanese source guide.
2026-08-31 updatedYear 4 / 2026-08-03 battle balance update
Move names use CAPCOM's official English Frame Data terminology. Route order and numerical values are shared with the Japanese guide.
Jump to a section (20)
CONTENTSESSENTIAL ROUTES01Notation
DR = raw Drive Rush
CDR = Cancel Drive Rush
PC = Punish Counter
CH = Counter Hit
Psycho Spark = 236P
Psycho Shoot = 6P during Psycho Spark
Psycho Uppercut = 623P
Psycho Blitz = 214P
Psycho Flicker = 236K
Kill Rush = KK / 6KK / 4KK
Kill Switch Break = early P after forward Kill Rush
Kill Switch Chaser = late P after forward Kill Rush
SA1 Psycho Storm = 236236K
SA2 Psycho Cannon = 214214P
SA3 Psycho Chamber = 236236P
Key changes in the 2026-8-3 version
Charged L / M Psycho Flicker
Pull-in distance on block was reduced, while +4F block advantage remains. It no longer automatically brings the opponent into point-blank throw range as easily. Check the spacing and choose a strike, walk-up throw, or shimmy.
L Psycho Blitz / OD Psycho Blitz
Added 30% starter scaling, reducing subsequent damage when used to start a combo.
back throw
Advantage after back throw changed from +24F to +17F, weakening older throw-loop setups.
OD Psycho Shoot
The light projectile became slower and the heavy projectile faster. Use the light version as cover while walking forward, or the heavy version for direct pressure.
SA2
Since March 2026, Super meter gain changed from 80% to 50%. Dream combos remain usable in the version described here.
10 essential starter combos
1 Basic light-attack route
cr.LP > st.LP > M Psycho Blitz
M Psycho Blitz leaves approximately +39F for wake-up pressure.
2 Basic st.MP route
st.MP > cr.LK > M Psycho Blitz
Alternatively:
> M Psycho Uppercut
3. st.MK into L Psycho Flicker
st.MK > L Psycho Flicker
Suited to confirming whiff punishes. L Psycho Flicker is -6F on block, so avoid committing to it indiscriminately.
4 cr.MPDrive Rush
cr.MP > CDR > st.HP > cr.MK > cr.MP > H Psycho Blitz
A main Drive Rush route. Continue wake-up pressure after H Psycho Blitz.
5 Body Blow Combination
st.MP > st.HP > H Psycho Blitz
A representative airborne-hit route that leaves +42F for a safe jump.
6 Prioritizes corner carry
st.MP > st.HP > Kill Switch Break > M Psycho Uppercut
Choosing an ender
H Psycho Blitz > Okizeme
Kill Switch Break into Psycho Uppercut prioritizes corner carry.
7 cr.MK starter
cr.MK > st.MP > st.HP > H Psycho Blitz
8. st.HP into OD Psycho Flicker
st.HP > OD Psycho Flicker > H Psycho Flicker > Kill Switch Break > H Psycho Blitz
9 st.HK Punish Counter
st.HK PC > st.HP > Kill Switch Chaser > H Psycho Blitz
Be careful: st.HK does not hit crouching opponents.
10 st.HP Punish Counter
st.HP PC > cr.MK > OD Psycho Flicker > H Psycho Flicker > Kill Switch Break > H Psycho Blitz
cr.HK target combo
cr.HK > HP > Kill Switch Break > H Psycho Blitz
Can cancel into Kill Rush only on hit. Meterless routes are possible, but the more efficient version requires tight timing.
Whiff punishes
st.MK PC
st.MK PC > CDR st.MP > st.HP > Kill Switch Chaser > H Psycho Blitz
L Psycho Flicker Punish Counter
L Psycho Flicker PC > DR st.MK > Kill Switch Break > H Psycho Blitz
Clean Drive Impact hit
Close range
DI > st.HK > st.MP / st.HP > H Psycho Blitz
Long range
DI > walk forward / forward dash > st.HP airborne hit > Kill Switch Break > H Psycho Blitz
Drive Impact wall splat
DI wall splat > st.MP・st.HP > H Psycho Flicker > L Psycho Uppercut > H Psycho Blitz
Corner combos
easy
st.MP / st.HP > H Psycho Flicker > M Psycho Uppercut
Alternative
st.MP・st.HP > H Psycho Flicker・Kill Switch Break > M Psycho Blitz
High damage
st.HP > OD Psycho Flicker > H Psycho Flicker > L Psycho Blitz > L Psycho Uppercut
For close range with the opponent fully cornered.
Finish the round with SA3
easy
st.HP > OD Psycho Flicker > L Psycho Uppercut > H Psycho Blitz > SA3
Example using a full Drive gauge
st.HP > CDR st.HK > st.HP > CDR st.HK > st.HP > H Psycho Blitz > SA3
SA2 Psycho Cannon
easy SA2
OD Psycho Blitzfinal hit > SA2 > H Psycho Uppercut > 6HP > H Psycho Uppercut
basic
Grounded hit > SA2 > st.HP > charged H Psycho Flicker > H Psycho Blitz
Dream combo example
st.MP > cr.LK > OD Psycho Blitz final hit > L SA2 > delayed H Psycho Blitz > delayed H Psycho Uppercut > Kill Switch Chaser > forward dash > H Psycho Uppercut > forward dash > H Psycho Uppercut
Very difficult. Prioritize regular combos and the simple SA2 route first.
Key Frame Advantage by Ender
L Psycho Uppercut > +38F
M Psycho Uppercut > +39F
H Psycho Uppercut > +38F
OD Psycho Uppercut > +18F
M Psycho Blitz > +39F
H Psycho Blitz > +40F
OD Psycho Blitz > +42F
Kill Switch Break > +38F
Kill Switch Chaser > airborne follow-up situation at +50F
forward throw > +24F
back throw > +17F
SA1 > +33F
SA3 > +24F
On airborne hits, advantage varies with height.
1. Grounded H Psycho Blitz hit into Kill Rush
H Psycho Blitz > Kill Rush > approximately +9F
From there:
st.HP > strike meaty
cr.MK connects on its 2nd active frame: approximately +9F on hit and 0F on block.
Throw: time it manually.
walk back > shimmy
2. M Psycho Blitz into Kill Rush
M Psycho Blitz > Kill Rush > approximately +8F
From there:
• cr.MP
• cr.MK
• st.HP
3 Body Blow Combination TC > H Psycho Blitz +42F
st.MP > st.HP > H Psycho Blitz airborne hit > +42F
> immediateforward jump HP
safe jump.
4 corner / safe jump > st.HK
st.MP / st.HP > H Psycho Blitz > forward jump HP > st.HK > st.MP…
After st.HK is blocked
> +4F
From there, st.MP beats a 4F interrupt.
5 corner / +38F > Psycho Spark meaty
+38F situation > cr.LP whiff > Psycho Spark
Approximate values
On hit: approximately +13F. On block: approximately +5F.
Some versions cover reversal SA1.
easy route
cr.LK whiff > Psycho Spark
This gives slightly less advantage, but makes the throw timing easier.
6. cr.HP normal hit
cr.HP > +30F
forward dash > st.HP active-frame meaty
Approximate values
On hit: approximately +7F. On block: approximately 0F.
Alternative option
cr.HP > meaty charged L Psycho Flicker > approximately +4F
7 cr.HP CH / PC
cr.HP CH / PC > +47F
two forward dashes > +9F
From there:
• st.HP
• cr.MK
• throw
• shimmy
8. L Psycho Flicker Punish Counter
L Psycho Flicker PC > forward dash x3 > point-blank +4F
From there:
• throw
• strike
• shimmy
9 forward throw after
forward throw > +24F
corner
forward throw > forward dash > +5F
From there:
> st.MP meaty
With DR, these are also possible:
• forward throw > DR st.MP
• forward throw > DR throw
available.
10 back throw after
back throw > +17F
Older setups based on +24F no longer work.
In the version described here:
Transition to Psycho Flicker, projectiles, movement, or securing space.
Shift your game plan toward these options.
Year 4 decisions after charged Psycho Flicker
Charged L / M Psycho Flicker > +4F on block
However, the pull-in effect was weakened.
Close range
• throw
• st.MP
• shimmy
At slightly longer range
Options: st.MP, st.HP, walk-up throw, or walk back.
After st.HK is blocked
st.HK > block +4F
From there:
st.MP > 4F frame trap
Other options
Throw, or walk back into a st.HP shimmy punish.
Psycho Spark / Psycho Shoot
Regular Psycho Spark: +3F on hit / -5F on block.
OD Psycho Spark > block-2F approximately
Year 4 OD Psycho Shoot
Light version: slower, allowing you to advance behind the projectile.
Heavy version: faster, for direct pressure.
Invincible-Reversal Punishes
stable route
st.HK PC > st.HP > Kill Switch Chaser > H Psycho Blitz
High damage
st.HP PC > cr.MK > OD Psycho Flicker > H Psycho Flicker・Kill Switch Break > H Psycho Blitz
To finish with SA3, extend with OD Psycho Flicker or other suitable options.
10 Practical Starter Routes
1.
cr.LP > st.LP > M Psycho Blitz
2.
st.MP > cr.LK > M Psycho Blitz
3.
st.MP / st.HP > H Psycho Blitz
4.
cr.MP > CDR > st.HP > cr.MK > cr.MP > H Psycho Blitz
5. st.HP > OD Psycho Flicker > H Psycho Flicker・Kill Switch Break > H Psycho Blitz
6. st.HK PC > st.HP > Kill Switch Chaser > H Psycho Blitz
7. Grounded H Psycho Blitz hit > Kill Rush > +9F wake-up pressure
8.
st.MP / st.HP > H Psycho Blitz +42F > forward jump HPsafe jump
9.
corner +38F > cr.LP whiff > Psycho Spark meaty
10.
OD Psycho Blitz > SA2 > H Psycho Uppercut > 6HP > H Psycho Uppercut
Current Game Plan
Land a whiff punish > knock down with Psycho Blitz > approach with Kill Rush > strike / throw / shimmy > safe jump in the corner > st.HK at +4F > st.MP frame trap > extend damage and carry with SA2 if available.
Notes for Older Guides
Use the following current-version replacements.
Charged Psycho Flicker pulls in less, so it is less likely to place you automatically within throw range.
Back throw leaves +17F.
L / OD Psycho Blitz applies 30% starter scaling.
OD Psycho Flicker's scaling changed from March 2026 onward.
Super meter gain after SA2: 50%.
cr.HK > HP TC can cancel into Kill Rush on hit.
Dream combos were weakened but remain usable in the version described here.
References
Sources: official Street Fighter 6 battle adjustments; Ultimate Frame Data; Ed combo material updated 2026-8-27; Ed setplay material updated 2026-8-26; March / August 2026 adjustment testing.
Combo and setplay conditions vary with spacing, standing versus crouching hits, hit height, and position relative to the corner.
Recheck in Training Mode before using these routes in matches.
Frame advantage may vary with spacing, airborne hits, recovery options, and corner position. Verify important routes in Training Mode.