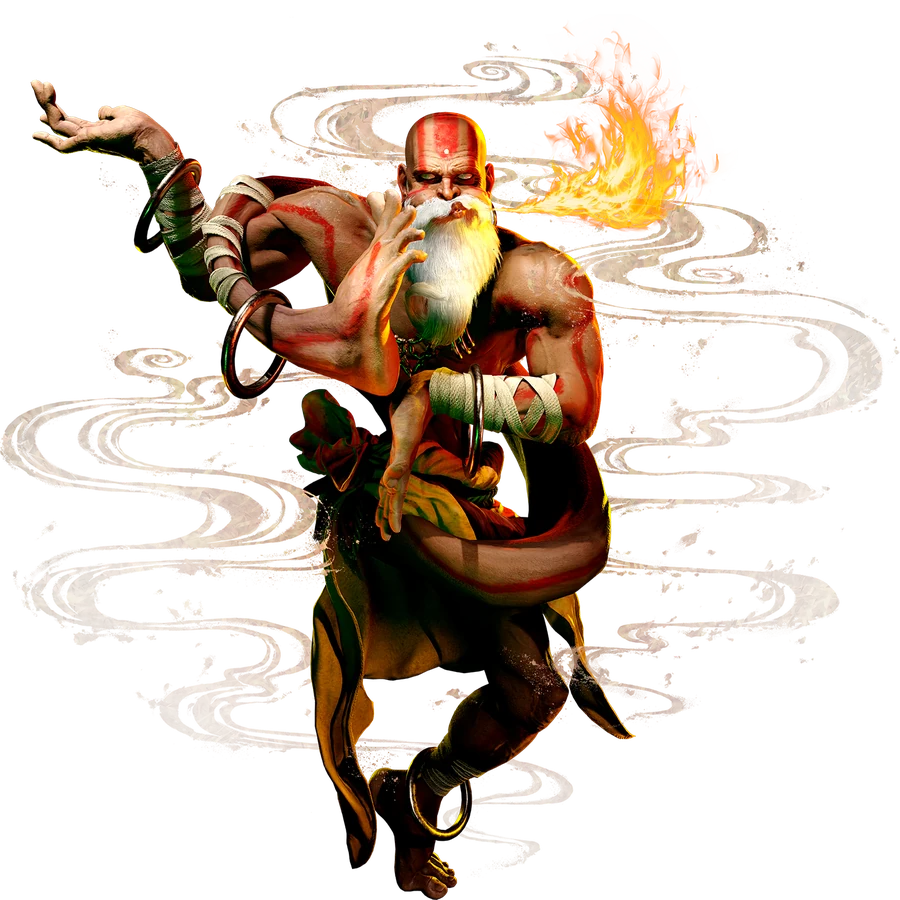
COMBO ROUTESDHALSIM Combos & Okizeme
Practical routes organized by starter, resources, corner position, and knockdown.
YEAR 4 COMBO & OKIZEME GUIDEClassic-control routes are grouped by practical situation. Commands, frame values, and route order are preserved from the current Japanese source guide.
2026-08-31 updatedYear 4 / 2026-08-03 battle balance update
Move names use CAPCOM's official English Frame Data terminology. Route order and numerical values are shared with the Japanese guide.
Jump to a section (15)
CONTENTSESSENTIAL ROUTES01Notation
DR = Parry Drive Rush
CDR = Cancel Drive Rush
PC = Punish Counter
CH = Counter Hit
Yoga Fire = 236P
Yoga Arch = 236K
Yoga Flame = 63214P
Yoga Blast = 63214K
Yoga Comet = airborne 63214P
Yoga Float = 2KK / 3KK
Yoga Teleport = 4/6+PPP or KKK
PPP teleport travels farther and can cross behind in some situations.
KKK teleport travels a shorter distance and generally does not cross behind.
Key changes in the 2026-8-3 version
Multiple projectiles on screen
Regular Yoga Arch can be used while OD Yoga Fire is on screen.
Regular Yoga Fire can be used while OD Yoga Arch is on screen.
Yoga Comet can also be used alongside them.
Result
A horizontal projectile + a falling projectile + an aerial projectile
These projectiles can be deployed together.
st.LP
The upper hitbox was expanded. Startup: 4F; on hit: +4; on block: -1.
OD Yoga Comet
Dhalsim can act sooner afterward, improving teleport, float, and retreat options after placing the projectile.
March 2026 adjustments
OD Yoga Flame gained stronger launch-and-follow-up utility. j.MP can cancel into Yoga Mummy or Drill Kick. j.HP and j.HK were also adjusted to work more easily as aerial combo enders.
10 essential starter combos
1 Basic light-attack route
st.LP > cr.LP > OD Yoga Fire
A basic knockdown from light attacks. OD Yoga Fire leaves approximately +49F or more.
To finish the round
st.LP > cr.LP > OD Yoga Fire > SA3
2. Light attacks into wake-up pressure
cr.LP > CDR > st.LP > 4MP (Yoga Uppercut) > M Yoga Blast > immediate forward PPP teleport
M Yoga Blast > +42F
After the immediate forward teleport: point-blank behind the opponent, at approximately +3F.
This more easily covers both normal recovery and back recovery.
3. Basic 4MK route
4MK > M Yoga Flame
M Yoga Flame leaves approximately +33F. A basic part of Dhalsim's combos.
4 cr.MP starter
cr.MP > CDR > 4MK > H Yoga Flame
H Yoga Flame leaves approximately +45F. Continue with Yoga Fire, Yoga Arch, or Yoga Float.
5 Nirvana Punch starter
1HP > M or H Yoga Flame
Use for close-range punishes or after a low Yoga Float j.HP, for example.
6 Aerial Yoga Float starter
Aerial Yoga Float > j.HP > 1HP > M Yoga Flame
A basic combo from an important opening tool.
7 OD Yoga Flame starter
OD Yoga Flame > cr.HK
OD Yoga Flame launches the opponent. This route uses Drive meter efficiently.
8 OD Yoga Flame SA1
OD Yoga Flame > SA1
In the corner or at point-blank range:
OD Yoga Flame > st.HK > HP version SA1
9 st.HK Punish Counter
st.HK PC > 1HP > OD Yoga Flame > cr.HK
In the corner with Super meter
st.HK PC > 1HP > OD Yoga Flame > st.HK > H SA1
10. Corner H Yoga Blast route
4MK > H Yoga Blast > L Yoga Blast
The L Yoga Blast ender leaves approximately +37F and leads into corner setplay.
Choosing between M and H Yoga Blast
M Yoga Blast
Startup: 15F; damage: 1200; advantage: +42F. Prioritizes reliability and efficient damage.
H Yoga Blast
Startup: 17F; damage: 1200; advantage: +42F. Applies 20% scaling afterward. Its longer launch time suits follow-ups and setplay.
basic
Choose M Yoga Blast for reliability and damage.
Choose H Yoga Blast for more follow-up time or specific situations.
anti-air Combo
DR > 4MP CH > M / H Yoga Blast
Depending on hit height:
Options include Yoga Blast into another DR Yoga Uppercut, Yoga Blast into a slide, OD Yoga Blast, or a Super Art.
Choose an appropriate follow-up.
Aerial combos since March 2026
j.MPairborne hit > Yoga Mummy
Alternatively:
j.MPairborne hit > Drill Kick
Use these to follow up against opponents launched by OD Yoga Flame, Yoga Arch, or similar moves.
j.HP and j.HK are also aerial combo ender options.
Key Frame Advantage by Ender
L Yoga Flame > +33F
M Yoga Flame > +33F
H Yoga Flame > +45F
OD Yoga Flame > +51F
L Yoga Blast > +39F
M Yoga Blast > +42F
H Yoga Blast > +42F
OD Yoga Blast > +42F
OD Yoga Fire > +49F…
forward throw > +31F
back throw > +19F
L / M SA1 > +24F
H SA1 > +27F
SA3 > +19F
The advantage from regular Yoga Fire, Yoga Arch, and Yoga Comet varies considerably with where the projectile connects.
1. M Yoga Blast into cross-up teleport: key setup
Grounded M Yoga Blast hit > immediate forward PPP teleport > point-blank at approximately +3F
From there: st.LP, throw, low Yoga Float j.HK, or wait briefly and block an invincible reversal.
2. M Yoga Blast into Yoga Arch and cr.HK
M Yoga Blast ender > Yoga Arch > cr.HK
Push the opponent while the delayed Yoga Arch falls. This setup maintains screen control.
3. H Yoga Blast into st.MK and Yoga Fire / Yoga Arch
H Yoga Blast > st.MK follow-up > approximately +11F
From there:
/ Yoga Fire
/ Yoga Arch
4. Yoga Blast ender at +42F
M / H / OD Yoga Blast > +42F
In the corner, use this as the baseline for a safe jump.
Armor, counters, and unusual anti-airs need separate responses.
5. Forward throw into DR medium slide
forward throw > +31F
DR > cr.MK active frames
Approximate values
hit: +12F
block: +5F
From there:
/ strike
/ throw
If the opponent is looking for a Perfect Parry, throw directly from DR.
6 corner / forward throw
forward throw > cr.LK whiff > +5F
Alternative option
forward throw > cr.LK whiff > 4MKactive frames > +3F approximately
7 corner / 4MK > H Yoga Arch
4MK > H Yoga Arch
Make the opponent block Yoga Arch to remain within throw range at approximately +3F.
From there: throw, st.LP, Drill Kick, or shimmy.
8 corner / Karma Kick ender > L Yoga Arch
1HK > L Yoga Arch > point-blank +3F approximately
From there: throw, or st.LP into teleport.
9 corner / H Yoga Blast > L Yoga Blast +37F
H Yoga Blast > L Yoga Blast > +37F
From there:
Light slide > point-blank at approximately +4F
cr.MK whiff > +7F > shimmy
Whiff st.LP > L Yoga Fire > approximately +3F on block with a meaty projectile
10. Corner Drill Kick after a Karma Kick ender
1HK ender > st.LP whiff > H Drill Kick
After the opponent blocks
> +4F
11 corner / H Yoga Flame meaty
Knock down with 1HK or a similar move > meaty H Yoga Flame
Blocking the later active frames leaves approximately +11F.
From there, resume pressure with 1MK > H Yoga Arch or a similar sequence.
12 OD Yoga Arch Okizeme
Yoga Blast knockdown > OD Yoga Arch on the M / H trajectory > heavy slide
Approach behind Yoga Arch. After it is blocked, continue with a throw or strike.
13. Yoga Arch into a teleport side mix-up
Place Yoga Arch above the opponent > forward teleport
While the opponent blocks Yoga Arch, choose a same-side jumping attack or a teleport cross-up jumping attack.
This requires the projectile to keep the opponent occupied.
14 OD Yoga Flame > cr.HKafter
OD Yoga Flame > cr.HK
Pick up as early as possible > approximately +33F
Midscreen: forward dash > approximately +8F > 4MK on a later active frame
Alternatively, walk forward slightly and throw.
15. Bait throw techs with Drill Kick
With advantage at point-blank range: low Yoga Float / back jump > Drill Kick
Drill Kick gives more advantage when it connects lower, reaching approximately +5F on block at best.
Establish the throw threat, then punish throw-tech attempts with Yoga Float j.HK or Drill Kick.
Year 4 projectile barrage: “Bowser's Castle”
Example1
OD Yoga Fire
↓ Yoga Arch
↓
Yoga Comet
Example2
OD Yoga Arch
↓ Yoga Fire
↓
Yoga Comet
A horizontal projectile, a falling projectile, and an aerial projectile can share the screen.
Combine them with forward teleport, DR slide, Yoga Float, or long-reaching normals.
Restrict jumps, forward movement, and parries before approaching with Dhalsim himself.
Corner pressure against Burnout
Against a burned-out opponent in the corner, 1MK > H Yoga Arch gives more advantage.
This is not an infinite true blockstring.
Use H Yoga Arch for chip damage, read the opponent's attempts to interrupt, then choose a strike, throw, or more projectiles.
Invincible-Reversal Punishes
basic
st.HK PC > 1HP > OD Yoga Flame
From there: cr.HK, SA1, or in the corner, st.HK > H SA1.
For Dhalsim, returning to setplay through OD Yoga Flame or Yoga Blast can be as important as maximizing damage.
10 Practical Starter Routes
1.
st.LP > cr.LP > OD Yoga Fire
2. cr.LP > CDR > st.LP > 4MP > M Yoga Blast > immediate forward teleport > +3F
3.
4MK > M Yoga Flame
4.
Aerial Yoga Floatj.HP > 1HP > M Yoga Flame
5.
cr.MP > CDR > 4MK > H Yoga Flame
6.
OD Yoga Flame > cr.HK or > SA1
7.
corner: H Yoga Blast > L Yoga Blast > +37F Setplay
8. Forward throw > DR medium slide > +5F on block > strike / throw
9. Corner: 4MK > H Yoga Arch > +3F within throw range
10. OD Yoga Fire + regular Yoga Arch + Yoga Comet > teleport / DR / Yoga Float
Current Game Plan
Keep the opponent out with long-reaching attacks and projectiles > respond to movement with anti-airs or whiff punishes > knock down with Yoga Blast > apply teleport / Yoga Arch wake-up pressure > use Yoga Arch, throws, and Drill Kick in the corner > restore screen control with multiple projectiles if separated.
Notes for Older Guides
H Yoga Blast starts in 17F and applies 20% scaling afterward.
OD Yoga Flame's follow-up potential was substantially improved in March 2026.
OD Yoga Fire and regular Yoga Arch can coexist from August 2026 onward.
OD Yoga Arch and regular Yoga Fire can coexist from August 2026 onward.
OD Yoga Comet allows Dhalsim to act sooner afterward.
st.LP's upper hitbox was improved.
References
Sources: official Street Fighter 6 battle adjustments; Ultimate Frame Data; Year 4 Dhalsim guide material; testing after the March / August 2026 adjustments; Season 4 Dhalsim matchup and setplay testing.
Combo and setplay conditions can vary with spacing, late-active hits, hit height, recovery choice, and position relative to the corner.
Recheck in Training Mode before using these routes in matches.
Frame advantage may vary with spacing, airborne hits, recovery options, and corner position. Verify important routes in Training Mode.